Project ideas and inspiration from Good magazine
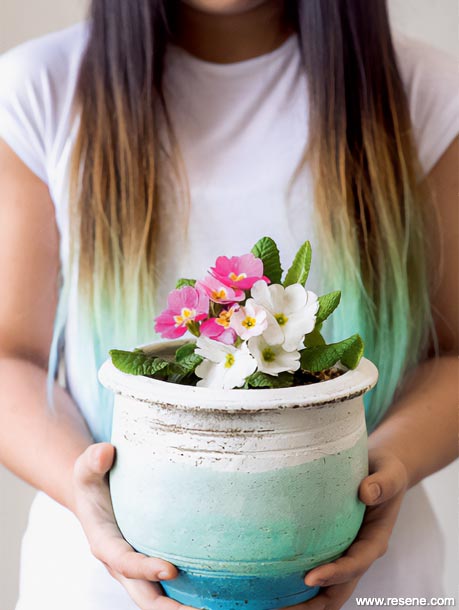
Express yourself with this artistic dip-dye paint effect.
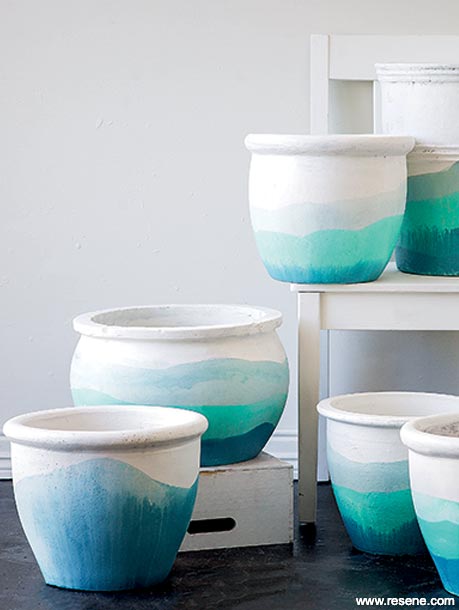
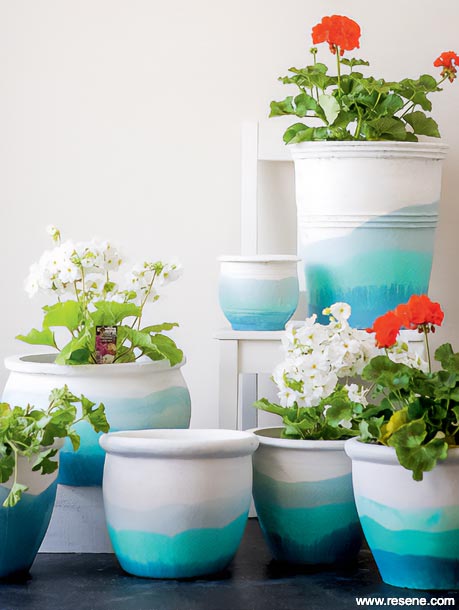
This technique is a great way to coordinate mismatched pots without making them look too samey-samey. A bit like painting with watercolours, the dip-dye paint effect allows lots of scope for experimentation.
Step 1: Transfer existing soil or plants into buckets or onto a spread out canvas. Water the plants and leave in the shade.
Step 2: Water blast the pots clean or scrub with soapy water and a stiff brush. For moss or mould, spray with a little Resene Moss & Mould Killer, taking care to first read the safety instructions.
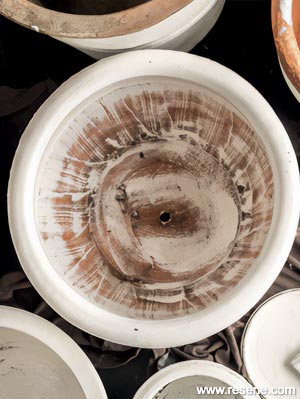
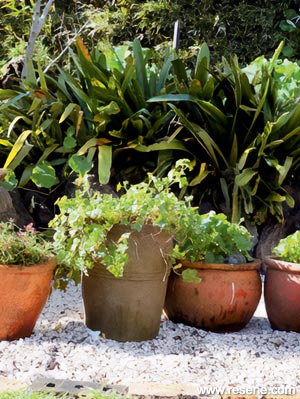
Step 3: Always seal your pot inside and out to stop water coming through and bubbling the paint. Use Resene Terracotta Sealer for terracotta pots or check with Resene ColorShop staff for other pots.
Step 4: Turn the pots upside down and, starting from the base, paint in a neutral shade. Once the bases are dry, turn the pots right side up and finish painting.
Step 1: Lay out paper or a dropcloth to catch any drips. Dilute your lightest shade of paint with just enough water to achieve a light wash. Begin about two-thirds up the pot’s side, painting a wavy edge around the circumference and down to the base.
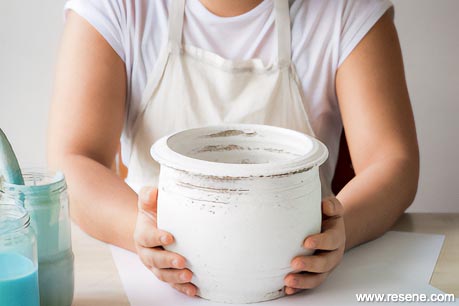
Step 1
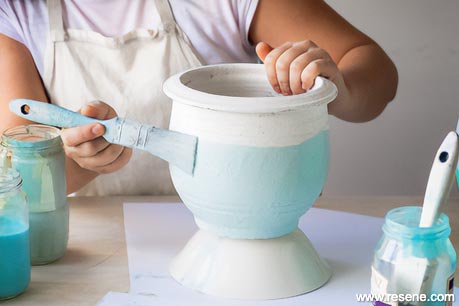
Step 2
Step 2: Dilute the mid-tone with less water than Step 1. Starting well below the top band, use a clean brush to paint around the pot again.
Step 3: Dampen your third brush and paint the darkest shade of paint in a band around the base. Leave the pot upright to dry, allowing the layers to dribble and blend together a little for a subtle, watery dip-dye look.
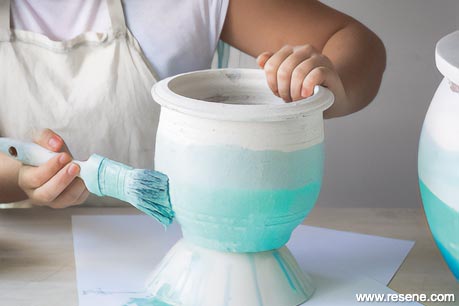
Step 3a
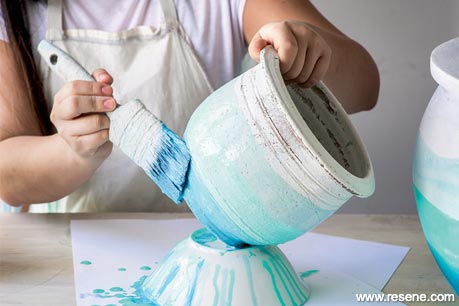
Step 3b
Choose a base shade from Resene’s whites and neutrals range. I used Resene SpaceCote Flat in Resene Cararra for a hardwearing enamel finish. If the pots will be outside, use Resene Lumbersider. Next, pick three testpots in complementary colours. For these pots I used:
Words and styling Sarah Heeringa. Photography by Amanda Reelick.
Good magazine projects
Wanting to tackle a project at your place but only have a weekend to spare? Get inspired with these projects from Good magazine. Reclaim and upcycle with paint.