Project ideas and inspiration from Good magazine
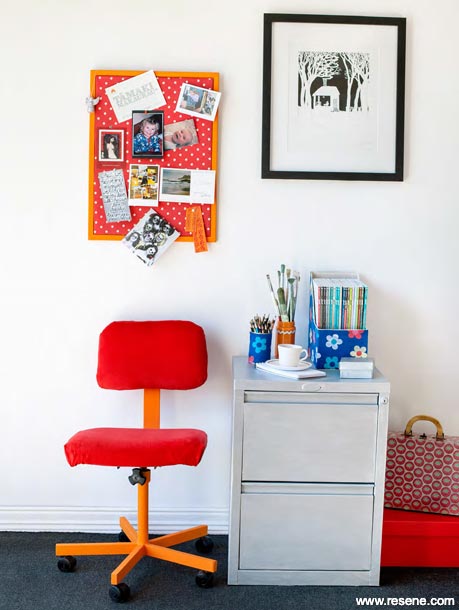
Make a creative space of your own, get your papers sorted and ramp up the style factor in your home office with these simple upcycling projects.
Whether you work from home or just need a place to file papers and pay bills it can be handy to have some sort of home office. We don’t all have the luxury of space to dedicate an entire room as a study or office – but depending on your particular workspace needs you can create a simple area in a surprisingly compact space.
To create a successful study nook or creative corner you need to first decide what you will be most using the space for. Is it a home office to be used for income- generating work or a space for your creative hobbies? Will you be working on a laptop rather than a desk-based computer and if so, do you even need a desk? You might identify your greatest need as being somewhere to tidily store away your papers, stationery or crafting bits and bobs. Take a walk around your home looking for possible spaces that could be better utilised. Is there a possie where you could put a small filing cabinet or desk – or a place where you might potentially write, read or simply sit and think?

You can make a cost effective, creative and inspiring work area for yourself using repurposed and revamped pieces of office furniture. I acquired a nasty old filing cabinet that was no longer required by a colleague and rescued the ugliest office chair from a pile of junk outside an office block – and gave them a both snappy new look using a fresh coat of paint and a piece of bright new material.
It starts with being open to the many possibilities.
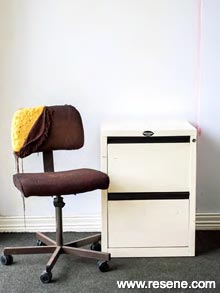
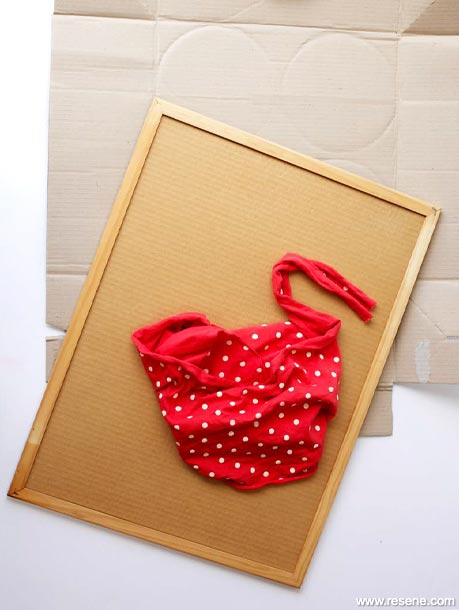
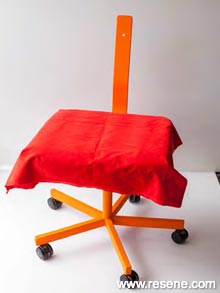
Before upcycling
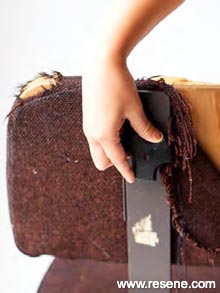
Step 1
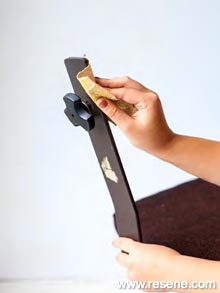
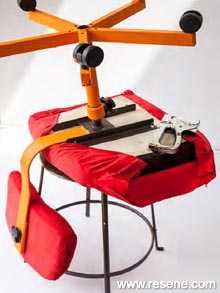
Step 2
Step 2b
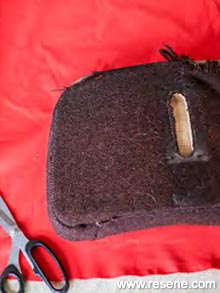
Step 1 Unscrew any parts of the chair that can be taken apart to make painting and recovering more simple to achieve.
Step 2 Lightly sand the entire paintable surface of the filing cabinet and chair.
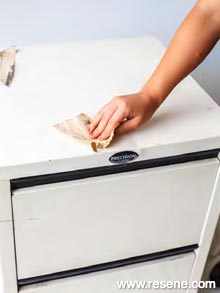
Step 3
Step 4
Step 4b
Step 4c
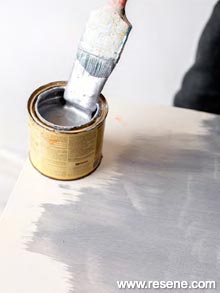
Step 3 Wipe off any dust or debris and apply a light coat of Resene Waterborne Smooth Surface Sealer. Allow to dry.
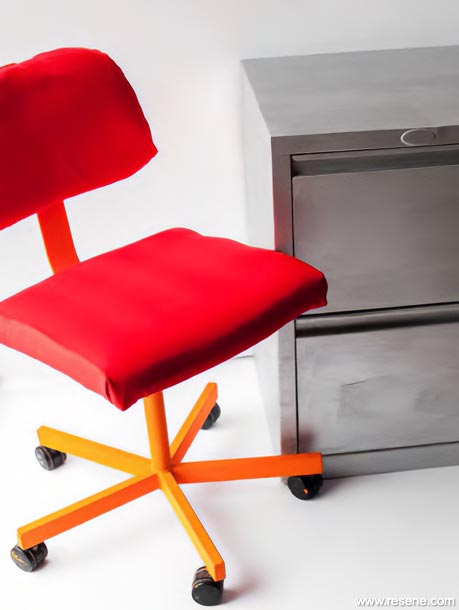
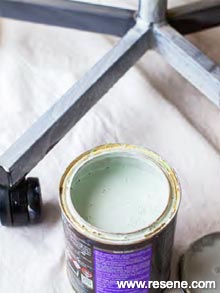
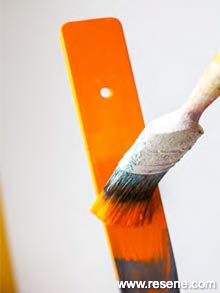
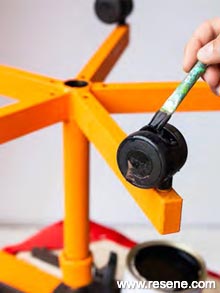
Step 4 Paint the cabinet and chair legs in a shade of your choice. I used the zingy orange Resene Adrenalin on the chair legs and Resene Infinity from the Resene Metallics range on the cabinet for a brushed metal look. Allow to fully dry before touching up with a second coat as required.
Step 5
Step 5b
Step 5c
Stepd
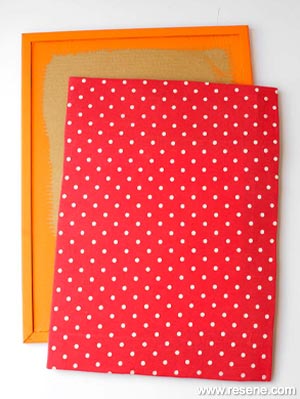
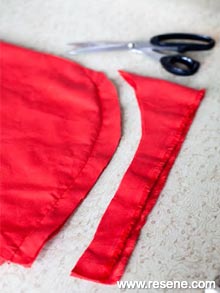
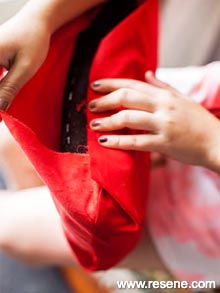
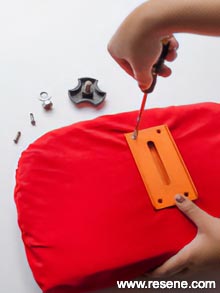
Step 5 Measure your fabric against the parts of the chair to recover. Cut roughly to shape, turn fabric inside out and pin to fit. Sew seam and trim off excess fabric. Turn the fabric the right way round and fit it into place over the seat cushion. Neatly fold any extra fabric as you might a parcel and hand sew along the flap to close it up.
Step 6
Step 6b
Step 7
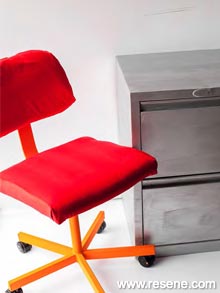
Finished project
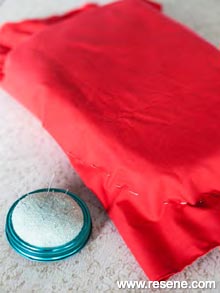
Step 6 Cut a square of fabric and lay it upside down on a stool or table. Place your chair upside down on the fabric so you can pull the fabric up on each side of the seat and staple into place. Fold the fabric at each corner to make a neat edge. Staple into place.
Step 7 Reassemble the various parts of the chair as necessary.
Words and styling Sarah Heeringa. Portrait Tessa Chrisp. 2015
Good magazine projects
Wanting to tackle a project at your place but only have a weekend to spare? Get inspired with these projects from Good magazine. Reclaim and upcycle with paint.
![]() Get inspired ! Subscribe
Get inspired ! Subscribe ![]() Get saving ! Apply for a DIY card
Get saving ! Apply for a DIY card
![]()
Can't find what you're looking for? Ask us!
Company profile | Terms | Privacy policy | Quality and environmental policy | Health and safety policy
Colours shown on this website are a representation only. Please refer to the actual paint or product sample. Resene colour charts, testpots and samples are available for ordering online. See measurements/conversions for more details on how electronic colour values are achieved.
What's new | Specifiers | Painters | DIYers | Artists | Kids | Sitemap | Home | TOP ⇧