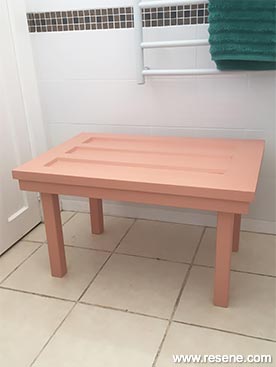
Upcycle an old cupboard door into a handy table with a little bit of help from Resene.
Fun with furniture with Mark Rayner - Project 54
Difficulty level: Moderate
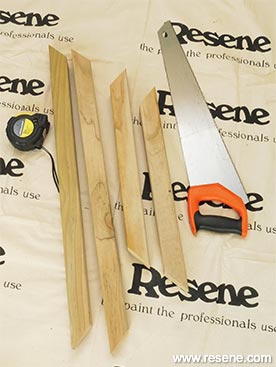
You will need: Clean cloth, 50mm x 50mm timber (approx 4.2m), 65mm screws, drill with 3mm drill bit, large clamp, old panelled cupboard door (ours measured 520mm x 780mm), paintbrush, pencil, putty knife or similar, Resene EzyFill Quick, Resene Lustacryl tinted to Resene Just Dance, Resene Quick Dry, sandpaper, saw, screwdriver, tape measure.
To get the look: Mark painted the background woodwork with Resene Lustacryl tinted to Resene Alabaster.
Other ideas: For a vivid green effect, paint the table with Resene Lustacryl tinted to Resene Wellywood.
 Step one
 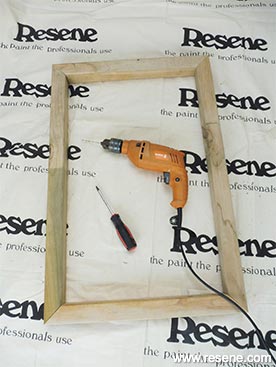 Step two
 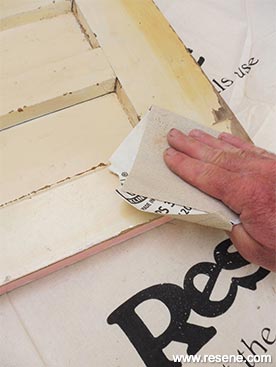 Step three
 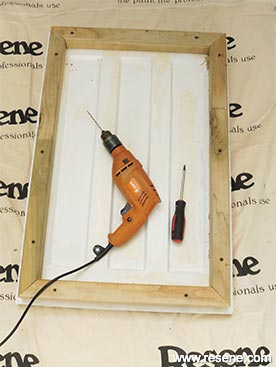 Step four
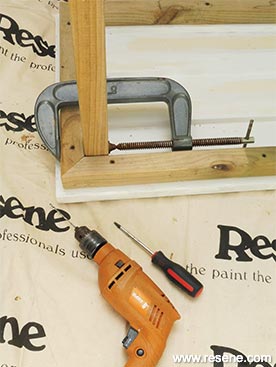 Step five
 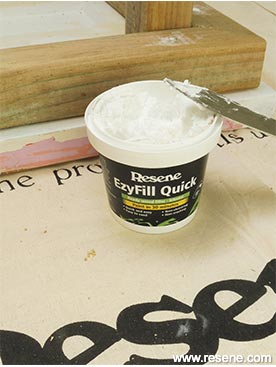 Step six
 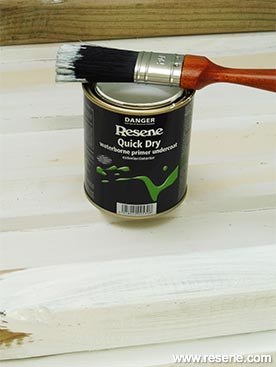 Step seven
 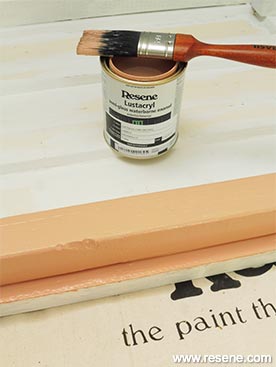 Step eight
› Download a PDF of this project
![]() Get inspired ! Subscribe
Get inspired ! Subscribe ![]() Get saving ! Apply for a DIY card
Get saving ! Apply for a DIY card
![]()
Can't find what you're looking for? Ask us!
Company profile | Terms | Privacy policy | Quality and environmental policy | Health and safety policy
Colours shown on this website are a representation only. Please refer to the actual paint or product sample. Resene colour charts, testpots and samples are available for ordering online. See measurements/conversions for more details on how electronic colour values are achieved.
What's new | Specifiers | Painters | DIYers | Artists | Kids | Sitemap | Home | TOP ⇧

