Close Give Feedback
Resene Paints - home page
Follow us on Facebook Follow us on Pinterest Follow us on Instagram Follow us on YouTube

Chest of drawers

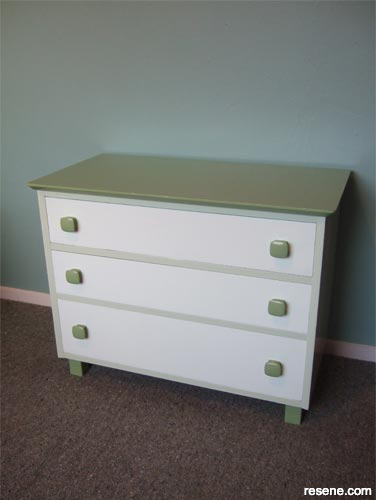
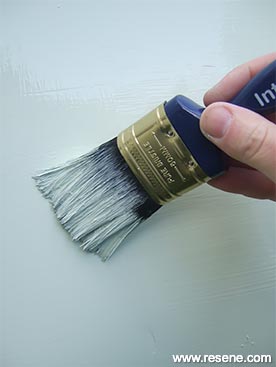
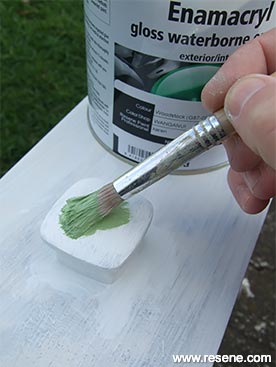
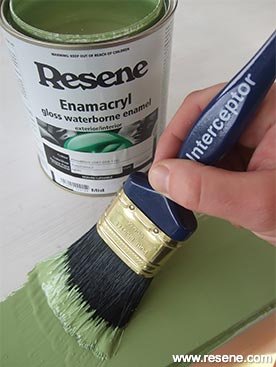
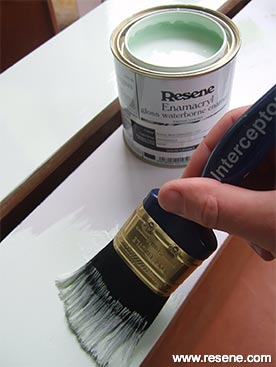
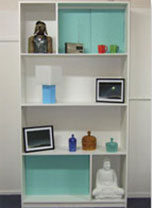
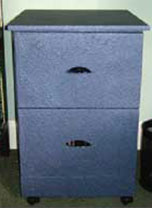
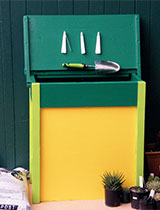
Transform a tired old chest of drawers into a smart modern piece of furniture using hardwearing Resene Enamacryl in three elegant shades of green.

Resene art with Mark Rayner - Project 32

Difficulty level: Moderate

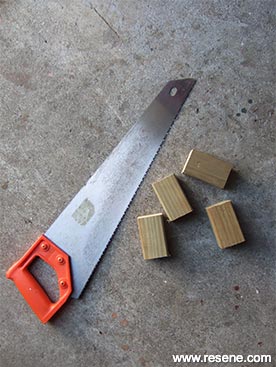
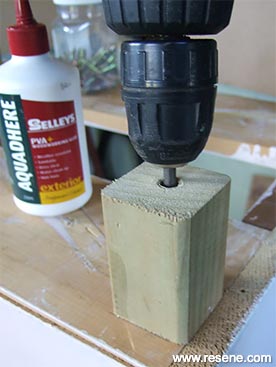
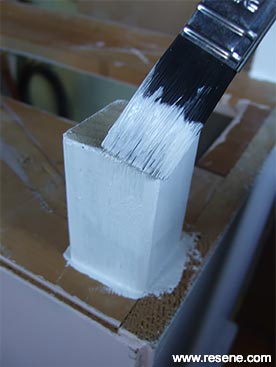
You will need: 75mm wood screws, approx 280mm length of 50mm x 50mm dressed timber, drill with drill bits, old wooden chest of drawers, paintbrushes (including an artists’ brush), PVA glue, Resene Enamacryl gloss waterborne enamel tinted to Resene Snowy Mint, Resene Soft Apple and Resene Woodstock, Resene Quick Dry Waterborne primer undercoat, Resene Waterborne Smooth Surface Sealer, sandpaper, saw, screwdriver.

To get the look: Mark painted the background wall with Resene SpaceCote Flat tinted to Resene Longitude and the woodwork with Resene Enamacryl tinted to Resene Alabaster.

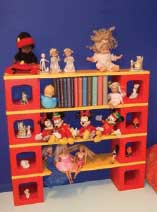
Other ideas: Decorate a chest of drawers for a child’s bedroom using a selection of contrasting colours from the Resene KidzColour range.

Step 1
Step one
Cut the 50mm x 50mm timber into four 75mm lengths to form the feet. Drill a 10mm diameter hole in the centre of the base of each foot (to a depth of approximately 25mm) and then drill a narrower pilot hole through each foot.
Step 2
Step two
Remove the drawers from the unit. Apply a small amount of PVA to each of the feet and place in position on the base of the unit. Screw the feet into position using 75mm screws, countersinking the screws approximately 25mm.
Step 3
Step three
Lightly sand the old paintwork on the unit and drawers to provide a ‘key’, taking particular care around the drawer handles. Apply one coat of Resene Waterborne Smooth Surface Sealer to the unit and drawers and allow to dry for two hours.
Step 4
Step four
Use a smaller brush to apply one coat of Resene Quick Dry to the feet and allow to dry for two hours.
Step 5
Step five
Apply two coats of Resene Soft Apple to the back, sides and front of the unit and allow two hours for each coat to dry.
Step 6
Step six
Use an artists’ brush to apply two coats of Resene Woodstock to the handles and feet, allowing two hours for each coat to dry.
Step 7
Step seven
Use a larger brush to apply one coat of Resene Woodstock to the top of the unit, allowing two hours for each coat to dry.
Step 8
Step eight
Paint the fronts of each drawer with two coats of Resene Snowy Mint, cutting in around the handles with an artists’ brush where necessary. Allow two hours for each coat to dry.

Other projects you might like to try

How to make a 1960s wall unit
1960s wall unit

Resene art
How to make a waste paper bin
Waste paper bin

Ways with wood
How to make a potting bin
Make a potting bin

Weekend gardener

View more projects


Order online now:
Testpots | Paints | Primers and Sealers | Stains | Clears | Accessories

Get inspired Get inspired ! Subscribe      Get saving Get saving ! Apply for a DIY card

Resene Paints Ltd

Can't find what you're looking for? Ask us!

Resene Paints Ltd   – www.resene.com

Follow us on Facebook Follow us on Pinterest Follow us on Instagram Follow us on YouTube
Videos on how to paint and stain your house
 

Colours shown on this website are a representation only. Please refer to the actual paint or product sample. Resene colour charts, testpots and samples are available for ordering online.   See measurements/conversions for more details on how electronic colour values are achieved.

What's new | Specifiers | Painters | DIYers | Artists | Kids | Sitemap | Home | TOP ⇧