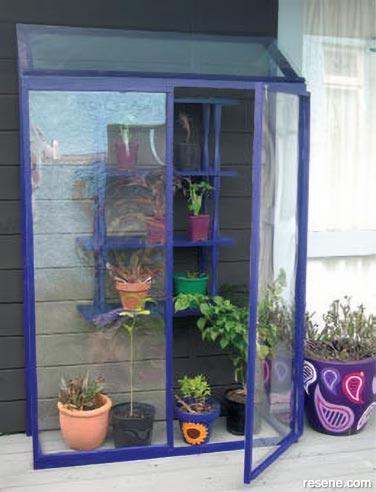
Mark Rayner shows how to create a mini greenhouse perfect for protecting vulnerable plants and growing vegetables.
You will need:
Note: This lightweight greenhouse should be positioned against a wall in a well-protected spot out of any strong wind. If you want to construct a similar greenhouse for a windier spot use 50mm x 50mm timber and fix to the wall with pin hinges.
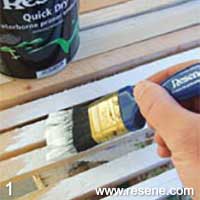 Step one
Apply one coat of Resene Quick Dry Waterborne Primer Undercoat to the garden stakes and allow to dry for one hour.
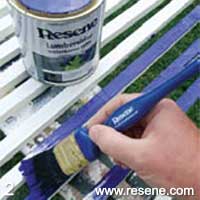 Step two
Apply two coats of Resene Paua to the garden stakes, allowing two hours for each coat to dry – these will form the frame of the greenhouse.
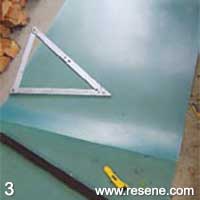 Step three
Measure and cut the polycarbonate sheet into the dimensions listed above, using a sharp craft knife to cut the polycarbonate.
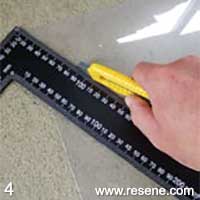 Step four
Make a mark on the front edge of both side panels 1450mm from the bottom edge. Draw a line from this mark to the back top corner. Cut along this diagonal line with the craft knife, as shown.
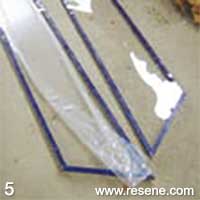 Step five
Nail two long lengths of the painted frame to each polycarbonate side panel with 20mm nails. Turn the panels over and attach two smaller lengths across the top and bottom in the same way. Fix at each corner with PVA and 40mm nails – drill pilot holes first to prevent the wood splitting. Saw off any excess wood. Remove the polycarbonate’s protective film.
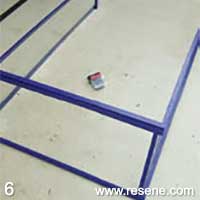 Step six
Cut four 1m lengths of painted framing and fix the side panels together, as shown, using PVA and 40mm galvanised nails – drill pilot holes first to prevent the wood from splitting. Use the set-square to ensure the frame is fixed at right angles.
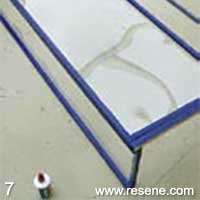 Step seven
Measure the greenhouse front opening and make two panels to fit this space – one approximately 1400mm x 500mm (front fixed panel) and a slightly smaller approximately 1390mm x 500mm one (door). Spot prime and paint any bare wood where frames have been cut to fit. Fix the larger panel into position, as shown, using PVA glue and 40mm galvanised nails.
 Step eight
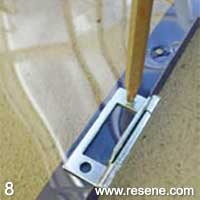
Attach the roof panel into position with 20mm galvanised nails and screw the door into position using zinc-plated hinges. Fix the hook and eye catch into position on the top of the door.
Order online now:
Testpots |
Paints |
Primers and Sealers |
Stains |
Clears |
Accessories
![]() Get inspired ! Subscribe
Get inspired ! Subscribe ![]() Get saving ! Apply for a DIY card
Get saving ! Apply for a DIY card
Can't find what you're looking for? Ask us!
Company profile | Terms | Privacy policy | Quality and environmental policy | Health and safety policy
Colours shown on this website are a representation only. Please refer to the actual paint or product sample. Resene colour charts, testpots and samples are available for ordering online. See measurements/conversions for more details on how electronic colour values are achieved.
What's new | Specifiers | Painters | DIYers | Artists | Kids | Sitemap | Home | TOP ⇧

