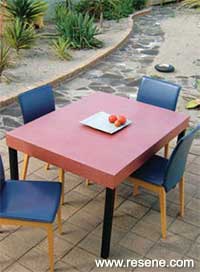
Mark Rayner Mark Rayner creates this stylish table with a beaten copper effect.
You will need:
* Measurements are based on 50mm x 50mm dressed timber (true measurement 45mm x 45mm). Always check measurements before cutting timber and plywood to fit.
Also required: Exterior PVA glue, paintbrush, paint roller and tray, 75mm brass screws, 40mm brass screws, exterior filler, sandpaper, drill, screwdriver and set square. Resene Quick Dry waterborne primer undercoat, Resene Sandtex Mediterranean effect, Resene Lumbersider tinted to Resene El Salva, Resene Lumbersider tinted to Resene Nero, Resene Enamacryl Metallic tinted to Resene Copper Fire and Resene Clearcoat UVS protective glaze.
Top tip: Countersink screws for a neater finish
Another idea: Use a similar technique to create matching bench seats – make outdoor seats about 450mm high.
Step 1
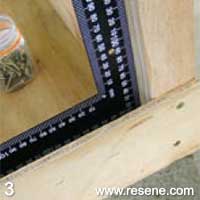
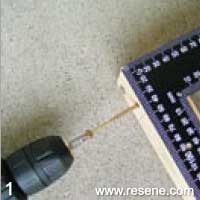
Cut timber and plywood to dimensions listed. Sand rough edges. With the set square as a guide, fix a table leg into the end of the front support with two 75mm screws and PVA glue (drill pilot holes first). Repeat with other legs and supports to make a four-legged frame.
Step 2
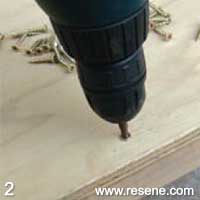
Make sure the frame is squarely aligned as you fix the plywood top to the front, back and side supports with 40mm screws and PVA glue – again, drill pilot holes first.
Step 5
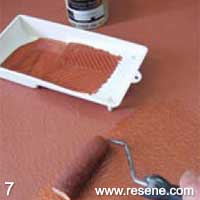
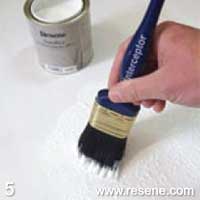
Using an old brush and stippling technique, apply one generous coat of Resene Sandtex to the table top and side edging. Allow to dry for two to three hours.
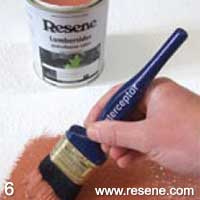
Step 6
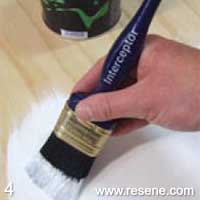
Paint the table legs and underside of the table top with two coats of Resene Nero, and the table top and side edging with two coats of Resene El Salva. Allow two hours for each coat to dry.
Order online now:
Testpots |
Paints |
Primers and Sealers |
Stains |
Clears |
Accessories
![]() Get inspired ! Subscribe
Get inspired ! Subscribe ![]() Get saving ! Apply for a DIY card
Get saving ! Apply for a DIY card
Can't find what you're looking for? Ask us!
Company profile | Terms | Privacy policy | Quality and environmental policy | Health and safety policy
Colours shown on this website are a representation only. Please refer to the actual paint or product sample. Resene colour charts, testpots and samples are available for ordering online. See measurements/conversions for more details on how electronic colour values are achieved.
What's new | Specifiers | Painters | DIYers | Artists | Kids | Sitemap | Home | TOP ⇧

