Close Give Feedback
Resene Paints - home page
Follow us on Facebook Follow us on Pinterest Follow us on Instagram Follow us on YouTube

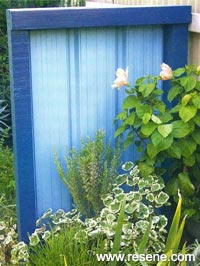
Build a barrier

Mark Rayner shows how to construct a useful garden screen.

You will need: Piece of zincalume or colorsteel measuring approximately 820mm x 1250mm, two 100mm x 75mm x 1800mm treated fence posts, Four lengths of 100mm x 50mm treated timber: 1 at 720mm and 3 at 870mm
Drill and drill bits, spade, spirit level, tape measure, hammer, 100mm galvanised jolt head nails, 40mm galvanised flathead nails and mineral turpentine. Resene Galvo One galvanised steel primer, Resene Quick Dry waterborne primer undercoat, Resene Lumbersider tinted to the following colours: Resene Prussian Blue and Resene Norwester.

Top tip: You can use this technique to create larger garden screens, but in areas with high wind it is advisable to sink the posts into concrete for extra stability.
As seen in kiwigardener

Step 1 Step one
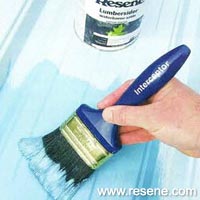
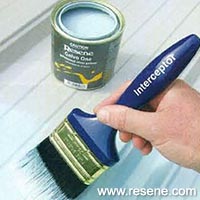
Prime both sides of the zincalume or colorsteel panel (if painting it) with a coat of Resene Galvo One (use Resene Galvo­ Prime with brand new zincalume). Allow to dry for 12 hours. Clean out brush.
Step 2 Step two
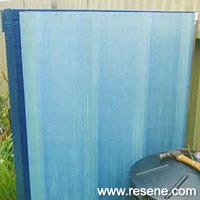
Apply two coats of Resene Norwester to both sides of the panel, if painting it, allowing two hours for each coat to dry.
Step 3 Step three
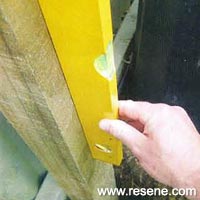
Dig a hole about 500mm deep and position the first fencepost. Use a spirit level to ensure the post is upright and fill in the soil around the base of the post, compacting the soil as you go.
Step 4 Step four
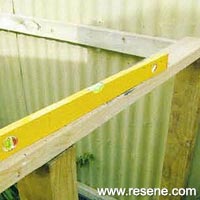
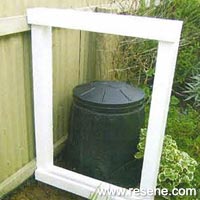
Repeat step 3 and position the second fencepost 720mm away from the first. Rest an offcut of wood across the tops of both posts and use a spirit level to ensure both posts are the same height.
Step 5 Step five
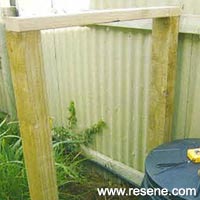
Attach a longer cut length of 100mm x 50mm timber across the tops of the posts with 100mm nails, drilling pilot holes first. Fix the short length of 100mm x 50mm between the posts about 1250mm from the top edge by 'skew' nailing it at an angle after drilling pilot holes first.
Step 6 Step six
On the right-facing side, nail the two remaining cut lengths of 100mm x 50mm across the top and bottom of the frame after drilling pilot holes first. Apply one coat of Resene Quick Dry to the entire frame, allowing one hour to dry.
Step 7 Step seven
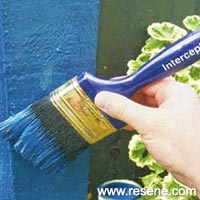
Apply two coats of Resene Prussian Blue to the entire frame, allowing two hours for each coat to dry.
Step 8 Step eight
Fix the painted panel to the back of the frame, nailing with 40mm flathead nails along the top and bottom edges. Spot prime and paint the nail heads.

View more projects


Order online now:
Testpots | Paints | Primers and Sealers | Stains | Clears | Accessories

Get inspired Get inspired ! Subscribe      Get saving Get saving ! Apply for a DIY card

Resene Paints Ltd

Can't find what you're looking for? Ask us!

Resene Paints Ltd   – www.resene.com

Follow us on Facebook Follow us on Pinterest Follow us on Instagram Follow us on YouTube
Videos on how to paint and stain your house
 

Colours shown on this website are a representation only. Please refer to the actual paint or product sample. Resene colour charts, testpots and samples are available for ordering online.   See measurements/conversions for more details on how electronic colour values are achieved.

What's new | Specifiers | Painters | DIYers | Artists | Kids | Sitemap | Home | TOP ⇧