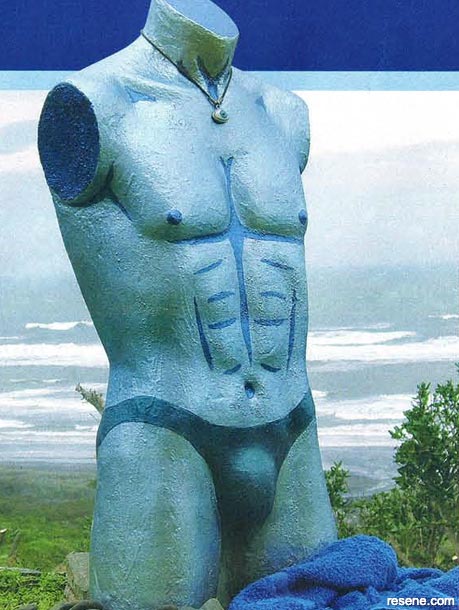
In his latest project, Mark Rayner performs a spot of body building.
![]()
To get the look: Mark used a plastic torso available from Purfex, modelling clay from CCG and paint products from Resene.
Top tip: As the finished piece is very heavy, it's best cast in situ. For additional stability, ensure the torso is firmly anchored in a layer of cement.
How to make a garden statue:
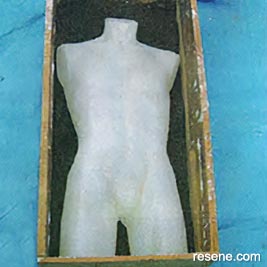 Step one
 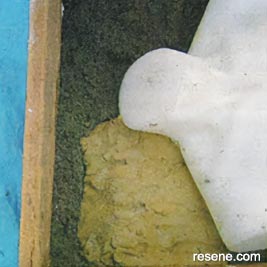 Step two
 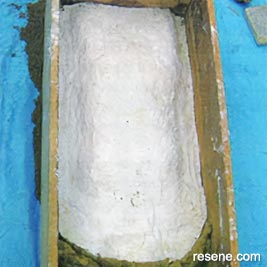 Step three
 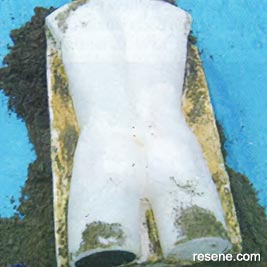 Step four
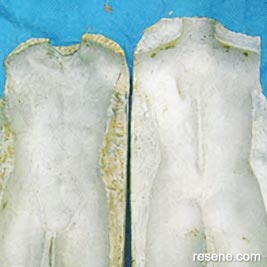 Step five
 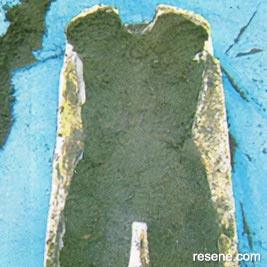 Step six
 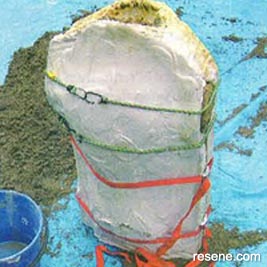 Step seven
 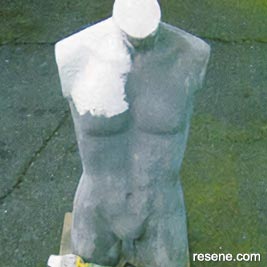 Step eight
 ![]() Get inspired ! Subscribe
Get inspired ! Subscribe ![]() Get saving ! Apply for a DIY card
Get saving ! Apply for a DIY card
![]()
Can't find what you're looking for? Ask us!
Company profile | Terms | Privacy policy | Quality and environmental policy | Health and safety policy
Colours shown on this website are a representation only. Please refer to the actual paint or product sample. Resene colour charts, testpots and samples are available for ordering online. See measurements/conversions for more details on how electronic colour values are achieved.
What's new | Specifiers | Painters | DIYers | Artists | Kids | Sitemap | Home | TOP ⇧

