Pallet tray
DIY project from NZ Gardener magazine
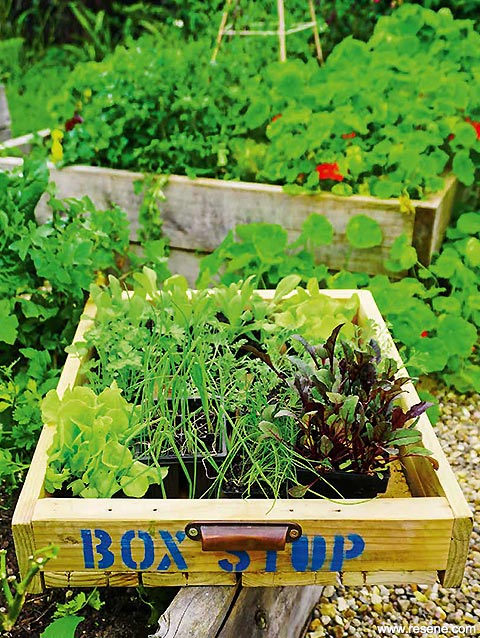
Rachel Clare and Jacob Leaf upcycle a pallet into a cheap-as-chips multipurpose tray that can be used for carrying punnets of seedlings, holding barbecue condiments or serving afternoon tea in the garden.
You will need
- Pallet
- Skilsaw, handsaw or crowbar
- Tape measure
- Drill
- Hammer
- 8g x 38mm screws or similar-sized nails
- Handles (we sourced ours from an old desk)
- Resene Timber & Deckwash
- Stiff broom or scrubbing brush
- Sanding attachment for drill, or sandpaper
Cutting sizes:
- Our tray is 600mm x 460mm x 70mm deep on the inside but these instructions can be adjusted for any size
- Long sides and base: 6 x 600mm top-deck wood
- Short sides: 2 x 420mm stringer wood
Cost: $10 for a packet of screws.
How to make a pallet tray
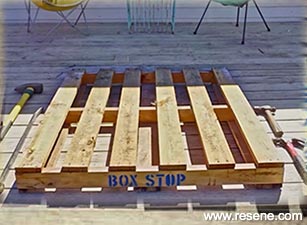
Step one
Source a pallet from a hardware store for free or buy one from a recycling centre. The dimensions of your wood will vary depending on the pallet you find. When deciding on the size of your tray, keep in mind the overall finished weight of the tray, including plants, seed-raising mix and so on. Pallets are generally made up of three parts: top-deck wood, bottom- deck wood and the stringer wood (the thicker stronger pieces at each end). We used the top-deck wood and the two outer stringers because it had some interesting-looking stencilled words.
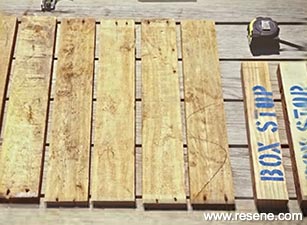
Step two
Use a handsaw or skilsaw to cut the pallet into pieces. Alternatively, you can pry the pallet apart with a crowbar, although bear in mind that this will cause some of the timber to split. Measure, then cut the timber for the long sides and the base. To determine the length of the two short ends made from the stringer wood, lay out your base boards, allowing a small gap between each for drainage. Measure and cut the stringer wood for the short ends.
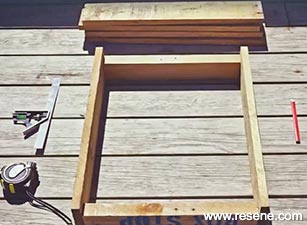
Step three
Create the frame by arranging the two short ends and two of the long lengths. Drill two pilot holes in each corner to prevent the wood from splitting, then screw together. (You could also drill pilot holes, then nail the sides together.)
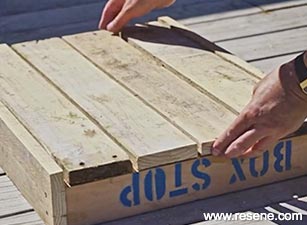
Step four
Arrange the four remaining pieces of timber across the base of the frame. Drill a pilot hole at each end of each board and screw it to the frame.
Step five
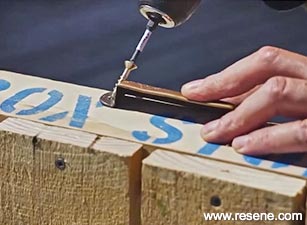
Attach the handles by drilling pilot holes and screwing the handles to each short end.
Step six
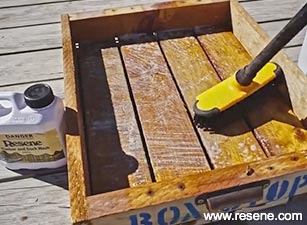
Clean the tray with Resene Timber & Deck Wash and a stiff brush to remove any unknown contaminants, then sand any rough edges until smooth.


![]() Get inspired ! Subscribe
Get inspired ! Subscribe ![]() Get saving ! Apply for a DIY card
Get saving ! Apply for a DIY card