You will need:
- 1 sheet 17mm ply
- 1 sheet 7mm ply
- 5.4m 18mm quad moulding
- 8g x 50mm, 8g x 32mm screws
- Small tacks
- Dowel offcut 22mm diameter
- Skil saw & straight edge
- Wood glue, sand, silicone
- Clamps, sandpaper, duct tape
- Resene Concrete Primer
- Resene Non-Skid Deck & Path
- Paintbrushes
Cutting List:
- From 17mm ply:
- 2 x 610mm x 495mm
- 2 x 610mm x 461mm
- 1 x 810mm x 810mm
- 4 x 300mm x 230mm
- 4 cleats @ 50mm x 495mm
- From 7mm ply:
- 2 x 650mm x 360mm
- 2 x 650mm x 375mm
- 1 x 360mm x 360mm
Cost: $215 (excluding paint)
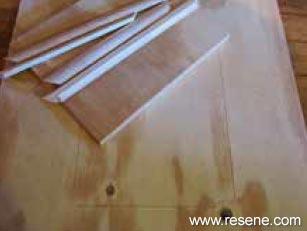 Step one
Cut the pieces from the 17mm ply using the skil saw and a straight edge. For the moulding, cut 8 of each length adding 50mm. Add a 45-degree cut to all the pieces at one end, then move the saw to the opposite side and cut each piece to length.
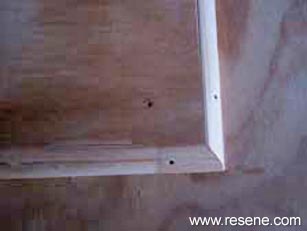 Step two
Centre and glue each small panel to a large one. Nail in place once the glue is dry. Attach the mouldings with glue and small nails. Sand well when dry.
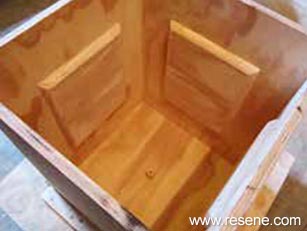 Step three
Join the edges of the form using the 50mm screws. Attach the dowel to the centre of the base. With the form centred on the base, place the cleats in position and secure these to the base using the 32mm screws. Use silicone to plug all the corners and joints.
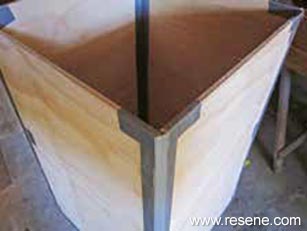 Step four
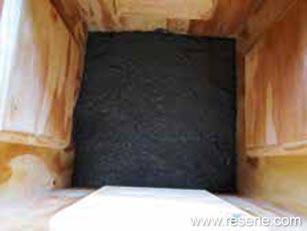
Cut out the inner former pieces, tape together using duct tape. Cover with plastic bag, securing with more duct tape.
 Step five
Mix the concrete (following the instruction; with appropriate safety gear). Concrete the base up to the top of the drain dowel. Insert the former, centre it and trowel the concrete down the sides. You may need some wood offcuts to keep the inner former centred. Weight down the former with sand.
 Step six
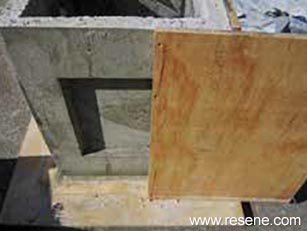
Allow to fully dry. Tip out the sand, peel out the former pieces. Unscrew the former and remove the ply. Unscrew the drain plug and remove the base. You may need to drill out the wooden dowel. Allow the concrete to fully cure. Paint with Resene Concrete primer and a topcoat of Non-Skid Deck & Path (I used
Landscape Grey).
 Step one
 Step two
 Step three
 Step four
 Step five
 Step six
![]() Get inspired ! Subscribe
Get inspired ! Subscribe ![]() Get saving ! Apply for a DIY card
Get saving ! Apply for a DIY card