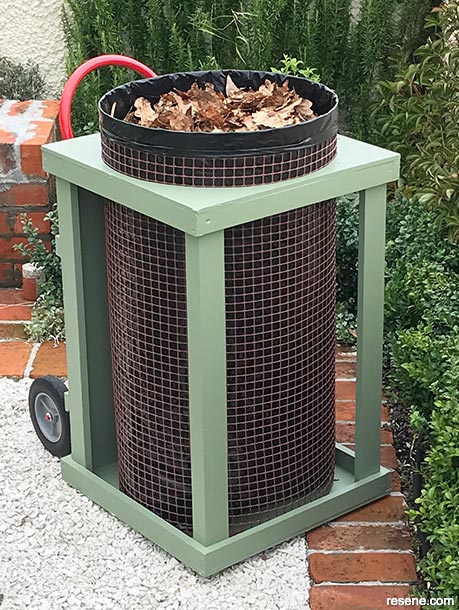
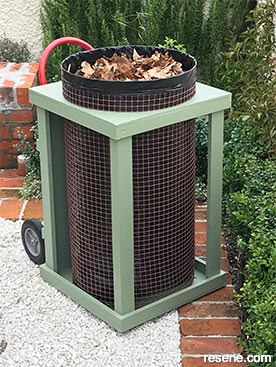
Autumn leaves are lovely – especially when collected tidily in this lightweight and portable leaf bin.
![]()
Materials
Primer and paint
Tools
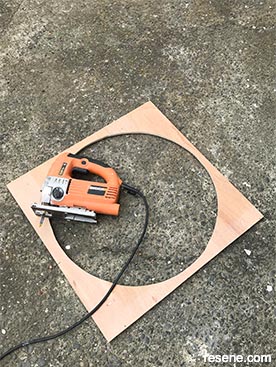
Top tip #1: To draw a large circle simply fix a screw or nail at the centre and rotate a taut length of string with a pencil attached at the other end.
Top tip #2: Use the set square throughout construction to ensure all corners and other joins are at ninety degrees.
How to build a portable leaf bin:
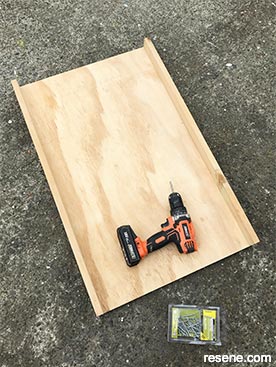
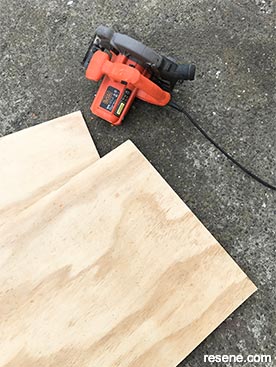 Step one
Measure, mark and cut the plywood to the sizes listed and smooth any rough cut edges with sandpaper. Measure, mark and cut the 25mm x 50mm timber to the lengths listed and smooth any rough cut edges with sandpaper.
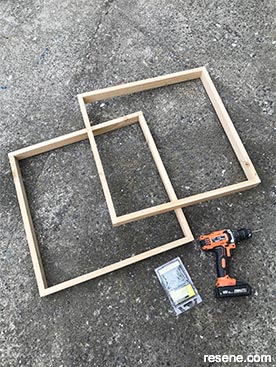 Step two
Assemble four of both the 510mm and 550mm timber lengths to form two identical square frames. Fix at each corner with PVA glue and 45mm screws, drilling pilot holes first.
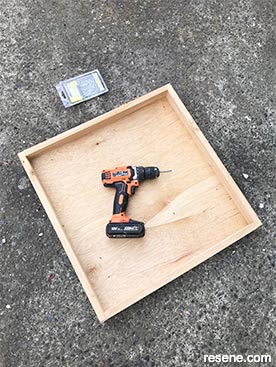 Step three
Attach one of the frames to one of the square pieces of plywood. Again, fix with PVA glue and 45mm screws, drilling pilot holes first.
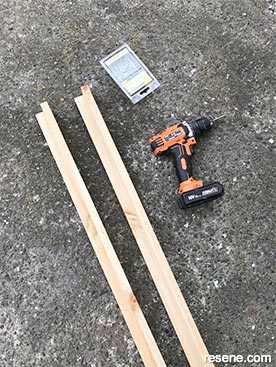
 Step four
Attach two of the 800mm timber lengths to the sides of the rectangular piece of plywood. Once again, fix with PVA glue and 45mm screws, drilling pilot holes first.
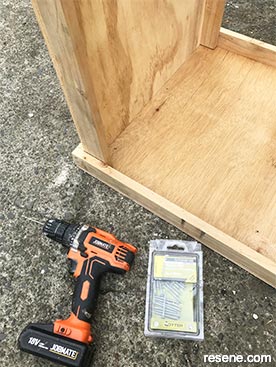 Step five
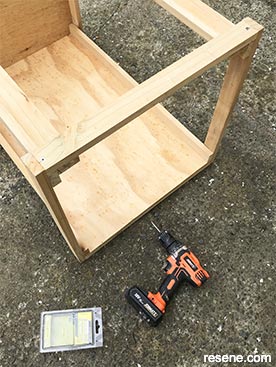
Assemble the two pieces from steps three and four to form the base and back of the leaf bin, fix with PVA glue and 45mm screws, drilling pilot holes first.
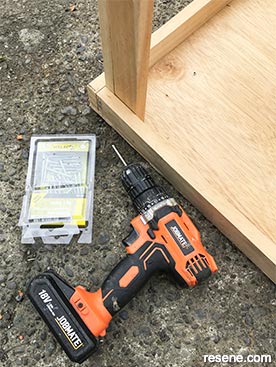
 Step six
Fix the remaining four 800mm timber lengths at right angles to form the two front support struts. Again use PVA glue and 45mm screws (drilling pilot holes first).
 Step seven
Attach these two front support struts to the base of the leaf bin, as shown, fixing with PVA glue and 45mm screws, drilling pilot holes first.
 Step eight
Attach the remaining square frame to the top of the leaf bin, as shown, fixing with PVA glue and 45mm screws, drilling pilot holes first.
 Step nine
Measure, mark and cut a large (approximately 500mm diameter) circle out of the remaining square of plywood – the circle should be inset approximately 20mm at the front and side edges and approximately 30mm from the back edge.
 Step ten
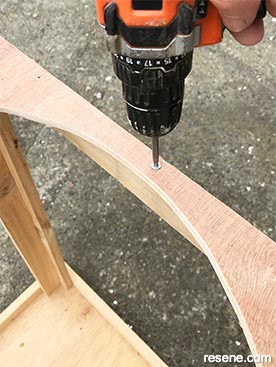
Attach this piece of plywood into position on top of the leaf bin, fixing with PVA glue and 45mm screws, drilling pilot holes first.
 Step eleven
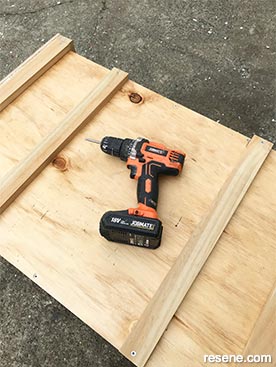
Fix the two remaining 510mm timber lengths horizontally to the back of the leaf bin, as shown. These should be approximately 180mm and 570mm up from the bottom edge. Once again, fix with PVA glue and 45mm screws, drilling pilot holes first.
 Step twelve (a)
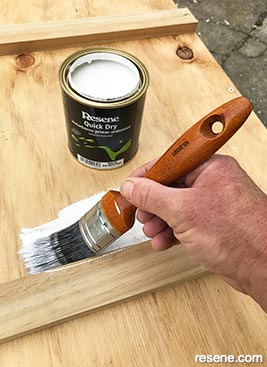
Apply one coat of Resene Quick Dry to the entire timber and plywood structure and allow to dry.
 Step twelve (b)
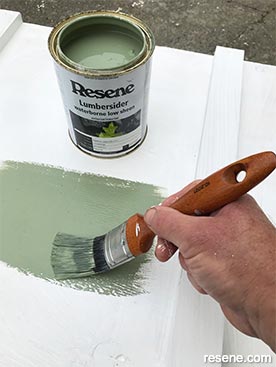
Apply two coats of Resene Lumbersider tinted to Resene Paddock to the entire structure, allowing two hours for each coat to dry.
 Step thirteen
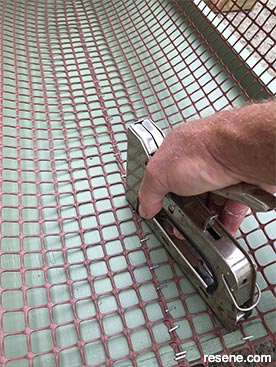
Measure, mark and cut the plastic trellis to form a central ‘tube’ fitting through the circular cut out, and fix down the join (to the plywood backing) using a staple gun fitted with 10mm staples. Fix the trellis to the edge of the circular cut out in the same way.
 Step fourteen
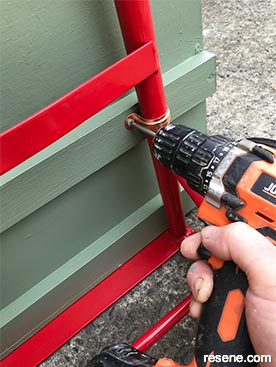
Attach the hand truck to the back of the structure, as shown, using four 25mm copper saddles and 20mm screws.
 Step fifteen
![]() Get inspired ! Subscribe
Get inspired ! Subscribe ![]() Get saving ! Apply for a DIY card
Get saving ! Apply for a DIY card
![]()
Can't find what you're looking for? Ask us!
Company profile | Terms | Privacy policy | Quality and environmental policy | Health and safety policy
Colours shown on this website are a representation only. Please refer to the actual paint or product sample. Resene colour charts, testpots and samples are available for ordering online. See measurements/conversions for more details on how electronic colour values are achieved.
What's new | Specifiers | Painters | DIYers | Artists | Kids | Sitemap | Home | TOP ⇧

