Use timber and concrete mortar mix to make a statement piece for your favourite plant.
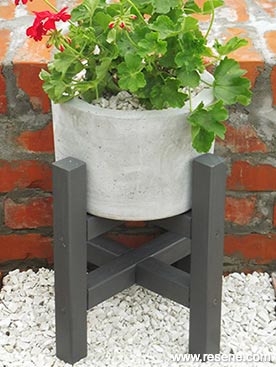
To get the look: Mark painted the background wall with Resene Lumbersider tinted to Resene Pipi.
Don't forget: If you have to cut the 13-litre bucket off to free the concrete planter, remember that the plastic is recyclable.
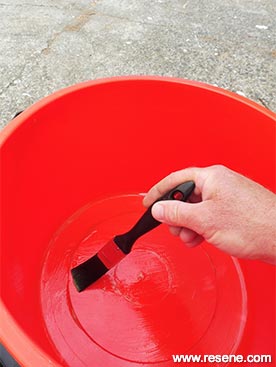 Step one
Coat the interior of the 13-litre bucket and the exterior of the 9.6-litre bucket with a generous amount of detergent and allow to dry.
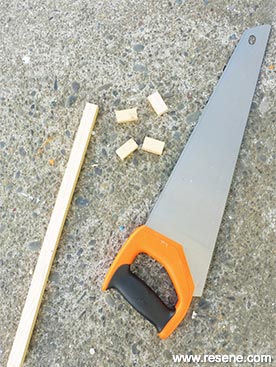 Step two
Cut four 30mm pieces from the 15mm x 15mm timber.
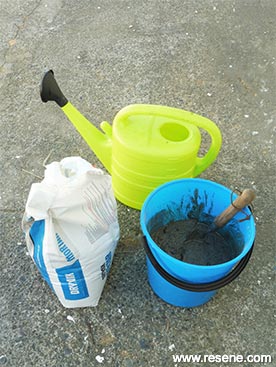 Step three
Place some mortar mix into the old bucket and mix with water to a fairly wet consistency.
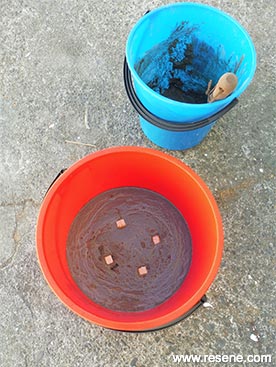 Step four
Carefully place a 30mm thick layer of wet mortar in the bottom of the 13-litre bucket and press the 30mm pieces of timber into the bottom, as shown.
 Step five
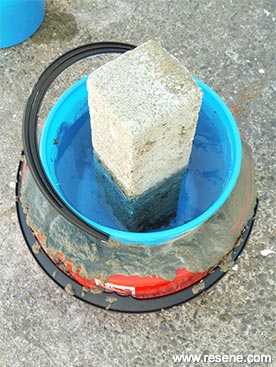
Place the 9.6-litre bucket in the centre of the 13-litre bucket. Put the concrete block in the centre of this and then fill the central bucket with water. Mix up some more wet mortar mix and carefully pour this in the gap between the two buckets, as shown. Gently tap the outer sides of the larger bucket to help the mortar settle.
 Step six
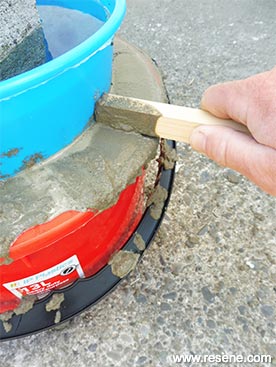
Using an offcut of 15mm x 15mm timber, carefully smooth the top edge of the mortar, as shown. Allow the mortar to dry overnight.
 Step seven
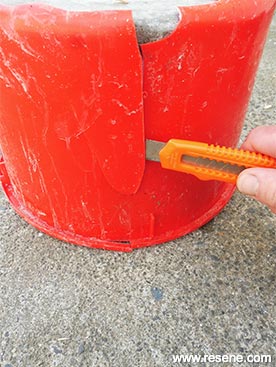
Pour water over the dried mortar and moulds – the central bucket should come out easily. If the outer bucket is a bit tighter, carefully cut it away with a craft knife. Rinse the concrete pot with water to wash off any remaining detergent and allow to dry thoroughly
 Step eight
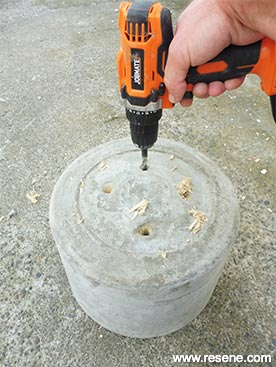
Turn the concrete pot upside down and drill 10mm drainage holes through the pieces of timber in the bottom.
 Step nine
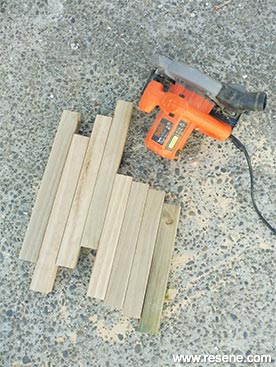
Measure, mark and cut four 400mm lengths and four 310mm lengths of 50mm x 50mm timber, smoothing any rough edges with sandpaper.
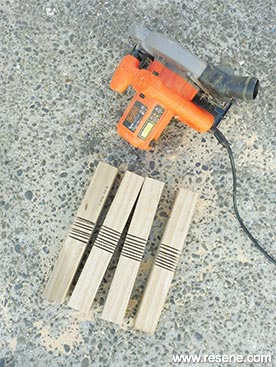 Step ten
Set the depth of the saw blade to half the actual thickness of the timber (approx 225mm) and make a series of cuts through the centre of the four 310mm pieces of 50mm x 50mm timber, as shown.
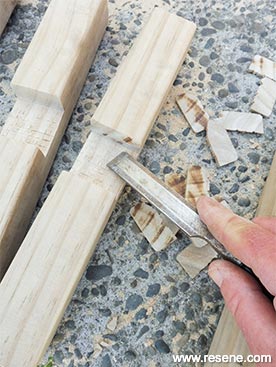 Step eleven
Carefully remove these thin cuts with a chisel and smooth any rough areas of the cut away sections using sandpaper.
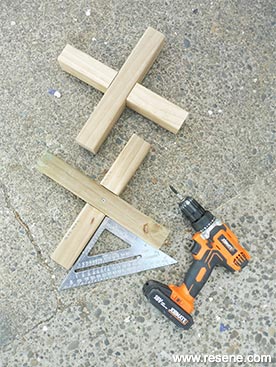 Step twelve
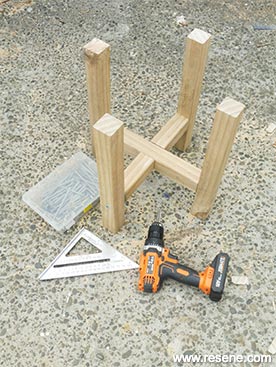
Place these four pieces of timber together to form two crosses, as shown, ensuring joints are at 90 degrees using the set square. Fix together with PVA glue and 40mm screws, drilling pilot holes first. Allow the glue to dry.
 Step thirteen
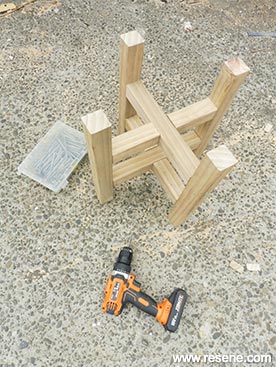
Attach the four 400mm lengths of timber to the first cross to form the legs of the planter – the cross should be 95mm up from the ground. Fix with PVA glue and 100mm screws, drilling pilot holes first. Again use the set square to ensure joints are at 90 degrees.
 Step fourteen
In the same way, attach the second cross to the legs (this should be 115mm from the top of each leg), fixing with PVA glue and 100mm screws, drilling pilot holes first. Again use the set square to ensure joints are at 90 degrees. Allow the glue to dry.
 Step fifteen
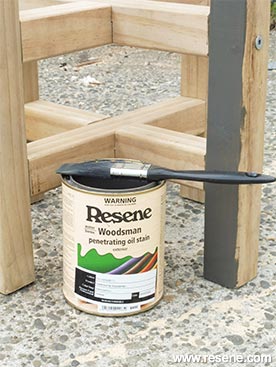
Apply two coats of Resene Waterborne Woodsman tinted to Resene Tiri to the planter stand, allowing two hours for each coat to dry. Place the concrete pot on top of the stand, ensuring the drainage holes are clear of the underside supports.
 Plant pot and stand