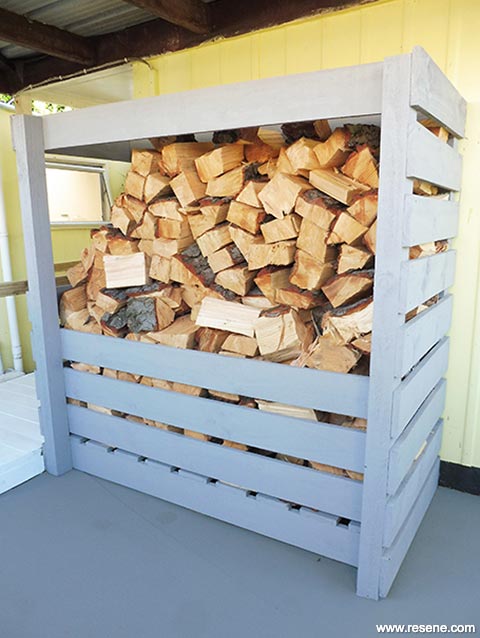
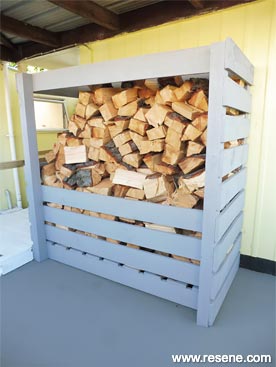
Wood storage unit
Get ready for the colder months with this easy-to build storage unit for cut firewood.
You will need
Timber:
- 4 x 100mm x 75mm x 1800mm fence posts
- Treated fence palings precut to the following lengths:
- 15 x 1800mm
- 15 x 900mm
- 7 x 800mm
- 2 x 700mm
- Small offcuts of 50mm timber for spacers
Top tip: If you don’t want an access window in the side of your unit you will need three more lengths of 900mm timber.
To get the look: Mark painted the concrete with Resene Non-Skid Deck & Path tinted to Resene Traffic.
Here's another idea: Our unit was built under a carport, but if yours is more exposed you may want to include a roof and doors – these can also be made from treated fence palings.
How to build a wood storage unit
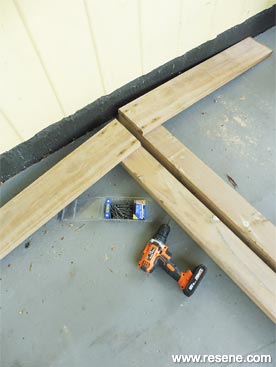 Step one
Attach two of the 900mm lengths of timber perpendicular to the base of two of the fence posts, as shown, fixing with 65mm screws. Use a set square to ensure they are at right angles.
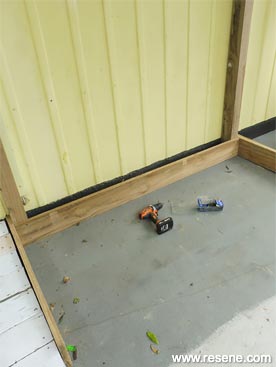 Step two
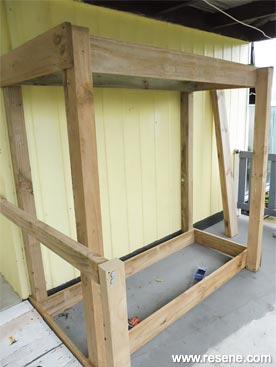
Stand the two fence posts upright and attach an 1800mm length of timber along the base, as shown, fixing with 65mm screws.
 Step three
Similarly, span an 1800mm length of timber between the tops of the upright fence posts and fix with 65mm screws.
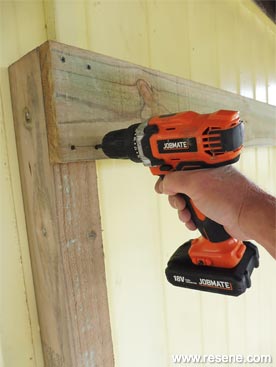
 Step four
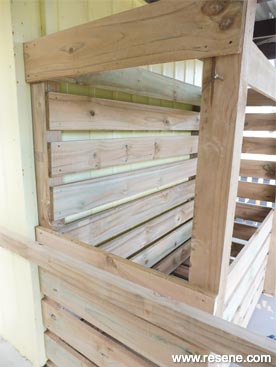
Attach the other two fence posts into an upright position, as shown, fixing two more 900mm lengths of timber (along the top edges of each side) and two 1800mm lengths of timber (along the top and bottom edges of the front). Fix with 65mm screws.
 Step five
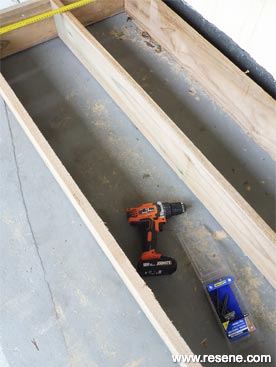
Attach another 1800mm length of timber running along the centre of the base, as shown, fixing with 65mm screws.
 Step six
Attach the 800mm lengths of timber into place to form the floor of the wood storage unit, using the offcuts of 50mm timber as spacers. Position the two 700mm lengths at either end to fit between the fence posts. Once again, fix with 65mm screws.
 Step seven
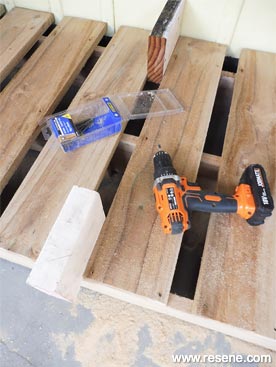
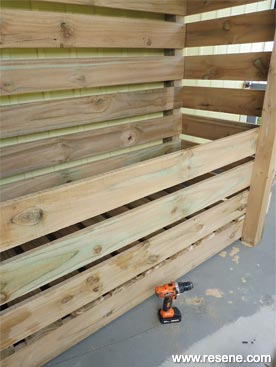
Using 65mm screws, attach seven 1800mm lengths of timber into position to form the back of the unit – again, use the 50mm offcuts of wood as spacers. Similarly, fix seven of the 900mm lengths of timber into position to form the right-hand-side wall.
 Step eight
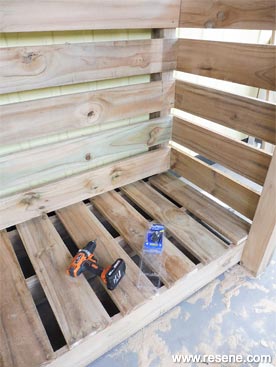
Using 65mm screws, attach the remaining three 1800mm lengths of timber into position to form the front of the unit – again, use the 50mm off cuts of wood as spacers.
 Step nine
Using 65mm screws, attach the remaining four 900mm lengths of timber into position to form the left-hand wall of the unit – this leaves a side-access window, as shown.
 Step ten
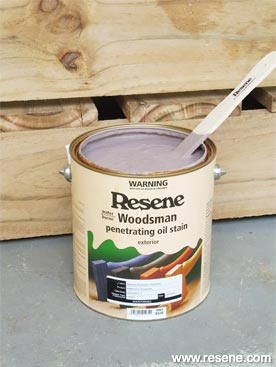
Carefully stir the Resene Waterborne Woodsman tinted to Resene Bleached Riverstone.
 Step eleven
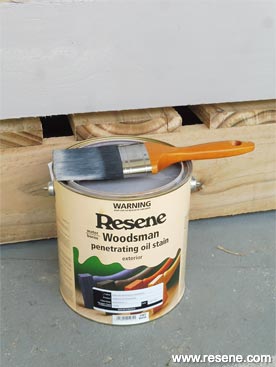
Apply two coats of Resene Waterborne Woodsman tinted to Resene Bleached Riverstone to the storage unit, allowing two hours for each coat to dry.
 Wood storage unit