Topsy turvy tower
Add a touch of whimsy to your garden with these colourful pots that will keep the kids guessing.
You will need
- 1 x 27cm terracotta pot with drainage hole
- 4 x 21cm terracotta pots with drainage holes (or similar)
- Sandpaper (if using old pots)
- Damp cloth
- Resene Terracotta Sealer
- Resene testpots
- Paintbrushes
- 1.5m support post (or 30–50cm longer than height of all your pots combined)
- Hammer/mallet
- 40-litre potting mix
- Herbs or flowers of your choice
- Gloves
Our colours: Resene Sunbaked, Resene Soulful, Resene Hot August, Resene Half Hairy Heath, Resene Olive Green, Resene Tiara, Resene Half Blanc.
Handy hint: The support post should be able to fit through the drainage holes in the pots and be strong enough to hold the weight of the pots.
Another idea: Strawberries would do great in these pots and kids will love picking the fruit every time they walk past their creation.
How to make a topsy turvy tower planter
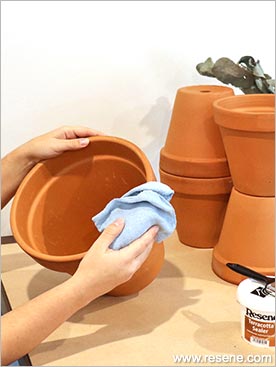
Step one
Sand down any rough spots on your pots and make they are all dry and clean before sealing.
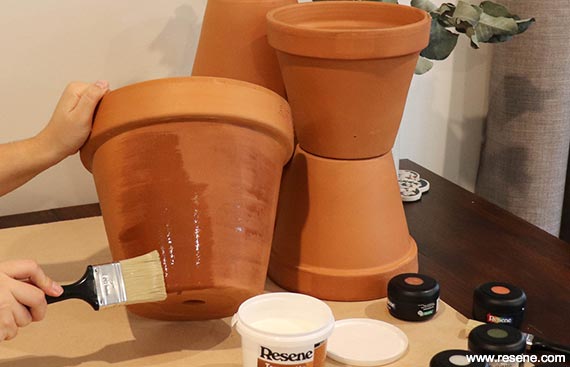
Step two
Because terracotta is a porous material, water can escape more easily and the soil can dry out quickly. To keep the liquid in, we seal the pots first. Apply
one coat of Resene Terracotta Sealer to the inside and outside of the terracotta pot and allow to dry. This will provide a long- term water beading effect to deter water penetration.
Step three
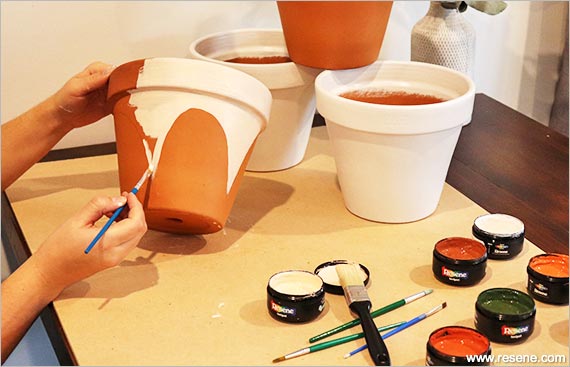
Time to add colour! Apply your chosen colours to all five pots, allowing to dry between coats.
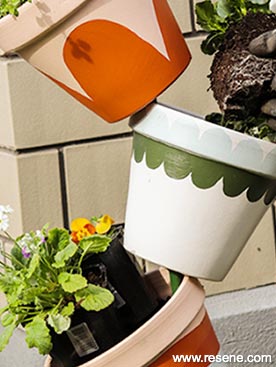
Painting ideas: Get creative with your paints and try an ombre effect, animal faces, metallic paints, or use tape to block out patterns.
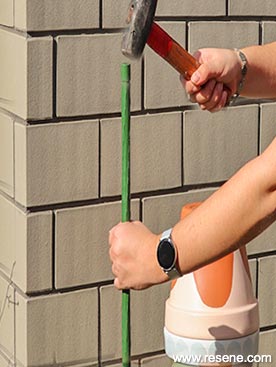 Step four
Once all of your pots have dried choose the spot you would like to build your planter and hammer the support pole into the ground. You want to make sure you have a good amount in the ground so your pots don’t tip over but still leave enough height to be able to stack all five pots. I stacked my pots next to me to get a rough idea of the height needed.
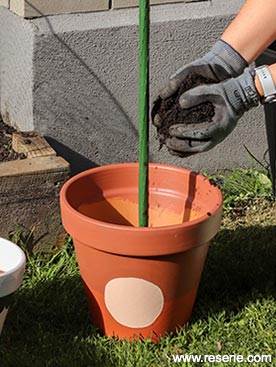 Step five
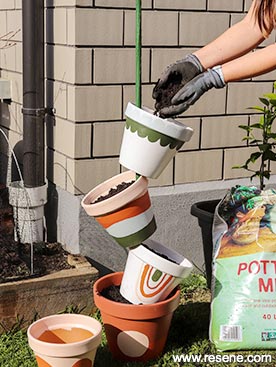
Place your largest pot over the support pole and fill with potting mix. Don’t fill right to the top to allow room for planting and watering.
 Step six
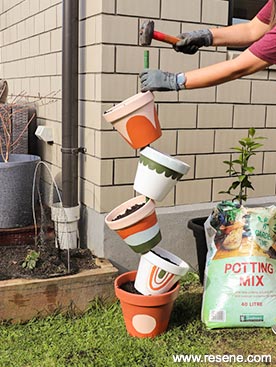
Do the same with your second pot, this time tilting it so that it rests on the edge of the base pot. Fill with soil and repeat with remaining pots, making sure to alternate the direction of the tilt to create the effect.
 Step seven
If your support pole is sticking up past the top of your last pot hammer it down until it is hidden. Be careful not to hit your pot!
 Step eight
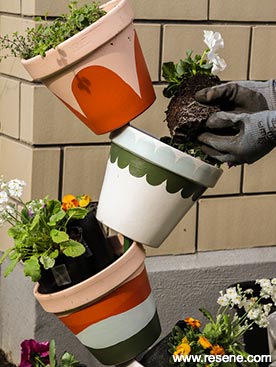
Get planting! You may find it useful to position all your plants before planting to work out what will go where.
 Step nine
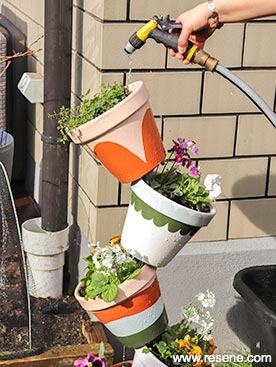
Wipe any dirt off your pots and water your new plants well.


 Step four
 Step five
  Step six
  Step seven
 Step eight
 Step nine