Close Give Feedback
Resene Paints - home page
Facebook Pinterest Instagram YouTube

Movable planter for climbing crops

Now that summer’s on the way, create this nifty upright planter on wheels for your favourite climbing crops.

Moveable planter for your climbing plants

As seen in kiwigardener

You will need: 20mm x 40mm treated timber (approx. 3.2m), 25mm x 25mm treated timber (approx. 1m), 280mm x 20mm treated timber (approx. 2.5m), 19mm treated plywood, 20mm exterior screws, 40mm galvanised nails, drill with 10mm drill bit, exterior pva glue, four castors suitable for outdoor use, hammer, galvanised square wire netting (actual width 920mm), paint stirrer, pencil, Resene Waterborne Woodsman tinted to Resene Kwila, sandpaper, saw, screwdriver, staple gun with stainless steel staples, tape measure and tin snips.

The benefits of wheels: Having a planter on wheels is great for moving plants around a deck or patio so they get maximum (or minimum) sun, and tender plants could be wheeled into a conservatory over the winter months.

To get the look: Mark stained the low raised bed behind with Resene Waterborne Woodsman tinted to Resene Grey Green.

Handy hint: Mulching the planter as we did (with red bark chips) will help to retain moisture in the soil and deter weed growth.
Step 1 Step one
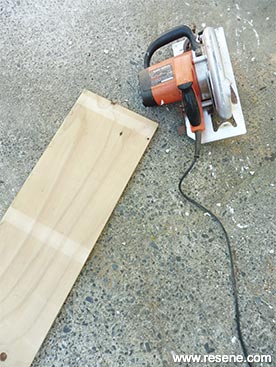
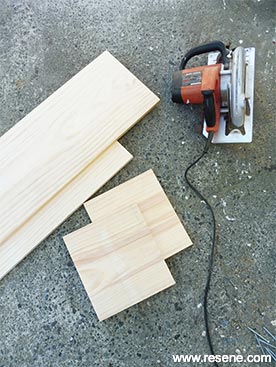
Measure, mark and cut the 280mm x 20mm timber into two lengths measuring 925mm and two lengths measuring 250mm. Smooth any rough edges with sandpaper.
Step 2 Step two
Measure, mark and cut the plywood into a piece measuring 250mm x 885mm. Smooth any rough edges with sandpaper.
Step 3 Step three
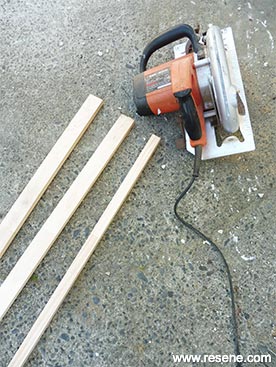
Measure, mark and cut the 25mm x 25mm timber into a length measuring 925mm and the 20mm x 40mm timber into two lengths measuring 1600mm. Smooth any rough edges with sandpaper.
Step 4 Step four
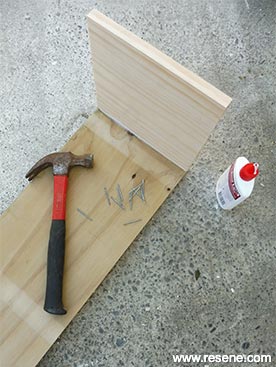
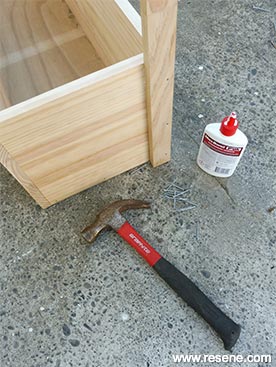
Attach the two shorter lengths of 280mm x 20mm timber to the opposite ends of the plywood, as shown, fixing with PVA glue and 40mm nails.
Step 5 Step five
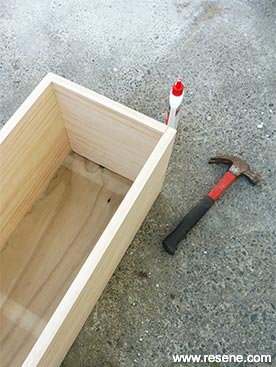
Attach the two longer lengths of 280mm x 20mm timber into position, as shown, fixing with PVA glue and 40mm nails.
Step 6 Step six
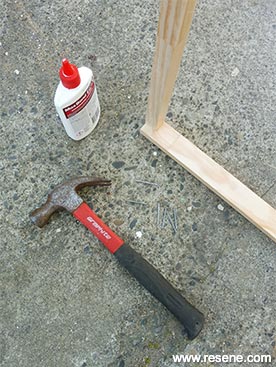
Attach the two lengths of 20mm x 40mm timber to either side of the back of the planter base to form the upright sides of the frame. Fix these with PVA glue and 40mm nails.
Step 7 Step seven
Attach the length of 25mm x 25mm timber between the two uprights to form the top of the frame, fixing with PVA glue and 40mm nails. Allow glue to dry.
Step 8 Step eight
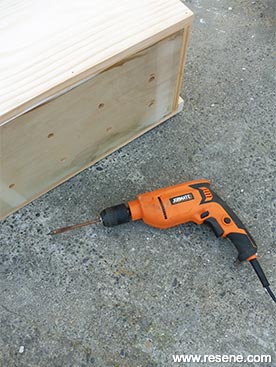
Drill drainage holes in the base of the planter spaced approx. 100mm to 150mm apart.
Step 9 Step nine
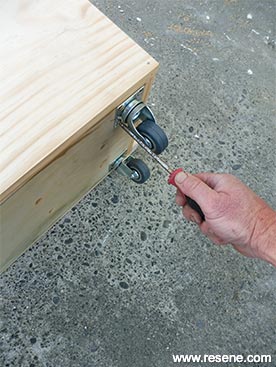
Fix the castors to the base of the planter using 20mm exterior screws.
Step 10 Step ten
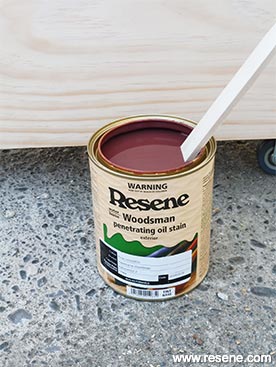
Carefully stir the Resene Waterborne Woodsman tinted to Resene Kwila.
Step 11 Step eleven
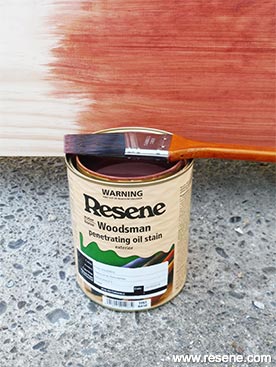
Apply two coats of Resene Waterborne Woodsman tinted to Resene Kwila to the entire planter and frame, allowing two hours for each coat to dry.
Step 12 Step twelve
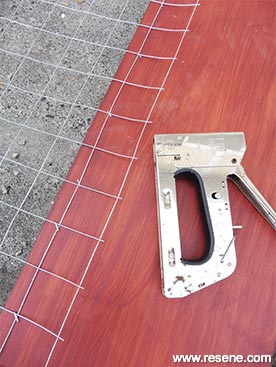
Cut the galvanised wire netting to a length measuring 1380mm and fix to the back of the frame along the top and bottom edge using staples, as shown.

To finish off: Fill the planter with good-quality potting mix and plant up with your favourite climbing crops and/or flowers – we chose runner beans and marigolds.

Here's another idea: Plant up with an evergreen climber and use this planter on wheels as a movable screen around an entertainment or sitting area.

Words and photos by Mark Rayner

Download a PDF of this project

View more projects


Order online now:
Testpots | Paints | Primers and Sealers | Stains | Clears | Accessories

Get inspired Get inspired ! Subscribe      Get saving Get saving ! Apply for a DIY card

Resene Paints Ltd

Can't find what you're looking for? Ask us!

Resene Paints Ltd   – www.resene.com

Follow us on Facebook Follow us on Pinterest Follow us on Instagram Follow us on YouTube
Videos on how to paint and stain your house
 

Welcome to our World of Colour!™
Colours shown on this website are a representation only. Please refer to the actual paint or product sample. Resene colour charts, testpots and samples are available for ordering online.   See measurements/conversions for more details on how electronic colour values are achieved.

What's new | Specifiers | Painters | DIYers | Artists | Kids | Sitemap | Home | TOP ⇧