Birdbath
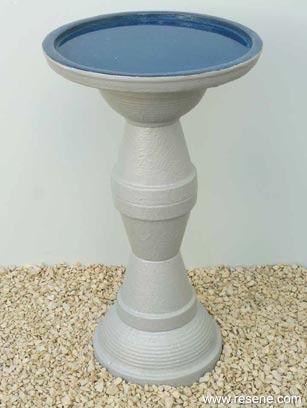
It’s easy to turn a few terracotta pots into a stylish birdbath following our simple step-by-step guide.
You will need:
- 3 x 17cm terracotta pots
- 23cm ribbed terracotta bowl
- 27cm ribbed terracotta bowl
- 38cm glazed pot saucer
- Bucket
- Builders’ mortar mix
- Clean cloths
- Clean water and duct tape
- Exterior construction glue
- Paintbrush and paint stirrer
- Piece of flat board
Top tip: As the birdbath base is fairly heavy, never pick it up by the top; instead, handle it from the base only. It’s safest to move it into its final position using a sack barrow (under the flat board), sliding it off onto firm ground. Alternatively, you may wish to consider constructing it in situ.
Handy hint: When positioning your birdbath, use a spirit level across the top to ensure it’s perfectly level.
To get the look: Mark painted the background wall with Resene AquaShield tinted to Resene Hawkes Blue.

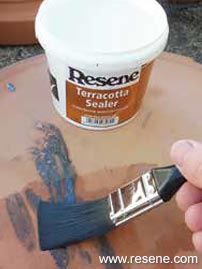 Step one
Carefully stir the Resene Terracotta Sealer and apply one coat to all surfaces of the terracotta pots and to the unglazed base of the pot saucer. Allow to dry.
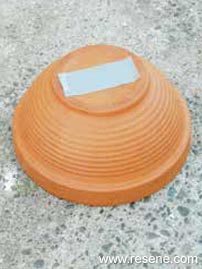 Step two
Place a piece of duct tape over the drainage hole of the 27cm ribbed terracotta bowl.
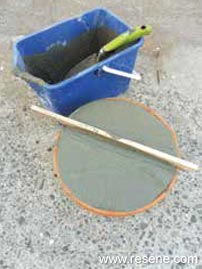 Step three
Mix up some builders’ mortar mix into a fairly wet consistency and fill the 27cm ribbed terracotta bowl, as shown, smoothing the surface with the small flat piece of wood. Allow to dry, preferably overnight.
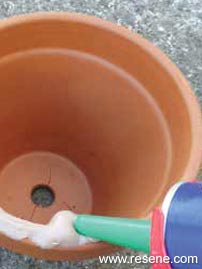 Step four
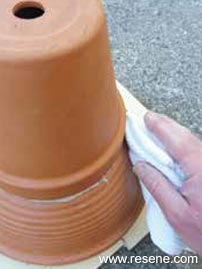
Stand the mortar-filled bowl upside down on a small flat piece of board and apply a generous amount of construction glue to the rim of one of the 17cm terracotta pots.
 Step five
Place the 17cm terracotta pot upside down on the mortar- filled bowl, pushing down firmly. Wipe off any excess glue with a clean cloth.
 Step six
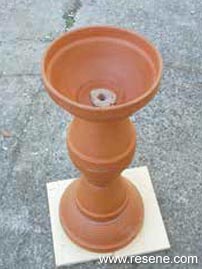
Repeat step four, gluing and stacking the two other 17cm terracotta pots, finishing off with the 23cm ribbed terracotta bowl, as shown.
 Step seven
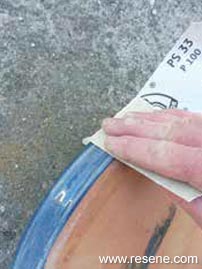
Sand the edge of the glazed pot saucer to ‘key’ the surface and wipe off any sanding residue with a clean cloth.
 Step eight
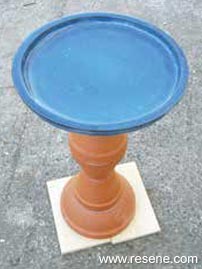
Glue the 38cm glazed pot saucer on top of the other glued and stacked terracotta pots, ensuring it’s centred and level. Allow glue to dry overnight.
 Step nine
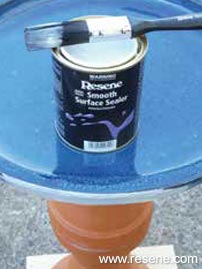
Carefully stir the Resene Smooth Surface Sealer and apply one coat to the sanded edge of the glazed pot saucer. Allow to dry.
 Step ten
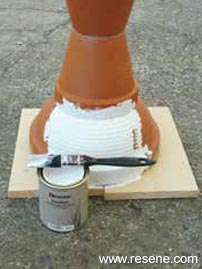
Carefully stir the Resene Sandtex Mediterranean Effect and apply one coat to the edge and underside of the glazed pot saucer and base of the birdbath. Use a ‘dabbing’ effect to create texture and allow to dry.
 Step eleven
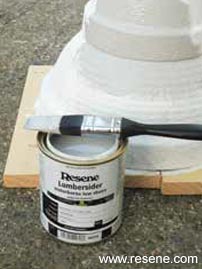
Carefully stir the Resene Lumbersider tinted to Resene Half Stack and apply one coat to the edge and underside of the glazed pot saucer and base of the birdbath. Allow to dry.
 Step twelve
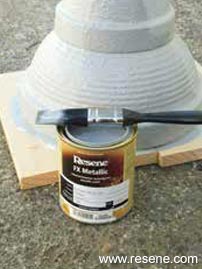
Carefully stir the Resene FX Metallic tinted to Resene Silver Steel and apply two coats to the edge and underside of the glazed pot saucer and base of the birdbath, allowing two hours for each coat to dry.
 Step one
  Step two
  Step three
  Step four
 Step five
  Step six
  Step seven
  Step eight
  Step nine
 Step ten
 Step eleven
 Step twelve