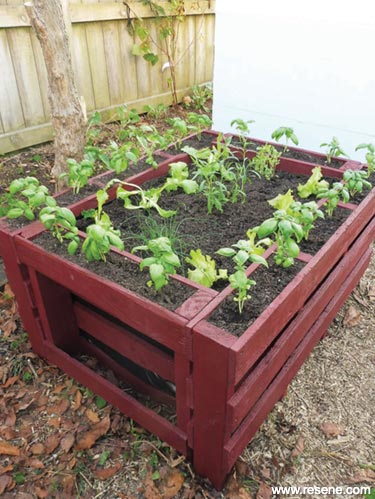
Pallet planter
Old pallets are the ideal building blocks for a smart, upcycled raised planter.
You will need:
- 50mm galvanised nails
- 100mm galvanised nails
- Black polythene
- Bucket
- Clean water
- Craft knife or scissors
- Drill with 10mm drill bit
- Good quality potting mix
- Resene Waterborne Woodsman tinted to Resene Japanese Maple
- Rubber gloves
- Sandpaper
- Saw
- Staple gun
- Stiff-bristled brush
Top tip: When positioning your pallet planter, use a spirit level to ensure it’s level.
To get the look: Mark painted the background shed wall with Resene Lumbersider tinted to Resene Mystic.
Handy hints: The black plastic lining will help to contain the potting mix as well as retain moisture, but if you intend to grow drought- tolerant plants, such as succulents, youscould use weed mat instead.

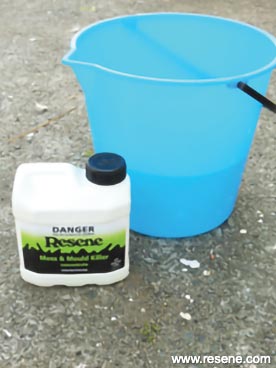 Step one
Mix one part Resene Moss & Mould Killer to five parts clean water.
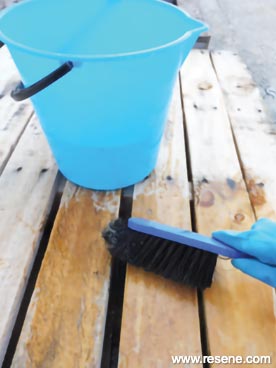 Step two
Brush the solution onto the wooden pallets and leave for 48 hours.
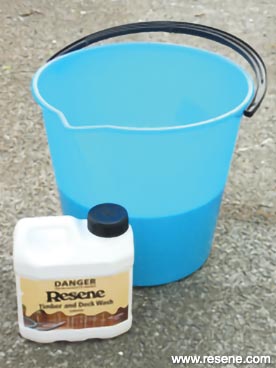 Step three
Mix one part Resene Timber and Deck Wash to three parts clean water.
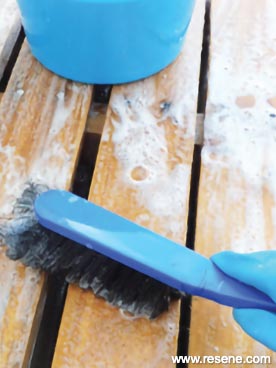 Step four
Scrub the solution onto the wooden pallets and rinse off with clean water. Allow to dry.
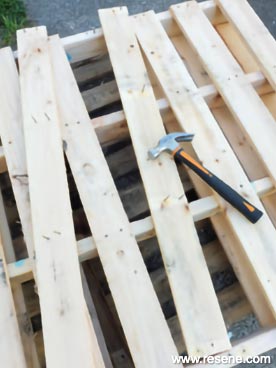 Step five
Remove central slats of wood from both pallets to enable them to be cut in half easily.
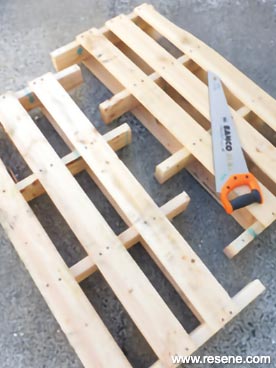 Step six
Cut one of the pallets in half, as shown, and smooth any rough edges with sandpaper.
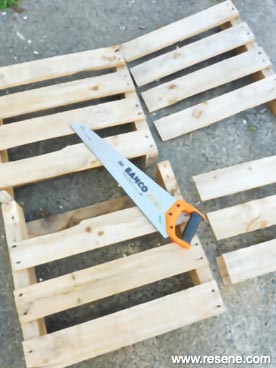 Step seven
Cut the other pallet in half and then into quarters – discard the sections without wooden supports down each side (the pieces on the right in the picture).
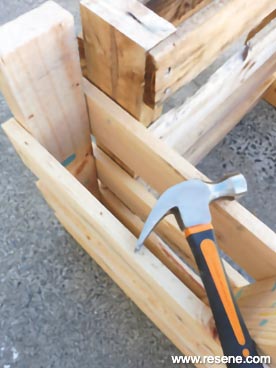 Step eight
Stand the four pieces of pallet on a flat surface to form a rectangular ‘box’. hold the pieces into position with 50mm nails.
 Step nine
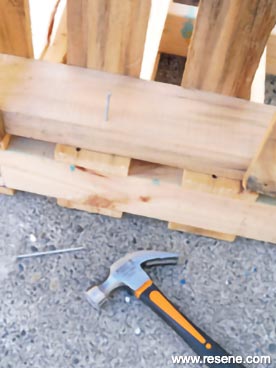
Carefully turn the planter onto one side and fix pallets securely together with 100mm nails down each corner. turn over and repeat to fix the other sides together.
 Step ten
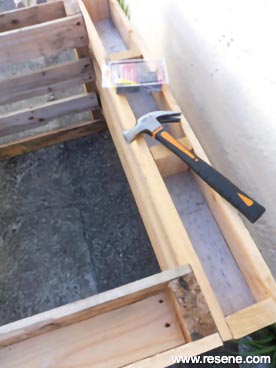
Turn the pallet planter the right way up and measure, mark and cut sections of wood from the discarded pieces of pallet to create bases in the edge sections of the planter, as shown. Fix from the sides with 50mm nails.
 Step eleven
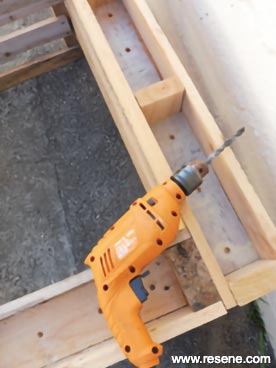
Drill 10mm drainage holes in these sections.
 Step twelve
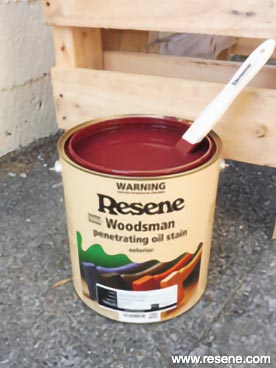
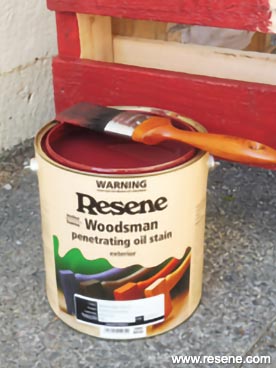
Carefully stir the Resene Woodsman tinted to Resene Japanese Maple.
 Step thirteen
Apply two coats of Resene Woodsman tinted to Resene Japanese Maple to the entire planter, allowing two hours for each coat to dry.
 Step fourteen
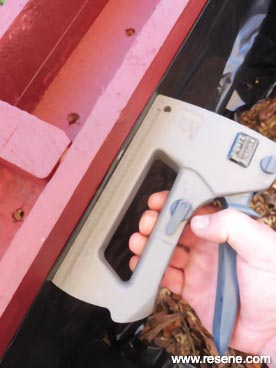
Place the planter into position and measure, mark and cut a piece of black polythene to line the sides. Fix into position with staples.
 Step fifteen
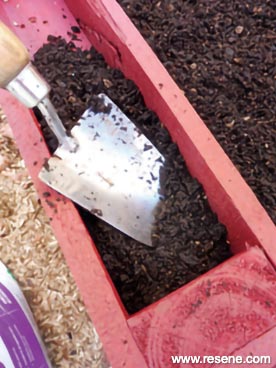
Fill the main body of the planter and the edge boxes with good- quality potting mix.
 Step sixteen
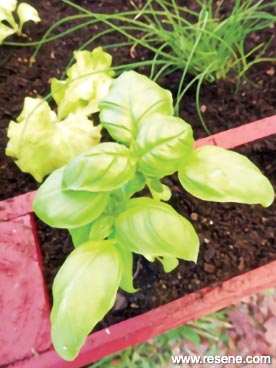
Plant up with a selection of herbs and salad vegetables and water well.
 Step one
  Step two
  Step three
  Step four
 Step five
  Step six
  Step seven
  Step eight
  Step nine
 Step ten
 Step eleven
 Step twelve
 Step thirteen
 Step fourteen
 Step fifteen
  Step sixteen