Close Give Feedback
Resene Paints - home page
Facebook Pinterest Instagram YouTube

Rack it up

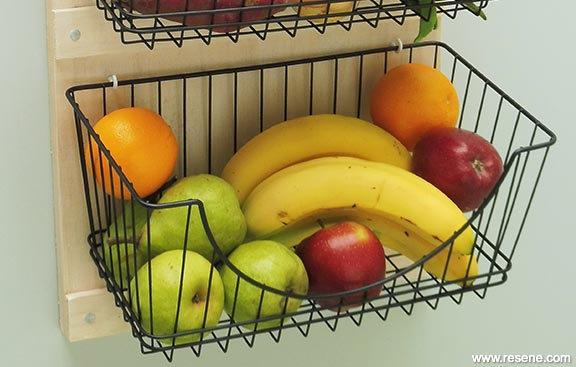
A space-saving produce rack made from wire baskets and untreated timber is great for storing your garden bounty.
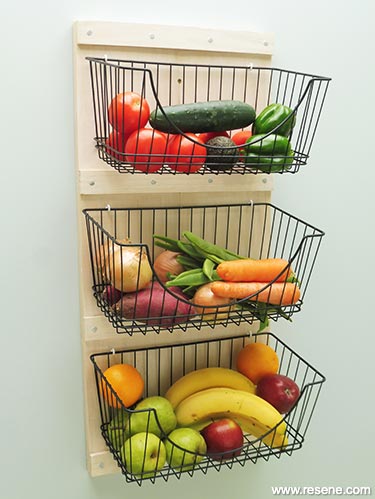
Fruit and vegetable storage bins

You will need:

  • Untreated pine measuring 185mm x 20mm – approx 1600mm
  • Untreated pine measuring 40mm x 10mm – approx 1480mm
  • 6 x 15mm white plastic coated cup hooks
  • 19mm galvanised clouts
  • 3 x black wire baskets – ours measured 360mm (w) x 160mm (h) x 200mm (d)
  • Dry brush
  • Hammer
  • Paint stirrer
  • Paintbrush
  • Pencil
  • Pliers
  • PVA glue

Top tip: Use four 65mm screws to fix your produce rack to the wall, screwing directly through the wooden backing board.

Here’s another idea: Create a more rustic look by using old wooden boxes instead of baskets.

To get the look: Mark painted the background wall with Resene SpaceCote Low Sheen Kitchen & Bathroom, tinted to Resene Duck Egg Blue.

Get a different look: Stain the wooden backing board with any colour from the Resene Colorwood range before applying the Resene Aquaclear.
As seen in kiwigardener

Step 1 Step one
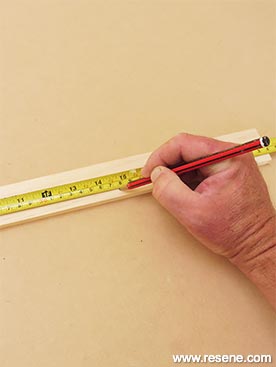
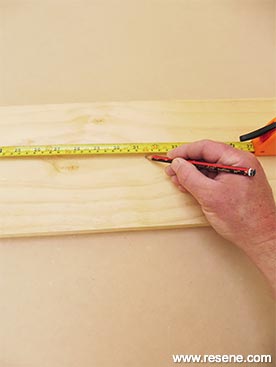
Measure and mark the 185mm x 20mm timber into two 800mm lengths.
Step 2 Step two
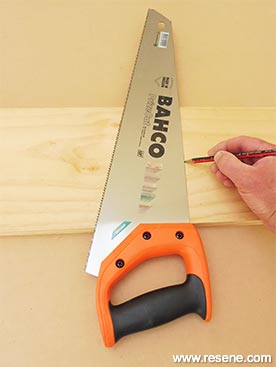
Use the back of the saw to rule a perpendicular cutting line.
Step 3 Step three
Measure and mark the 40mm x 10mm timber into four 370mm lengths.
Step 4 Step four
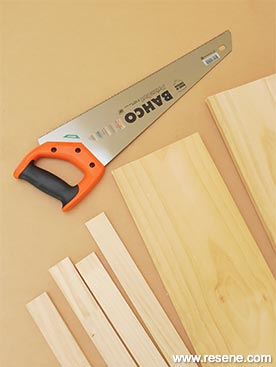
Cut the pieces of timber to size and smooth any rough edges with sandpaper.
Step 5 Step five
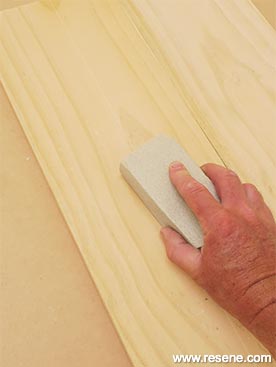
Sand all the pieces of timber until they are smooth, dusting off any sanding residue with a dry brush.
Step 6 Step six
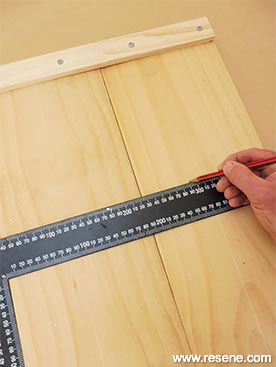
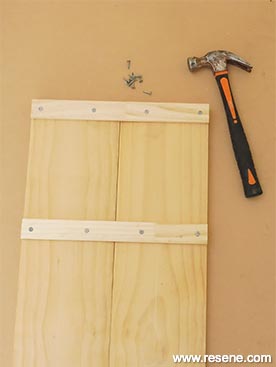
Place the two 800mm lengths of timber together and fix one of the 370mm lengths across the top edge using 19mm clouts and PVA glue and then, using a set square, rule a horizontal line approx. 213mm down from this. Use this line as a guide to fix the second 370mm length into position.
Step 7 Step seven
Continue in the same way until all four 370mm lengths are fixed in position. Allow glue to dry.
Step 8 Step eight
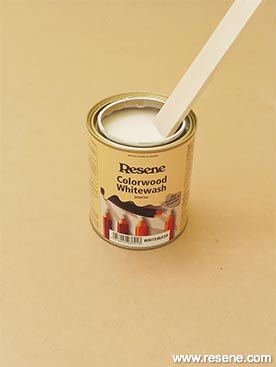
Carefully stir the Resene Colorwood Whitewash.
Step 9 Step nine
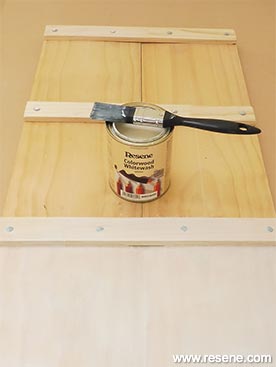
Apply one even coat of Resene Colorwood Whitewash to the wooden backing board, brushing in the direction of the grain. Allow to dry
Step 10 Step ten
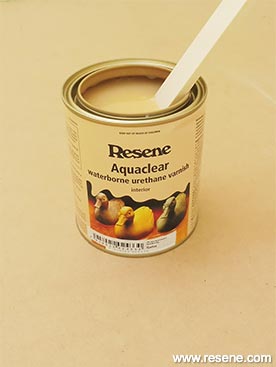
Carefully stir the Resene Aquaclear.
Step 11 Step eleven
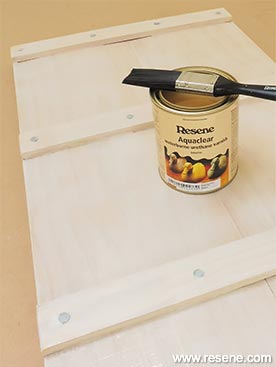
Apply three coats of Resene Aquaclear to the wooden backing board, allowing two hours for each coat to dry.
Step 12 Step twelve
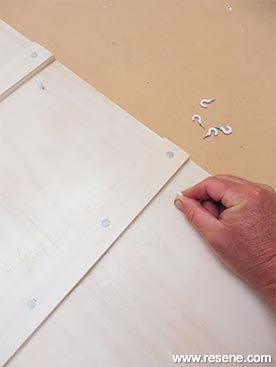
Screw in the 15mm cup hooks approx. 20mm below the horizontal pieces of timber and 50mm in from each side edge.
Detail of vege bin
Step 13
 
Step thirteen
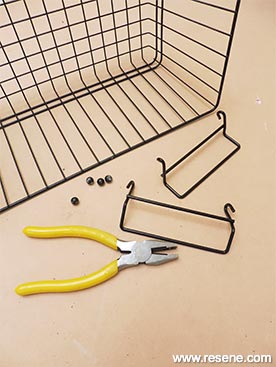
Carefully remove the feet and handles from each basket using the pliers, and then hang the baskets from the cup hooks.

Words and photos by Mark Rayner

Download a PDF of this project

View more projects


Order online now:
Testpots | Paints | Primers and Sealers | Stains | Clears | Accessories

Get inspired Get inspired ! Subscribe      Get saving Get saving ! Apply for a DIY card

Resene Paints Ltd

Can't find what you're looking for? Ask us!

Resene Paints Ltd   – www.resene.com

Follow us on Facebook Follow us on Pinterest Follow us on Instagram Follow us on YouTube
Videos on how to paint and stain your house
 

Welcome to our World of Colour!™
Colours shown on this website are a representation only. Please refer to the actual paint or product sample. Resene colour charts, testpots and samples are available for ordering online.   See measurements/conversions for more details on how electronic colour values are achieved.

What's new | Specifiers | Painters | DIYers | Artists | Kids | Sitemap | Home | TOP ⇧