Storage planter
What’s better than a new planter box? One that serves as a place to stash plant pots or tuck a hose out of sight too.
You will need: 18mm treated plywood, 25mm x 25mm treated timber (approximately 2.4m), 25mm x 50mm treated timber (approximately 2.8m), 40mm exterior screws, 50mm galvanised flat head nails, 100mm x 25mm decking timber (approximately 16m), drill with drill bits, exterior hinges with screws, paint stirrer, paintbrush, pencil, Resene Waterborne Woodsman tinted to Resene Kwila, sandpaper, saw, screwdriver, set square, tape measure.
Top tip: Use a set square to ensure the corners of the planter are at right angles.
To get the look: Mark painted the background wall with Resene AquaShield tinted to Resene Half Dutch White.
Handy hint: Before assembling the door, lay the planter on its back and place the pieces of wood into position to ensure the door will fit neatly.

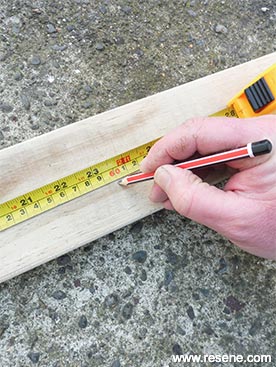 Step one
Measure and mark pieces of decking to the following sizes: 600mm (x 20), 450mm (x 6), 270mm (x 2), and 180mm (x 2).
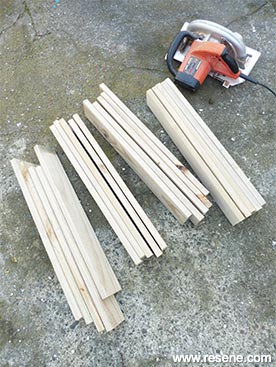 Step two
Cut the decking to the sizes listed in step one and smooth any rough edges with sandpaper.
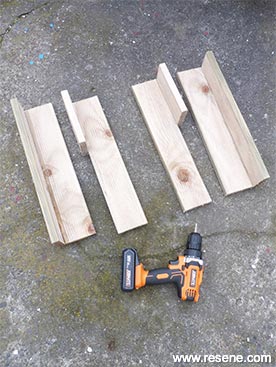 Step three
Attach four of the 450mm pieces at right angles, to form the back legs, and, in the same way, attach the two remaining lengths of 450mm and the two 180mm pieces to form the front legs, as shown. Use 40mm screws to fix, drilling pilot holes first.
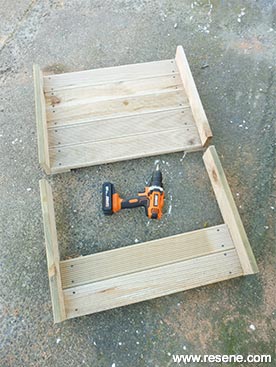 Step four
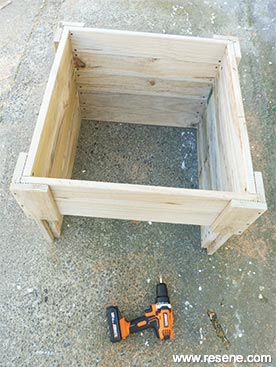
Attach five 600mm lengths of decking to the two back legs and two 600m lengths of decking to the two front legs, as shown. Again, fix with 40mm screws, drilling pilot holes first.
 Step five
Attach five 600mm lengths of decking to form the left side of the planter and five 600mm lengths of decking to form the right side of the planter, as shown. Again, fix with 40mm screws, drilling pilot holes first.
 Step six
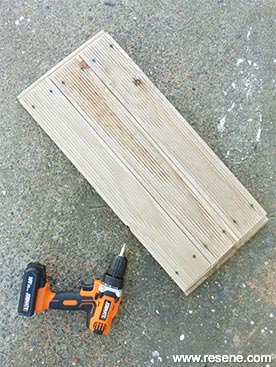
Attach the remaining lengths of decking together, as shown, to form the door. Again, fix with 40mm screws, drilling pilot holes first.
 Step seven
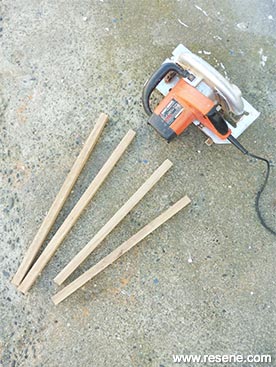
Measure, mark and cut four pieces of 25mm x 25mm to fit around the inner edge of the planter – these will support the plywood base.
 Step eight
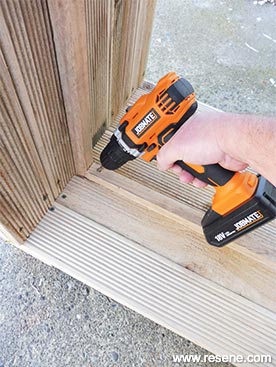
Fix these into position approximately 180mm down from the top edge of the planter.
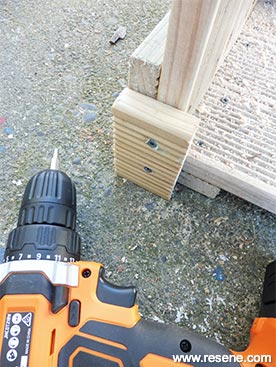 Step nine
Cut four small pieces of decking and screw into position to form the feet of the planter, as shown.
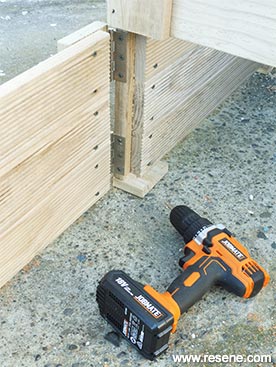 Step ten
Fix the door into position with hinges and screws.
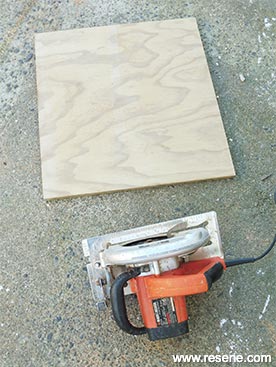 Step eleven
Measure, mark and cut a piece of plywood to fit inside the planter to form the base.
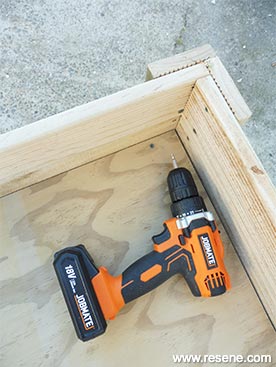 Step twelve
Fix this into position with 40mm screws.
 Step thirteen
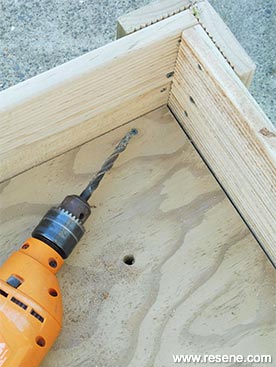
Drill 10mm drainage holes in the base of the planter.
 Step fourteen
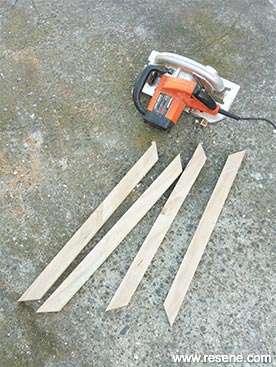
Measure, mark and cut four pieces of 25mm x 50mm timber to fit around the top edge of the planter. For a neater finish, mitre the corners at 45 degrees.
 Step fifteen
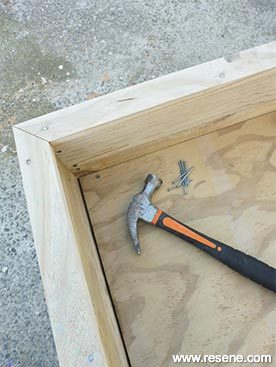
Fix these into position with 50mm nails.
 Step seventeen
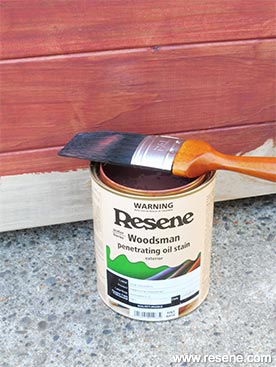
Apply two coats of Resene Waterborne Woodsman tinted to Resene Kwila to the planter, ensuring the first coat is completely dry before applying the second.
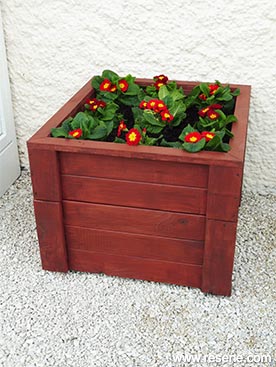 Final product
With the door closed, this handy storage unit looks like a regular planter.
 Step one
  Step two
  Step three
  Step four
 Step five
  Step six
  Step seven
  Step eight
  Step nine
 Step ten
 Step eleven
 Step twelve
 Step thirteen
 Step fourteen
 Step fifteen
 Step seventeen
 Final product