Use landscaping timber to create a stylish raised bed that’s perfect for adding instant extra height when planting a smaller tree.
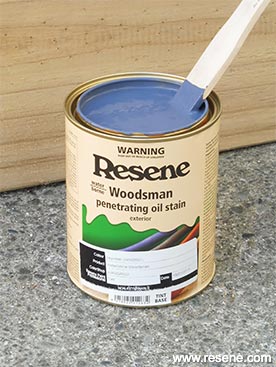
You will need: 50mm galvanised nails, 100mm galvanised nails, drill with 3mm drill bit, exterior construction glue, hammer, paintbrush, paint stirrer, pencil, Resene Waterborne Woodsman tinted to Resene Skywater, sandpaper, saw, set square, square fence capping (approx. 3.2m), tape measure, tongue and groove landscaping timber (approx. 6.4m).
To get the look: Mark painted the background shed wall with Resene Lumbersider tinted to Resene Blue Moon.
Here's another idea: A raised bed such as this is a great way to add instant height to a small tree – consider other beauties such as Japanese maples, crab apples and Mop Top Robinias.
To finish off: Fill the raised bed with good quality topsoil or potting mix and plant up with a small tree – we chose a 'Vlassoff' fig.
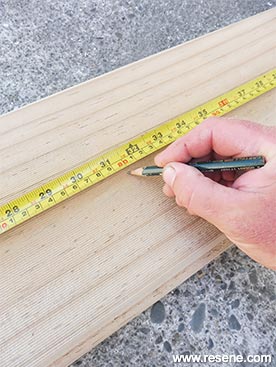 Step one
 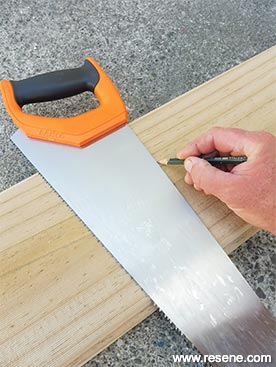 Step two
 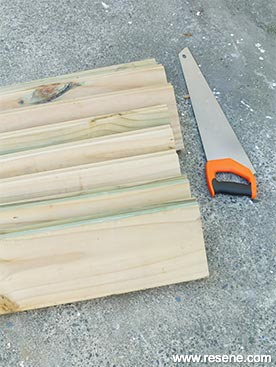 Step three
 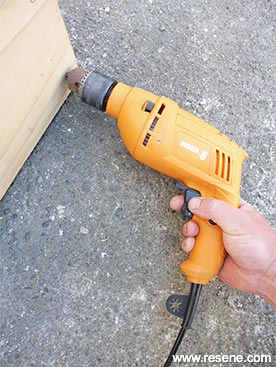 Step four
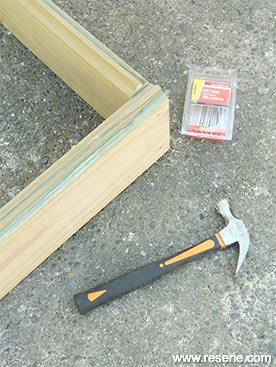 Step five
 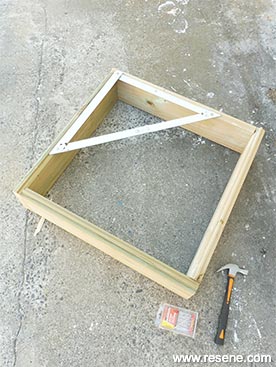 Step six
 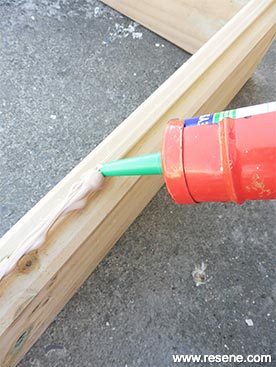 Step seven
 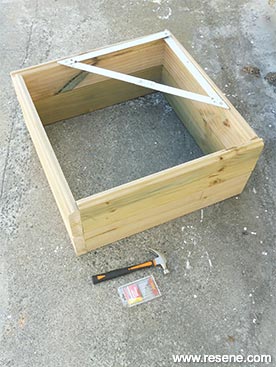 Step eight
 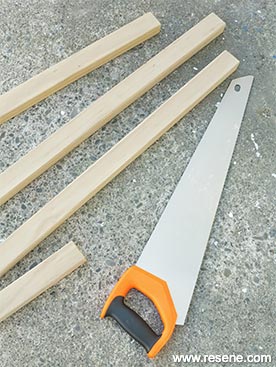 Step nine
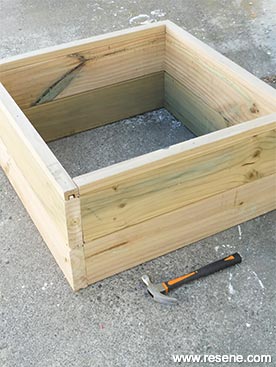 Step ten
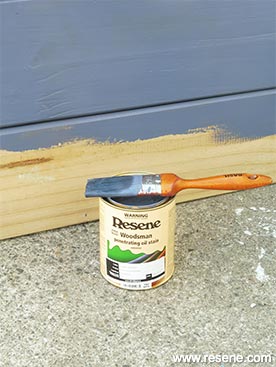 Step twelve
Order online now:
Testpots |
Paints |
Primers and Sealers |
Stains |
Clears |
Accessories
![]() Get inspired ! Subscribe
Get inspired ! Subscribe ![]() Get saving ! Apply for a DIY card
Get saving ! Apply for a DIY card
Can't find what you're looking for? Ask us!
Company profile | Terms | Privacy policy | Quality and environmental policy | Health and safety policy
Colours shown on this website are a representation only. Please refer to the actual paint or product sample. Resene colour charts, testpots and samples are available for ordering online. See measurements/conversions for more details on how electronic colour values are achieved.
What's new | Specifiers | Painters | DIYers | Artists | Kids | Sitemap | Home | TOP ⇧

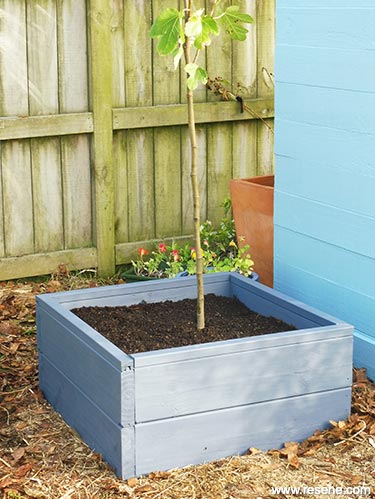
 Step eleven