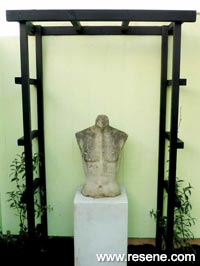
Create this stylish arch to frame a favourite piece of garden art and support two climbing plants – it makes the ideal year-round focal point.
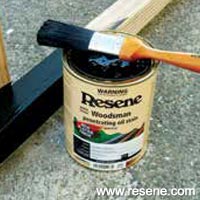
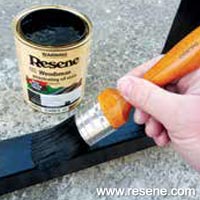
You will need: 50mm x 50mm treated timber (approx. 14m), 50mm x 75mm treated timber (approx. 2.5m), 65mm self-tapping exterior wood screws, chalk or pencil, exterior PVA glue, paintbrush, Resene Waterborne Woodsman tinted to Resene Pitch Black, sandpaper, saw, screwdriver, set square, tape measure.
Top tip: This design could also be modified as a free standing garden arch – just ensure the top corners are braced with pieces of 50mm x 50mm timber at 45° to increase rigidity, and extend the height of the arch to 2.5m to keep climbing plants well above head height.
To get the look: Mark painted the background fence with Resene Lumbersider tinted to Resene Soft Apple.
Handy hint: If you use regular exterior screws instead of self-tapping, you’ll need to drill pilot holes first to prevent wood from splitting.
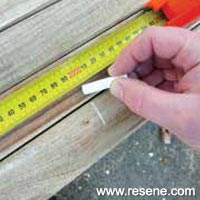 Step one
 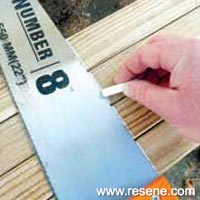 Step two
 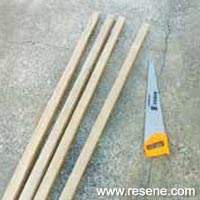 Step three
 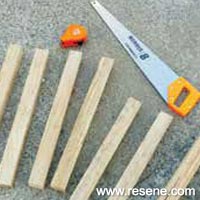 Step four
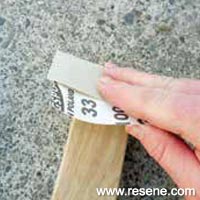 Step five
 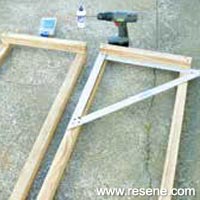 Step six
 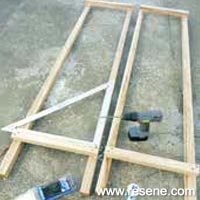 Step seven
 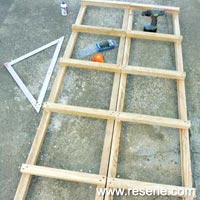 Step eight
 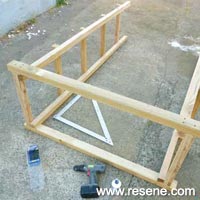 Step nine
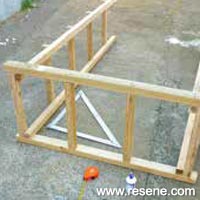 Step ten
To Complete: Fix support frame to a fence using 65mm screws, and plant two climbers either side.
Order online now:
Testpots |
Paints |
Primers and Sealers |
Stains |
Clears |
Accessories
![]() Get inspired ! Subscribe
Get inspired ! Subscribe ![]() Get saving ! Apply for a DIY card
Get saving ! Apply for a DIY card
Can't find what you're looking for? Ask us!
Company profile | Terms | Privacy policy | Quality and environmental policy | Health and safety policy
Colours shown on this website are a representation only. Please refer to the actual paint or product sample. Resene colour charts, testpots and samples are available for ordering online. See measurements/conversions for more details on how electronic colour values are achieved.
What's new | Specifiers | Painters | DIYers | Artists | Kids | Sitemap | Home | TOP ⇧

 Step eleven
 Step twelve