Espalier support frame
Learn how easy it is to create a sturdy wooden support to espalier an existing fruit tree against a wooden shed wall.
You will need: 100mm x 75mm fence posts (x 3), 50mm x 50mm treated timber (we used approx. 12m), 150mm x 1.2m fence paling cut into nine 100mm pieces – these will keep the upright supports clear of the shed wall.
30mm galvanised clouts, 60mm flat-head galvanised nails, 75mm exterior wood screws , 100mm exterior wood screws, Circular saw, Drill with 3mm drill bit, Hammer, Pencil, Ruler or straight edge, Sandpaper, Scissors, Screwdriver Secateurs and/ or loppers, Spirit level, Tape measure, Tree tie webbing Soft twist plant tie, Paintbrush, Paint stirrer, Resene Lumbersider tinted to Resene Soft Apple, Resene Quick Dry.
Top tip: Though an existing tree like this can usually be successfully espaliered, for more control and to achieve the optimum form it may pay to start from scratch with a sapling.
To get the look: The shed wall is also painted with Resene Lumbersider tinted to Resene Soft Apple, and the raised bed is stained with Resene Woodsman tinted to Resene Grey Green.

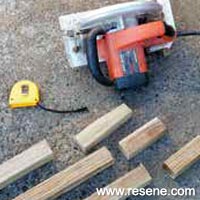 Step one
Measure, mark and cut three lengths of 50mm x 50mm timber to the same width as the shed wall (ours measured 4m each). These will form the three horizontal support beams.
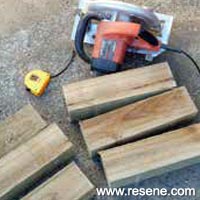 Step two
Measure, mark and cut the three fence posts to the same height as the shed wall (ours measured 2m each). These will form the three vertical support beams. Sand any rough edges.
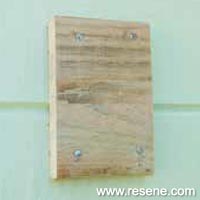 Step three
Attach the nine 100mm pieces of fence paling to the shed wall, fixing with 60mm nails. These should be aligned with where the vertical supports will go (centre of the wall and at either end), positioned at the top, centre, and bottom.
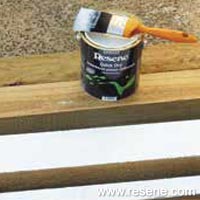 Step five
Apply one coat of
Resene Quick Dry to the six pieces of cut timber and the nine pieces of fence paling (already fixed to the shed wall). Allow two hours to dry.
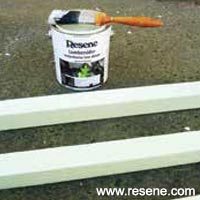 Step seven
Apply two coats of
Resene Soft Apple to the six pieces of cut timber, allowing two hours for each coat to dry.
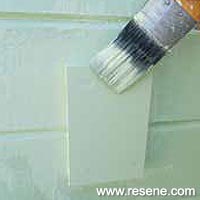 Step eight
Apply two coats of
Resene Soft Apple to the nine pieces of fence paling (already fixed to the shed wall), allowing two hours for each coat to dry.
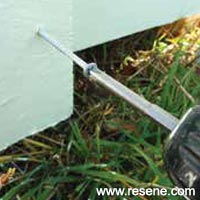 Step nine
Fix the three pieces of fence post into position to form the vertical supports, attaching with 100mm screws (drilling pilot holes first). Use a spirit level to ensure the supports are upright. The central post should align with the trunk of the tree.
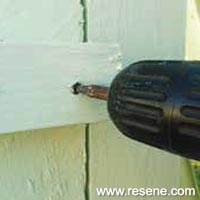 Step ten
Fix the horizontal supports into position with 75mm screws, drilling pilot holes first and using a spirit level to ensure they’re level. The supports should correspond with the branches you’re planning to espalier but should be fairly evenly spaced, dividing the tree into thirds (see main photo).
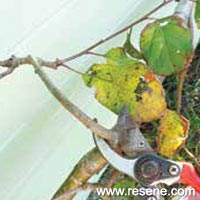 Step eleven
Using sharp secateurs and/or loppers, prune the tree into the desired shape, removing any unwanted branches by cutting them cleanly back to the parent branch or trunk.
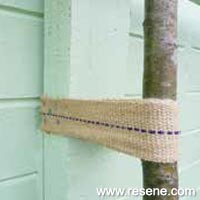 Step twelve
Using tree tie webbing and clouts, attach the centre and top of the trunk to the central upright support, as shown.
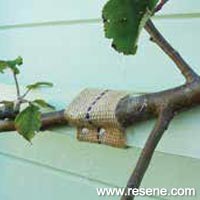 Step thirteen
In the same way, carefully fix the main branches to the horizontal supports, as shown. Tie back any smaller branches using soft twist plant tie.
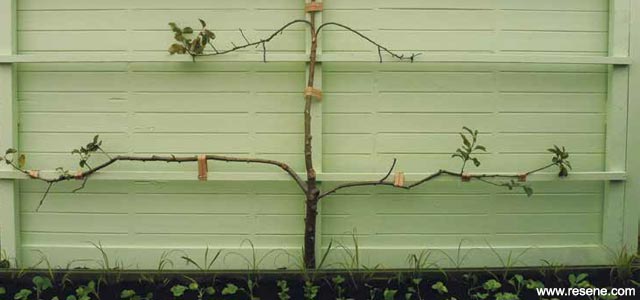 Finished Project
 Step one
  Step two
  Step three
  Step five
  Step seven
  Step eight
  Step nine
 Step ten
 Step eleven
 Step twelve
 Step thirteen
 Finished Project