Chalkboard planter
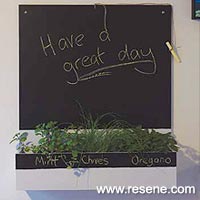
A kitchen asset, this planter will keep your favourite flavours within reach – and provide space for important notes, too.
You will need: 600mm x 1200mm sheet of 9mm MDF, wood glue, 19mm x 1.6 flat head nails, Resene Quick Dry waterborne primer undercoat, Resene testpot in Resene Half Duck Egg Blue, 250ml Resene Blackboard Paint, 400mm length of twine, chalk, 50cm plastic water tray (these are actually 47cm long), 3 x 10cm potted herbs, 240 grit sandpaper, sanding block, hammer, large paintbrush, fine artist’s paintbrush, rag, masking tape, electric drill with 4mm drill bit and screwdriver attachment, saw, 2 x 40mm wood screws or 2 x 40mm screws with plasterboard anchors (optional).
Top tip: To make your blackboard a permanent fixture, use either 40mm long wood screws or 40mm screws with plasterboard anchors to affix to the wall.

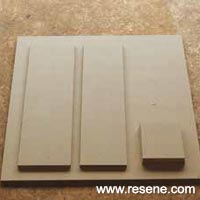 Step one
Cut out rectangles of the following dimensions from the MDF:
- Back: 600mm x 490mm
- Base: 130mm x 490mm
- Front: 115mm x 490mm
- Sides x 2: 130mm x 106mm
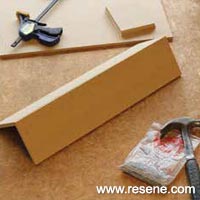 Step two
Glue along one long edge of the base and attach to the front piece. Secure with five evenly spaced nails. Wipe off any excess glue that may have squeezed out.
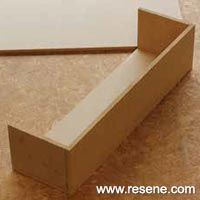 Step three
Glue along two adjoining edges of the side pieces and attach to the front and base as shown. Secure each join with two nails.
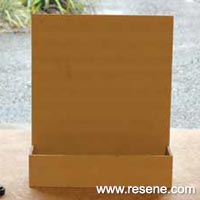 Step four
Glue along back and side edges and attach to the back piece as shown. Secure with nails.
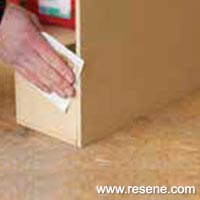 Step five
Lightly sand.
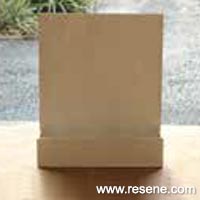 Step seven
Apply one coat of primer to all surfaces, making sure the joins are well sealed with paint. Leave to dry, then lightly sand.
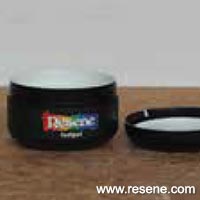 Step eight
Stir the Resene testpot.
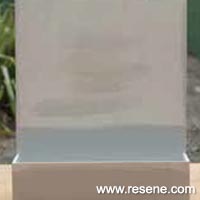 Step nine
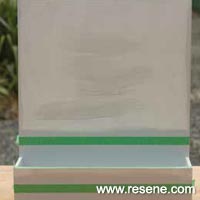
Paint the sides, inside and top edges of the planter box part, bottom two thirds of the front, and 80mm above the top of the planter box on the back board with
Resene Half Duck Egg Blue. Leave to dry, then lightly sand and apply a second coat.
 Step ten
Mask the top edges and sides of the planter box compartment. Mask 70mm up from the bottom along the front. Mask 60mm up from the top of the sides on the back board.
 Step twelve
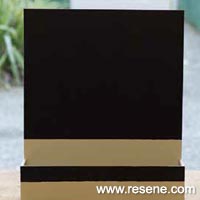
Apply one coat of
Resene Blackboard Paint to the front, back board and side edges above the masking tape. Remove masking tape. Leave to dry then lightly sand. Apply second coat of Resene Blackboard Paint, leaving a small margin along the lower edges unpainted. With a fine paintbrush, carefully paint along the margin, smoothing out any bleeding that may have occurred through the masking tape.
 Step thirteen
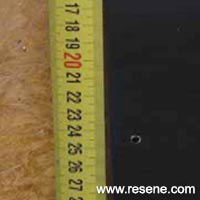
On the backboard, measure along the top edge to identify its centre. Measure 10mm down from the top, and drill a 4mm hole in the centre.
 Step fourteen
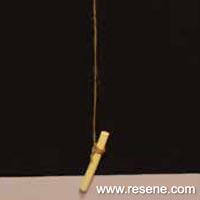
Tie one end of the twine to the chalk and thread the other through the hole, tying a knot to secure the string.
 Step fifteen
Insert the water tray into the planter box, pop in the potted herbs and enjoy.
 Step one
  Step two
  Step three
  Step four
 Step five
  Step seven
  Step eight
  Step nine
 Step ten
 Step twelve
 Step thirteen
 Step fourteen
 Step fifteen