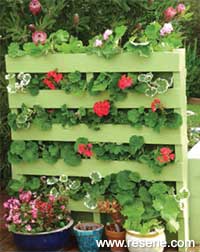
Mark Rayner shows how to turn an old wooden pallet into a nifty space-saving upright planter.
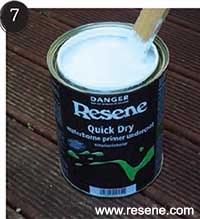
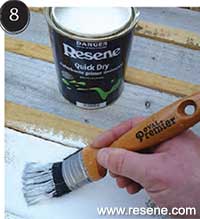
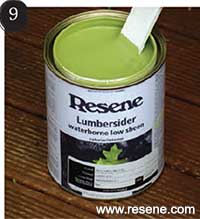
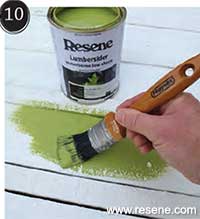
You will need: 50mm galvanised jolt head nails, drill with 15mm drill bit, hammer, offcuts of wood or treated plywood, we used reclaimed fence palings and garden stakes, paintbrush, paint stirrer, pencil, sandpaper, a saw, good quality potting mix and potted colour. Resene Lumbersider tinted to Resene Koru and Resene Quick Dry.
To get the look: Mark painted the wooden raised bed behind the planter with Resene Lumbersider tinted to Resene Soft Apple.
Here’s another colour option: The planter could also be stained with any colour from the Resene Woodsman Penetrating Oil Stain range.
Keep it safe! To prevent the planter from blowing over in strong wind, position it against a wall or fence and fix with nails or exterior screws – we fixed the planter to the wooden raised bed behind.
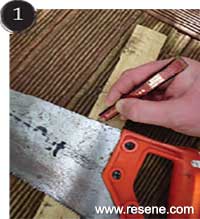
Step 1
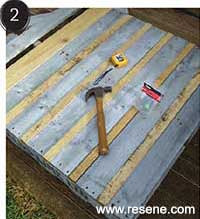
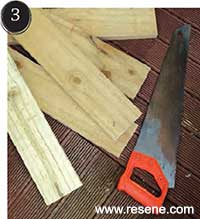
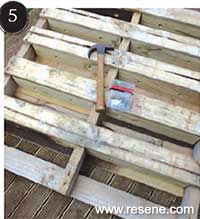
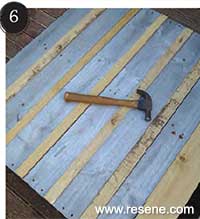
Measure mark and cut pieces of wood to fit any gaps in the back of the pallet. Smooth any rough edges with sandpaper.
Order online now:
Testpots |
Paints |
Primers and Sealers |
Stains |
Clears |
Accessories
![]() Get inspired ! Subscribe
Get inspired ! Subscribe ![]() Get saving ! Apply for a DIY card
Get saving ! Apply for a DIY card
Can't find what you're looking for? Ask us!
Company profile | Terms | Privacy policy | Quality and environmental policy | Health and safety policy
Colours shown on this website are a representation only. Please refer to the actual paint or product sample. Resene colour charts, testpots and samples are available for ordering online. See measurements/conversions for more details on how electronic colour values are achieved.
What's new | Specifiers | Painters | DIYers | Artists | Kids | Sitemap | Home | TOP ⇧

