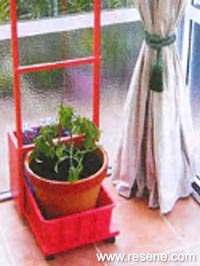
Mark Rayner makes a mobile, self-watering planter. Capillary action draws water from the moist matting, up through the unsealed pot base. This will keep the potting mix moist. Then as your tomato plant grows, you can tie it to the frame.
You will need: 19mm plywood cut to the following dimensions: 400mm x 310mm for the base, 310mm x 310mm for the back, two of 310mm x 150mm for the sides.
20mm x 20mm garden stakes cut as following: - two 1.7m and five 350mm lengths. Large terracotta pot, hammer and 40mm galvanised nails, screwdriver and 40mm screws, drill with drill bits, red vitreous glass mosaic tiles, 3 x plastic water bottles, 400mm x 310mm red plastic storage box, (ours come from Mitre 10 Mega), 4 x small castors, paintbrush and exterior PVA glue. Resene Terracotta Sealer and Resene Quick Dry, Resene Lumbersider tinted to Resene Red Hot. A 400mm x 310mm piece of coconut fibre matting (we used a hanging basket liner), tomato plant and quality potting mix.
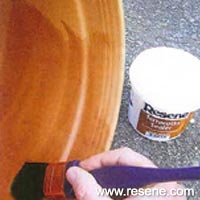 Step one
 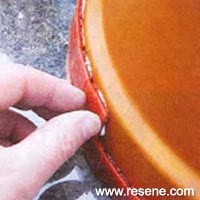 Step two
 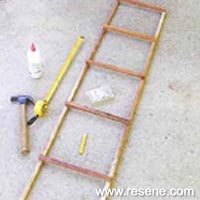 Step three
 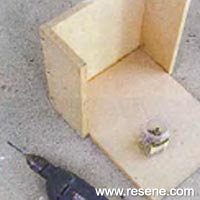 Step four
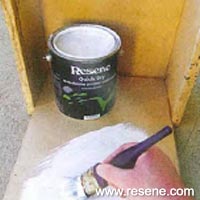 Step five
 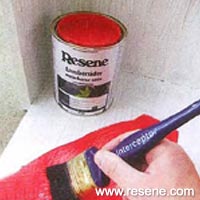 Step six
 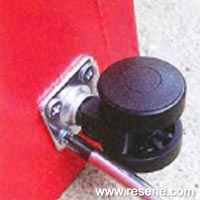 Step seven
 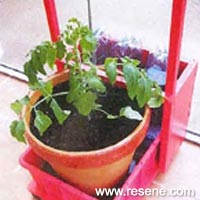 Step eight
 Order online now:
Testpots |
Paints |
Primers and Sealers |
Stains |
Clears |
Accessories
![]() Get inspired ! Subscribe
Get inspired ! Subscribe ![]() Get saving ! Apply for a DIY card
Get saving ! Apply for a DIY card
Can't find what you're looking for? Ask us!
Company profile | Terms | Privacy policy | Quality and environmental policy | Health and safety policy
Colours shown on this website are a representation only. Please refer to the actual paint or product sample. Resene colour charts, testpots and samples are available for ordering online. See measurements/conversions for more details on how electronic colour values are achieved.
What's new | Specifiers | Painters | DIYers | Artists | Kids | Sitemap | Home | TOP ⇧

