DIY project from NZ Gardener magazine
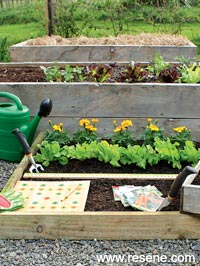
Rose Hughes creates a ruler and a square to perfectly space the crops in a square-metre vege garden!
You will need: 1.8m - 40mm x 10mm pine for seed ruler(s), ply offcut or similar - 330mm x 330mm , 9mm dowel, tape measure / pencil, sandpaper, screwdriver & drill bit - 9mm, straight edge & clamps, paint test pots and brushes, circle template, letraset letters & numbers (optional), varnish.
Cost: $45 excluding paint.
Seedling squares are used in the method of edible gardening known here as square metre gardening, but in the United States as square foot gardening. The square metre gardening method involves planting crops closer together to make better use of smaller spaces.
You can colour-code the holes on the seedling square to represent the right spacing for big, medium and small crops. For large crops like brassicas, grow one plant per square; for mid-sized crops, like lettuce, grow six in each square; and for narrow crops like radishes and carrots, grow 16 plants per square. Using this tool will also help you know if something pops up out of the grid that it is a weed and not a valuable plant!
Don’t follow the square metre gardening method? Make a ruler instead to space your seeds and seedlings perfectly
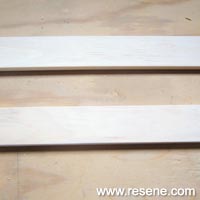 Step one - seed ruler, Cut the ruler to length. I halved the 1.8m length to make 2 rulers. Sand the edges.
 Step two
 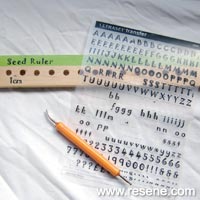 Step three
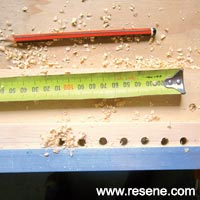
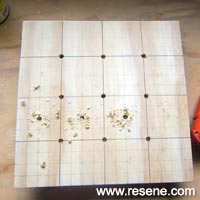
 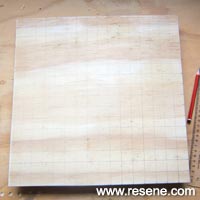 Step four - seed square, Carefully mark the grid onto the ply. There should be 15 lines each way at 20.1mm apart. Mark the centre and quarter lines with a waterproof marker or pen.
 Step five
 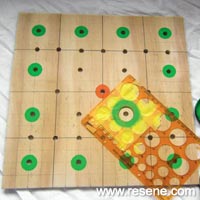 Step six
 ![]() Get inspired ! Subscribe
Get inspired ! Subscribe ![]() Get saving ! Apply for a DIY card
Get saving ! Apply for a DIY card
![]()
Can't find what you're looking for? Ask us!
Company profile | Terms | Privacy policy | Quality and environmental policy | Health and safety policy
Colours shown on this website are a representation only. Please refer to the actual paint or product sample. Resene colour charts, testpots and samples are available for ordering online. See measurements/conversions for more details on how electronic colour values are achieved.
What's new | Specifiers | Painters | DIYers | Artists | Kids | Sitemap | Home | TOP ⇧