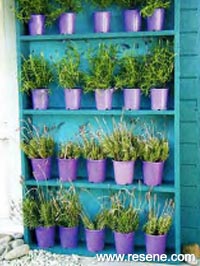
Mark Rayner comes up with a simple, space-saving way of displaying plants. This inexpensive all-weather shelving unit provides the perfect place to grow and show potted plants, cuttings and seedlings.
You will need: 150mm x 25mm rough sawn timber fence palings cut to the following lengths: 7 of 1800mm and 4 of 915mm. 50mm galvanised jolt head nails, exterior PVA glue, hammer, saw, sandpaper, set square, pencil, paintbrush and tape measure. Resene Quick Dry water borne primer undercoat and Resene Lumbersider tinted to Resene Hullabaloo and Resene Retro.
To get the look: Mark also painted the back wall of the shed with Resene Lumbersider tinted to Resene Retro.
Top tip: Although this unit is quite sturdy, it might be advisable in exposed areas to secure it to the background wall with a small, right-angled bracket.
![]()
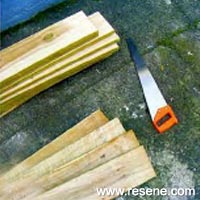 Step one
 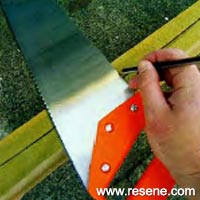 Step two
  Step three
 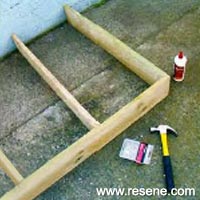 Step four
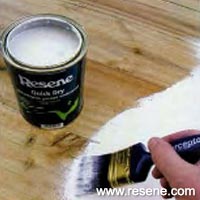
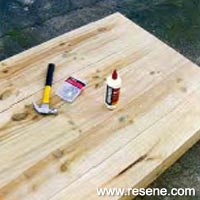 Step five
 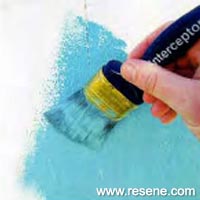 Step seven
 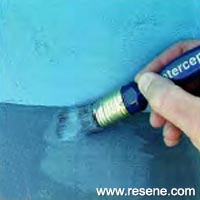 Step eight
 ![]() Get inspired ! Subscribe
Get inspired ! Subscribe ![]() Get saving ! Apply for a DIY card
Get saving ! Apply for a DIY card
![]()
Can't find what you're looking for? Ask us!
Company profile | Terms | Privacy policy | Quality and environmental policy | Health and safety policy
Colours shown on this website are a representation only. Please refer to the actual paint or product sample. Resene colour charts, testpots and samples are available for ordering online. See measurements/conversions for more details on how electronic colour values are achieved.
What's new | Specifiers | Painters | DIYers | Artists | Kids | Sitemap | Home | TOP ⇧
 Step six
