Close Give Feedback
Resene Paints - home page
Facebook Pinterest Instagram YouTube

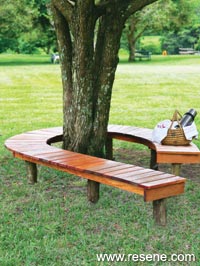
You will need: 56 x hardwood slats (400 x 96 x 22mm), 5 x hardwood slats for the framework and cross-section (2400 x 69 x 22mm), 7 x ground contact treated poles (600mm long; 100-175mm diameter), 1 x tub wood filler, 200 x full thread cut screws (4 x 35mm), 14 x full thread cut screws (4 x 60mm), 1 x bag stone, 1 x bag cement, 1 x bag river sand, 2 litres Resene Waterborne Woodsman Natural, tape measure, jigsaw, putty knife, pencil, cordless drill and drill bits, chalk line powder, spade, sandpaper, paint brush.

Handy hint: To mark the area where the poles fare to be dug, place the bench in place and mark around each pole with chalk line powder, flour or sand. Remove the bench and dig the holes.
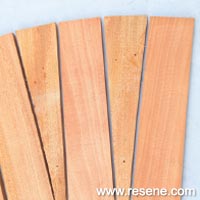
Step 1 Step one
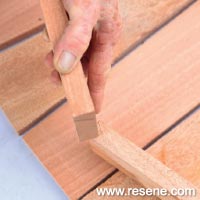
Set out the slats on a flat surface until you get the desired shape. As you go around the curve, every second slat will need to be tapered on both sides to a point approximately 20mm wide. Decide how many slats need to be tapered and cut them to size with a jigsaw. Set them into place.
Step 2 Step two
Cut the framework pieces into metre lengths. Place these cut pieces on top of the slats. These lengths will provide the support for the seating slats. Once laid out along the length of the seating slats, mark and cut the framework pieces to form two continuous lengths, leaving an overhang of approximately 50mm for the seating slats.
Step 3 Step three
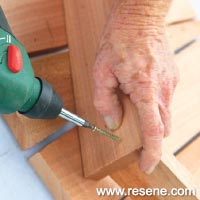
Once cut, join the slats together using 35mm screws.
Step 4 Step four
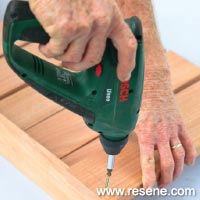
Fix the seating slats to the framework. Ensure that a 5-10mm gap is left between the seating slats.
Step 5 Step five
Using the offcuts of the 2400mm slats, cut two slats (400mm) and place at each end of the framework, allowing an overhang of 50mm. Screw onto the framework. Cut four more slats (300mm) and space them equally within the framework and screw into the framework.
Step 6 Step six
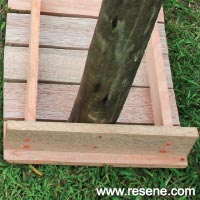
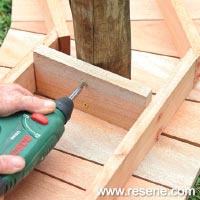
Place a pole next to each cross-section slat and affix the pole to the slat using the 60mm screws.
Step 7 Step seven
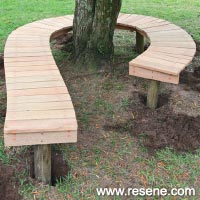
Mark the area for the poles around the tree. Dig holes 200mm deep. Position the bench in the holes and fill them with a mortar mixture using 4 parts of stone, 2 parts of sand and 1 part of cement.
Step 8 Step eight
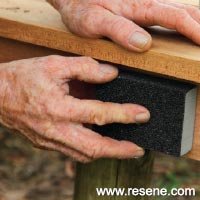
Fill any holes in the bench with filler and sand it to remove any sharp edges.
Step 9 Step nine
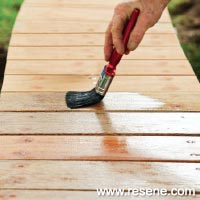
Apply three coats of paint (we used Resene Waterborne Woodsman Natural) to the bench, allowing for drying time between each coat.

View more projects


Order online now:
Testpots | Paints | Primers and Sealers | Stains | Clears | Accessories

Get inspired Get inspired ! Subscribe      Get saving Get saving ! Apply for a DIY card

Resene Paints Ltd

Can't find what you're looking for? Ask us!

Resene Paints Ltd   – www.resene.com

Follow us on Facebook Follow us on Pinterest Follow us on Instagram Follow us on YouTube
Videos on how to paint and stain your house
 

Welcome to our World of Colour!™
Colours shown on this website are a representation only. Please refer to the actual paint or product sample. Resene colour charts, testpots and samples are available for ordering online.   See measurements/conversions for more details on how electronic colour values are achieved.

What's new | Specifiers | Painters | DIYers | Artists | Kids | Sitemap | Home | TOP ⇧