Close Give Feedback
Resene Paints - home page
Follow us on Facebook Follow us on Pinterest Follow us on Instagram Follow us on YouTube

Work bench

Interior: Turn an old wooden door into an attractive work bench with a little bit of help from Resene.
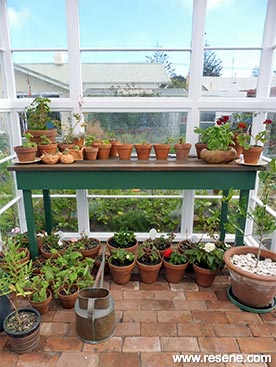
How to recycle a wooden door to create a new work bench

Ways with wood with Mark Rayner - Project 95

Difficulty level:  Moderate

To get the look:  Mark painted the background woodwork with Resene Lustacryl tinted to Resene Quarter Alabaster.

Other ideas:  For a clean white effect paint the bench base with Resene Lustacryl tinted to Resene Black White and use Resene Colorwood Whitewash on the benchtop.
You will need

  • 65mm nails
  • 65mm screws
  • 50mm x 50mm timber (approx 3.6m)
  • Clamp
  • Fence palings cut to the following lengths:
    • 1800mm (x2)
    • 500mm (x4)
  • Clean cloths
  • Drill with 3.5mm drill bit
  • Hammer
  • Karen Walker Chalk Colour – Vintage Wax
  • Old wooden door measuring 1900mm x 600mm
  • Paintbrush
  • Pencil

How to make a work bench

Step 1 Step one
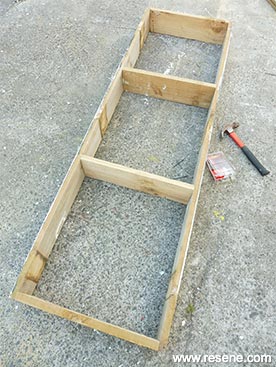
Assemble the pieces of fence paling to form the underside base of the bench, as shown, fixing with 65mm nails.
Step 2 Step two
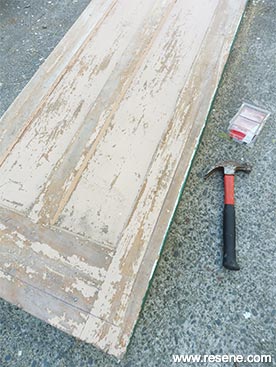
Attach the wooden door to the underside base, fixing with 65mm nails.
Step 3 Step three
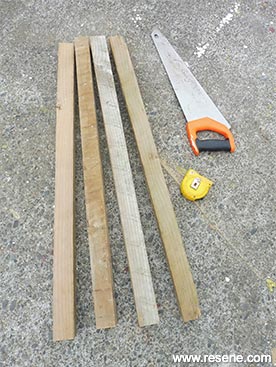
Measure, mark and cut the 50mm x 50mm timber into four 900mm lengths to form the bench legs. Smooth any rough edges with sandpaper.
Step 4 Step four
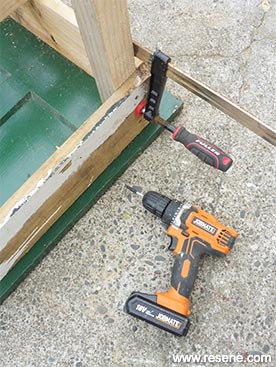
Place one of the bench legs in position and hold with a clamp, checking that it’s square in both directions using a set square. Fix to the bench base with 65mm screws, drilling pilot holes first. Repeat with the other three legs.
Step 5 Step five
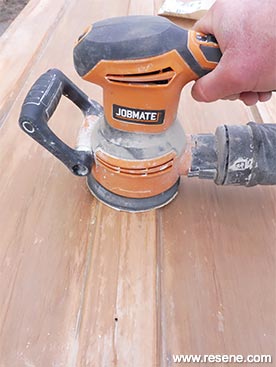
Remove any old paint from the bench top and edges using the sander and wipe off any sanding residue with a clean cloth.
Step 6 Step six
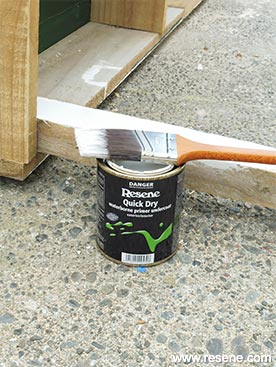
Apply one coat of Resene Quick Dry to the bench base and legs and allow to dry.
Step 7 Step seven
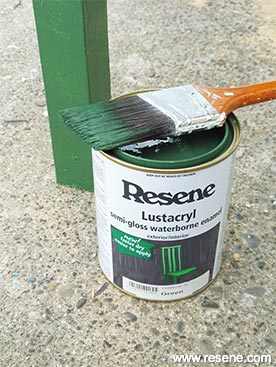
Apply two coats of Resene Lustacryl tinted to Resene Permanent Green to the bench base and legs, allowing two hours for each coat to dry.
Step 8 Step eight
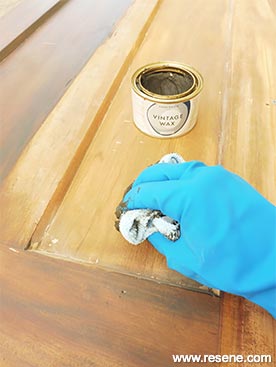
Wearing rubber gloves, apply a generous amount of Karen Walker Vintage Wax to the bench top and edges and then remove any excess wax with a clean cloth. Allow the wax to dry.

Download a PDF of this project

Other projects you might like to try

Concrete pad
Concrete pad

Weekend DIY
Make a berry planter pot
Berry planter box

Weekend DIY
Build an outside shelf
Outdoor shelf

Ways with wood
Build a compact tool rack
Tool rack

Weekend Gardener
Turn an old ladder into a display for your plants
Ladder display

Weekend Gardener

View more projects


Order online now:
Testpots | Paints | Primers and Sealers | Stains | Clears | Accessories

Get inspired Get inspired ! Subscribe      Get saving Get saving ! Apply for a DIY card

Resene Paints Ltd

Can't find what you're looking for? Ask us!

Resene Paints Ltd   – www.resene.com

Follow us on Facebook Follow us on Pinterest Follow us on Instagram Follow us on YouTube
Videos on how to paint and stain your house
 

Colours shown on this website are a representation only. Please refer to the actual paint or product sample. Resene colour charts, testpots and samples are available for ordering online.   See measurements/conversions for more details on how electronic colour values are achieved.

What's new | Specifiers | Painters | DIYers | Artists | Kids | Sitemap | Home | TOP ⇧