Close Give Feedback
Resene Paints - home page
Facebook Pinterest Instagram YouTube

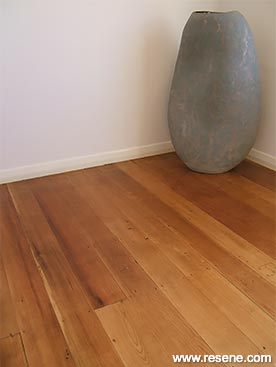
Wooden floor

Transform a plain wooden floor into a thing of beauty using Resene Aquaclear or Resene Qristal ClearFloor.

Ways with wood with Mark Rayner – 52

Difficulty level: Moderate

You will need: a broom, brush and dustpan, floor sanding equipment (consult your local hire centre), hammer, nail punch, paintbrush, paint scraper, paint stirrer and a vacuum cleaner. Resene Aquaclear gloss or Resene Qristal ClearFloor. Wear suitable protective clothing – see Resene Data Sheet D53 and the Resene Putting your safety first brochure for further information.

To get the look: Mark painted the background wall with Resene SpaceCote Flat tinted to Resene Half Alabaster.

Other ideas: For floors with heavy foot traffic use Resene Polythane clear polyurethane.
Step 1 how to polyurethane a wooden floor
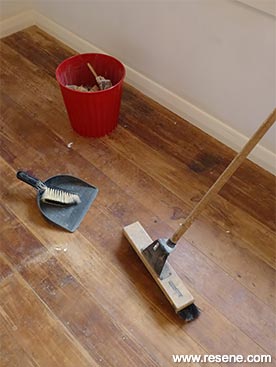
Step one
Sweep the floor clean of any dust.
Step 2 how to polyurethane a wooden floor
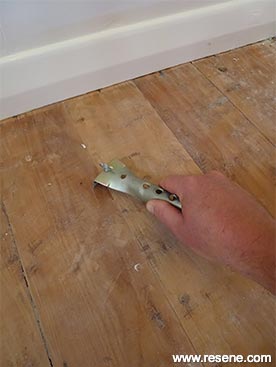
Step two
Use the scraper to carefully remove any loose carpet glue residue, scraping along the grain.
Step 3 how to polyurethane a wooden floor
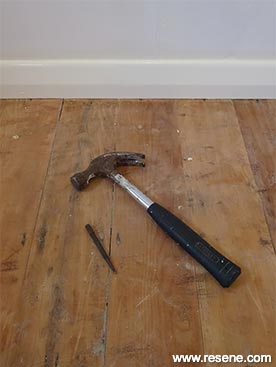
Step three
Punch any protruding nailheads with the hammer and nail punch.
Step 4 how to polyurethane a wooden floor
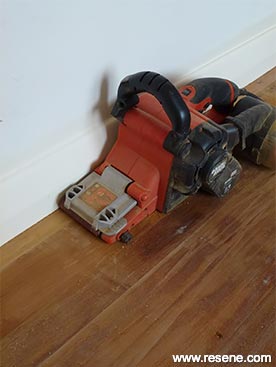
Step four
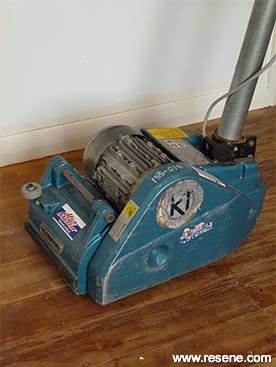
Using appropriate floor sanding equipment and wearing recommended protective clothing, carefully sand the edges of the floor, sanding in the direction of the grain.
Step 5 how to polyurethane a wooden floor
Step five
Again, using appropriate floor sanding equipment and wearing recommended protective clothing, carefully sand the remainder of the floor, sanding in the direction of the grain.
Step 6 how to polyurethane a wooden floor
Step six
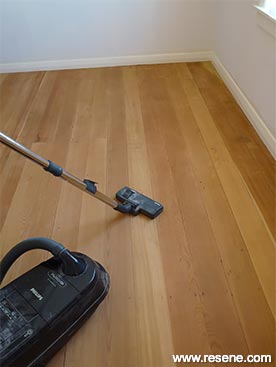
Vacuum clean and wipe over with a slightly damp cloth. Ensure that the floor is dry before going on to the next step.
Step 7 how to polyurethane a wooden floor
Step seven
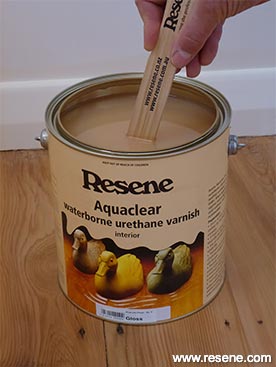
Carefully stir the Resene Aquaclear or Resene Qristal ClearFloor.
Step 8 how to polyurethane a wooden floor
Step eight
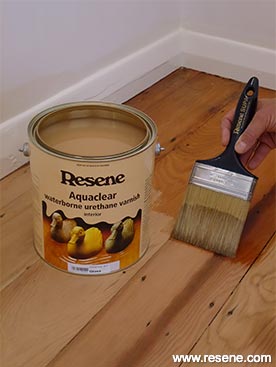
Apply three coats of Resene Aquaclear or Resene Qristal ClearFloor to the floor, brushing in the direction of the grain, allowing dry time between each coat. Leave for 48 hours before allowing foot traffic on the floor.

Other projects you might like to try

Make a mini mug shelf
Mug shelf

Weekend DIY
Wooden picture frame
Picture frame

Ways with wood
Barrel planter
Barrel planter

Ways with wood
Recycled drinks table
Drinks table

Weekend Gardener
Wall plant display
Wall plant display

Weekend Gardener

View more projects


Order online now:
Testpots | Paints | Primers and Sealers | Stains | Clears | Accessories

Get inspired Get inspired ! Subscribe      Get saving Get saving ! Apply for a DIY card

Resene Paints Ltd

Can't find what you're looking for? Ask us!

Resene Paints Ltd   – www.resene.com

Follow us on Facebook Follow us on Pinterest Follow us on Instagram Follow us on YouTube
Videos on how to paint and stain your house
 

Welcome to our World of Colour!™
Colours shown on this website are a representation only. Please refer to the actual paint or product sample. Resene colour charts, testpots and samples are available for ordering online.   See measurements/conversions for more details on how electronic colour values are achieved.

What's new | Specifiers | Painters | DIYers | Artists | Kids | Sitemap | Home | TOP ⇧