Close Give Feedback
Resene Paints - home page
Facebook Pinterest Instagram YouTube

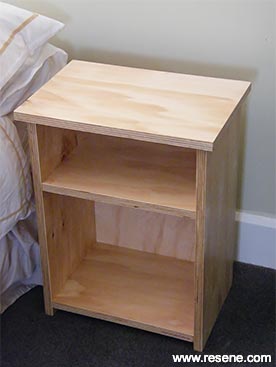
Bedside cabinet

Create a stylish bedside cabinet using interior plywood and Resene Aquaclear waterborne varnish.

Ways with wood with Mark Rayner - Project 20

Difficulty level: Challenging

You will need: 22mm plywood cut to the following dimensions:
two 800mm x 300mm for the sides,
two 400mm x 300mm for the middle and bottom shelves,
one 500mm x 330mm for the top,
9mm plywood cut to 440mm x 800mm for the backing panel.
40mm zinc plated panel pins, 25mm zinc plated panel pins, hammer, nail punch, paintbrush, pencil, ruler, sandpaper, saw, wood filler and PVA glue. Resene Aquaclear waterborne urethane varnish gloss.

To get the look: Mark painted the background wall with Resene SpaceCote Flat tinted to Resene Paris White and the woodwork with Resene Enamacryl tinted to Resene Alabaster.

Other ideas: For a more colourful effect, stain the plywood with any of the colours in the Resene Waterborne Colorwood natural wood stain range before applying the Resene Aquaclear.
Step 1
Step one
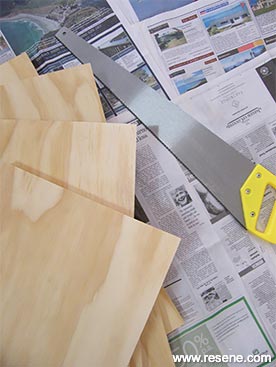
Cut the plywood to the dimensions as listed above.
Step 2
Step two
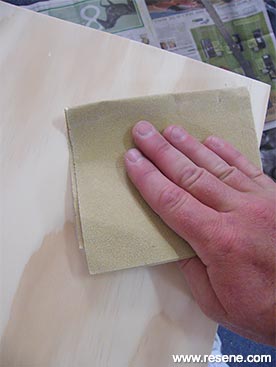
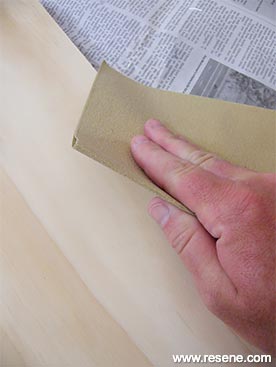
Sand any rough edges with sandpaper.
Step 3
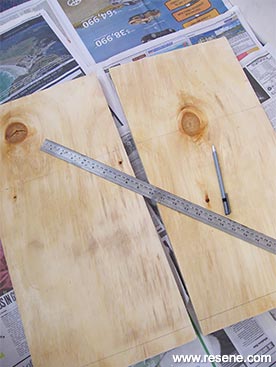
Step three
Use a pencil to rule a faint line 200mm from the top edge and 25mm from the bottom edge of each of the side panels, as shown.
Step 4
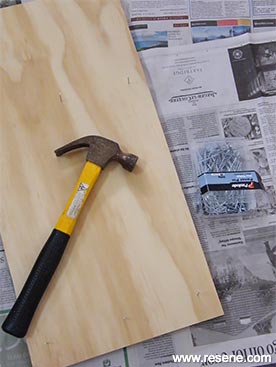
Step four
Turn the side panels over and tap in three 40mm panel pins approx 190mm from the top edge and three 40mm panel pins approx 35mm from the bottom edge, as shown.
Step 5
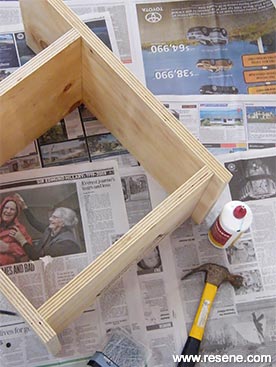
Step five
Align the bottom edge of each shelf with the pencil lines on the side panels and fix the shelves into position using PVA glue and the previously positioned panel pins.
Step 6
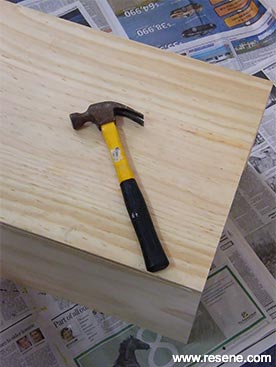
Step six
Fix the backing panel into position using PVA glue and 25mm panel pins. Position the top with an even overhang at the sides and front, then fix with PVA glue and 40mm panel pins.
Step 7
Step seven
Use the nail punch to sink the heads of the panel pins approx 2mm below the surface of the plywood and fill with wood filler. Once the wood filler is dry, sand smooth.
Step 8
Step eight
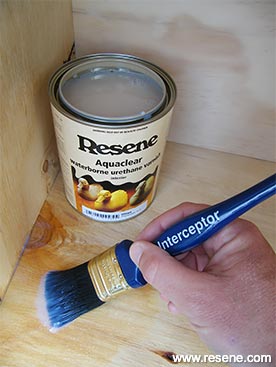
Step eight Apply two coats of Aquaclear gloss to the cabinet, allowing at least two hours for each coat to dry. Leave to fully cure for three days before placing any objects on the cabinet.

Other projects you might like to try

Make a chair into a flower pot stand
Plant stand

Weekend DIY
Make a concrete block planter
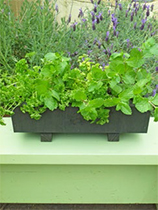
Herb planter

Weekend DIY
Paint a wooden planter
Wooden planter

Ways with wood
Paint a wooden mailbox
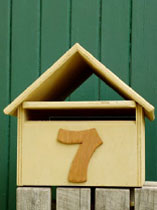
Modern mailbox

Ways with wood
Make a wooden window box
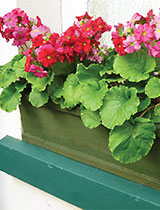
Window box

Weekend Gardener
Make a hanging pot display
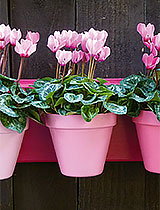
Wall plant display

Weekend Gardener

View more projects


Order online now:
Testpots | Paints | Primers and Sealers | Stains | Clears | Accessories

Get inspired Get inspired ! Subscribe      Get saving Get saving ! Apply for a DIY card

Resene Paints Ltd

Can't find what you're looking for? Ask us!

Resene Paints Ltd   – www.resene.com

Follow us on Facebook Follow us on Pinterest Follow us on Instagram Follow us on YouTube
Videos on how to paint and stain your house
 

Welcome to our World of Colour!™
Colours shown on this website are a representation only. Please refer to the actual paint or product sample. Resene colour charts, testpots and samples are available for ordering online.   See measurements/conversions for more details on how electronic colour values are achieved.

What's new | Specifiers | Painters | DIYers | Artists | Kids | Sitemap | Home | TOP ⇧