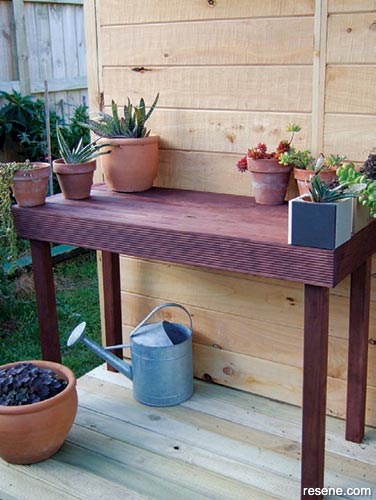
Mark Rayner builds a simple but stylish garden table.
You will need:
Top tip: Make sure you don't get any PVA on any visible parts of the table as this will act as a sealant, preventing the wood stain from sinking in.
![]()
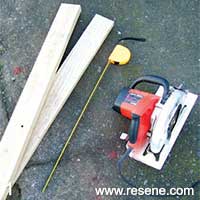 Step one
Using the circular saw and tape measure, cut two 1m lengths of 100mm grooved decking - this will form the front and back facings of the table.
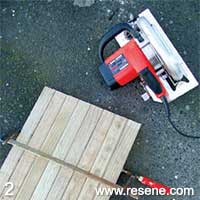 Step two
Using the circular saw and tape measure, cut eight 930mm lengths of 50mm x 50mm framing. To get them all the same length, clamp together and saw across, as shown.
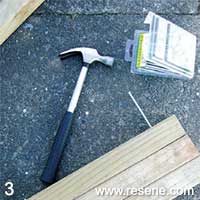 Step three
Using the PVA and three galvanised nails, fix the first three lengths of framing together, as shown - use a set square to make sure the edges are lined up and assemble on a flat surface such as concrete.
 Step four
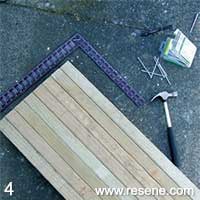
Continue to attach the remaining sections of framing to form the tabletop.
 Step five
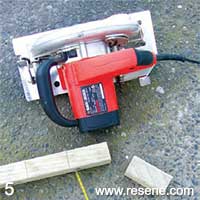
Cut eight 100mm lengths of framing to form the leg supports. Cut four 650mm lengths for the legs.
 Step six
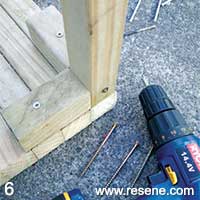
Using 75mm brass screws and PVA glue, fix two leg supports at right angles into the underside of the tabletop, and fix a leg into position by gluing and screwing through into each support, as shown. Drill pilot holes first to prevent wood from splitting, and ensure leg is positioned perfectly upright using a set square. Repeat with the other three legs.
 Step seven
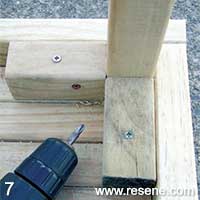
Attach the front facing using PVA and by drilling through the leg support with 65mm screws, then measure and cut the side facings from the remaining decking (these two lengths should be approx 380mm). Fix the back and side facings in the same way.
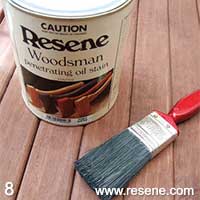 Step eight
Apply two coats of Resene Woodsman in Resene Cherrywood to the entire table, allowing at least 24 hours to dry between coats.
![]() Get inspired ! Subscribe
Get inspired ! Subscribe ![]() Get saving ! Apply for a DIY card
Get saving ! Apply for a DIY card
![]()
Can't find what you're looking for? Ask us!
Company profile | Terms | Privacy policy | Quality and environmental policy | Health and safety policy
Colours shown on this website are a representation only. Please refer to the actual paint or product sample. Resene colour charts, testpots and samples are available for ordering online. See measurements/conversions for more details on how electronic colour values are achieved.
What's new | Specifiers | Painters | DIYers | Artists | Kids | Sitemap | Home | TOP ⇧