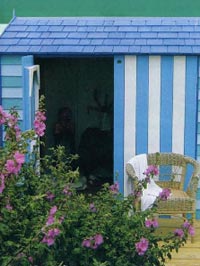
With a lick of paint and a complememtary planting scheme, Mark Rayner turns a wooden shed into a work of art.
You will need: Kitset cedar shed (includes all screws, nails fittings, sealant and fixtures as required) Resene Timberlock (4 litres), Resene Quick Dry Primer/Undercoat (4 litres), Resene Lumbersider in the following colours: Resene Resolution Blue (2 litres), Resene Havelock Blue (1 litre), Resene White (500 ml), Resene Shakespeare (1 litre), Resene Sail (500 ml), Resene Midnight Express (testpot) and Resene Ashanti (4 litres). Large and small paintbrushes, small artist's brush, electric screwdriver 30mm x 1800ml fence palings (to line shed interior) 120 galvanised 40mm flat headed nails and hammer.
To get the look: Mark got a Cedarshed and complemented the project with a small timber deck and coastal planting of blue oat grass, blue daisy, Echium 'Cobalt Towers' and lavatera.
![]()
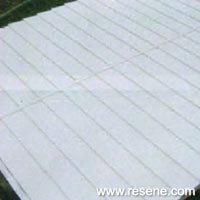 Step one
 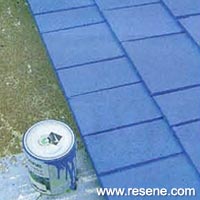 Step two
 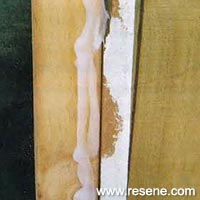 Step three
 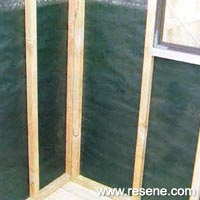 Step four
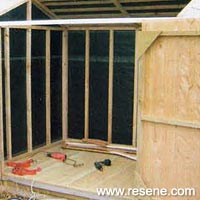 Step five
 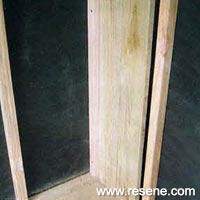 Step six
 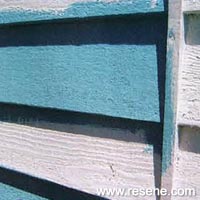 Step seven
  Step eight
 ![]() Get inspired ! Subscribe
Get inspired ! Subscribe ![]() Get saving ! Apply for a DIY card
Get saving ! Apply for a DIY card
![]()
Can't find what you're looking for? Ask us!
Company profile | Terms | Privacy policy | Quality and environmental policy | Health and safety policy
Colours shown on this website are a representation only. Please refer to the actual paint or product sample. Resene colour charts, testpots and samples are available for ordering online. See measurements/conversions for more details on how electronic colour values are achieved.
What's new | Specifiers | Painters | DIYers | Artists | Kids | Sitemap | Home | TOP ⇧