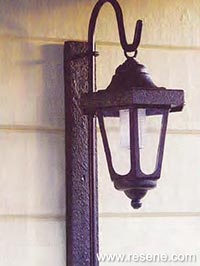
Mark Rayner shows how to make a solar light into a distinctive wall feature.
You will need: Solar coach light with metal 'shepherd hook' hanger (ours came Mitre10 Mega),
sandpaper,
2 lengths of 25mm x 50mm treated battening cut to 400mm and 50mm lengths,
hammer and screwdriver. Drill with drill bits,
stainless steel screw eye, 40mm stainless steel screws,
exterior PVA glue,
40mm galvanised nails,
paintbrush, Resene Waterborne Smooth Surface Sealer, Resene Testpot of Resene Midnight Moss, Resene Quick Dry, Resene Sandtex Mediterranean effect.
Note: Allow all coats of sealer and paint two hours' drying time.
Top tip: Solar lights need plenty of direct sunlight to charge up during the day, so put the lamp where it will get lots of sun.
To get the look: Mark painted the background shed wall with Resene Lumbersider tinted to Resene Dairy Cream.
![]()
 Step one
  Step two
 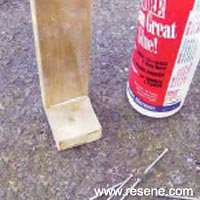 Step three
 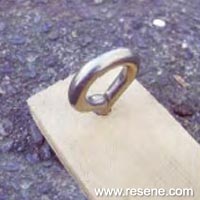 Step four
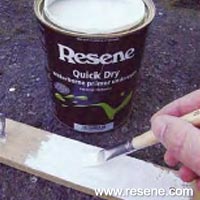 Step five
 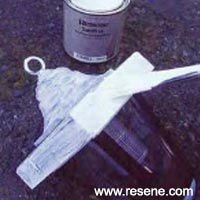 Step six
 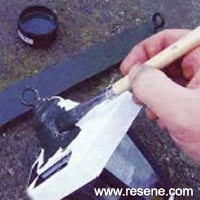 Step seven
 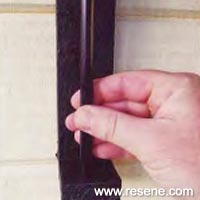 Step eight
 ![]() Get inspired ! Subscribe
Get inspired ! Subscribe ![]() Get saving ! Apply for a DIY card
Get saving ! Apply for a DIY card
![]()
Can't find what you're looking for? Ask us!
Company profile | Terms | Privacy policy | Quality and environmental policy | Health and safety policy
Colours shown on this website are a representation only. Please refer to the actual paint or product sample. Resene colour charts, testpots and samples are available for ordering online. See measurements/conversions for more details on how electronic colour values are achieved.
What's new | Specifiers | Painters | DIYers | Artists | Kids | Sitemap | Home | TOP ⇧