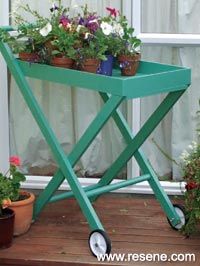
Mark Rayner comes up with a handy patio cart.
Materials needed (we go ours from Mitre 10 Mega):
Also required: 25mm brass panel pins and 38mm brass wood screws, two 125mm plastic wheels, two 10mm x 60mm stainless steel bolts, two 40mm stainless steel bolts with nuts and washers, two 10mm nylock nuts and four 10mm zinc washers, clamps and exterior PVA glue saw, hammer, spanner and screwdriver, drill with drill bits, tape measure, set square, pencil, paintbrush and sandpaper, Resene Quick Dry, Resene Resene Enamacryl gloss waterborne enamel tinted to Resene Green Room.
Top tip: Always drill pilot holes before hammering in panel pins or screwing in screws.
![]()
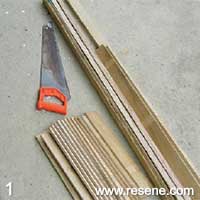
Step 1
Measure and cut plywood and dowel to the dimensions listed above. Smooth rough edges with sandpaper.
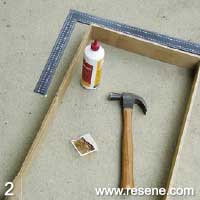
Step 2
Assemble the tray’s sides, forming a 785mm x 420mm rectangle. Fix at each corner with PVA glue and panel pins (remember to drill pilot holes first). Use a set square to make sure corners are at right angles.
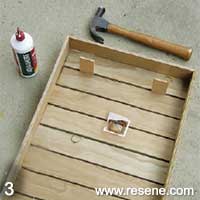
Step 3
Attach the base slats to the tray sides, as shown, using 5mm MDF offcuts as spacers. Glue and panel pin in place. Drill pilot holes first at each end of all the slats. Allow the glue to dry.

Step 4
Clamp the two longer legs together. Drill a 5mm hole through both, about 260mm from one end and drill two 5mm holes in the sides of the tray about 65mm from one end. Unclamp. Bolt each leg to the tray.
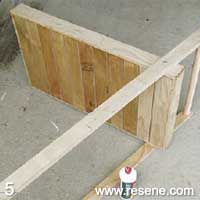
Step 5
Bolt each longer leg to the tray. Glue and screw the dowel handle to the legs between the two longer legs. Attach their support bar in the same way, but about 270mm from the other end of the legs.
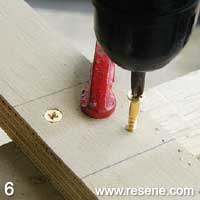
Step 6
Clamp the other two legs together. So the tray and legs sit steady, saw these legs top and bottom ends at an angle that will be parallel with the tray base when they are in their final position. Glue and screw them in place. Glue and panel pin the tray’s front underneath support to the tray bottom.
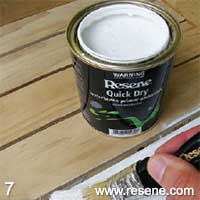
Step 7
Glue and screw the second pair of legs to the tray and then attach their support bar – in the same way as the other legs’ sup- port bar. Once glue has dried, apply a coat of Quick Dry to the entire tray, allowing two hours to dry.
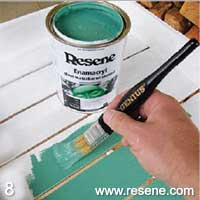
Step 8
Apply two coats of Resene Green Room to the tray, allowing two hours for each coat to dry. Drill 10mm holes approximately 35mm from the end of each front leg and attach wheels with 60mm bolts/washers and nylock nuts.
![]() Get inspired ! Subscribe
Get inspired ! Subscribe ![]() Get saving ! Apply for a DIY card
Get saving ! Apply for a DIY card
![]()
Can't find what you're looking for? Ask us!
Company profile | Terms | Privacy policy | Quality and environmental policy | Health and safety policy
Colours shown on this website are a representation only. Please refer to the actual paint or product sample. Resene colour charts, testpots and samples are available for ordering online. See measurements/conversions for more details on how electronic colour values are achieved.
What's new | Specifiers | Painters | DIYers | Artists | Kids | Sitemap | Home | TOP ⇧