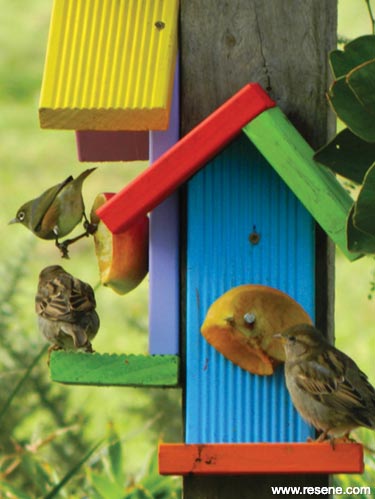
Now that it is getting colder, it is time to think about providing food for your garden birds. These feeders would make a lovely gift or even help with fundraising for a larger project at your school.
You will need: Offcuts of timber decking or a wooden pallet, a piece of cardboard cut from the front or back of a cereal packet or box, saw, sandpaper, tape measure, pen, Resene testpots (I used Get Reddy, Orang-atan, Fizz, Splat, Unicorn, Ballerina and Dizzy Lizzy.), paintbrushes, screws, nails, hammer, screwdriver.
This colourful project is great for the school holidays as you can paint inside on a rainy day. As well as helping the birds, the feeders will add lots of colour to your winter garden too.
To keep costs low ask around for offcuts of decking timber or try using wooden pallets.
Paint tips: When choosing colours, it’s generally best to avoid light colours as they will tend to show up marks sooner. For extra shimmer and shine, use a Resene FX Metallic testpot for details. If you want a more natural look to blend into a backyard, Resene wood stains come in testpots too and can be applied directly to the timber.
![]()
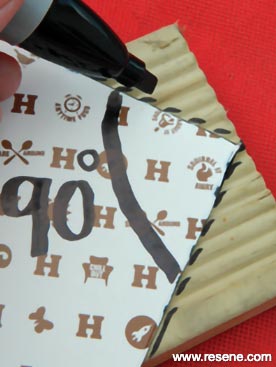 Step one
 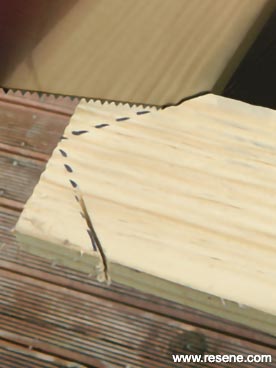 Step two (a)
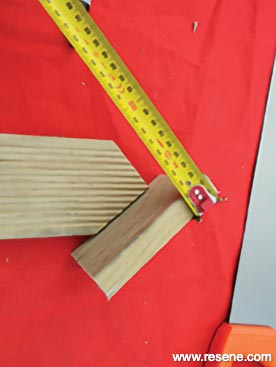
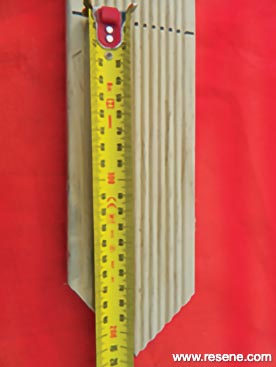 Step two (b)
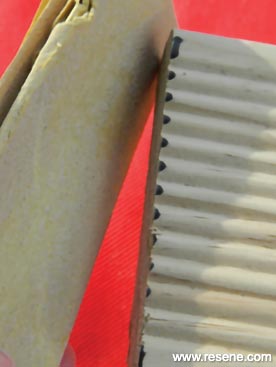 Step three
 Step four (a)
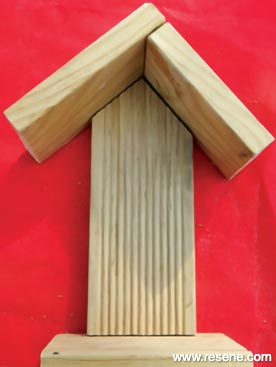 Step four (b)
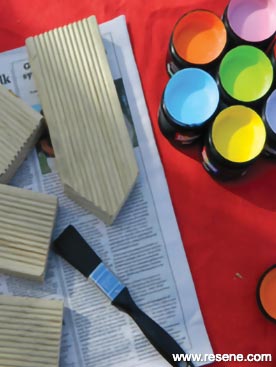 Step five
 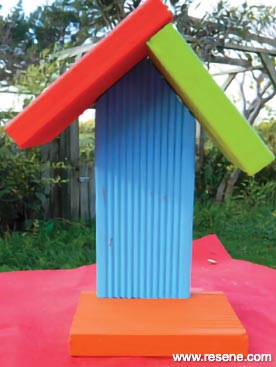 Step six (a)
 Step six (b)
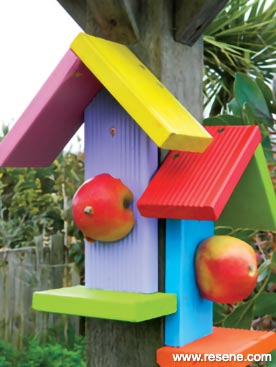 Step seven
 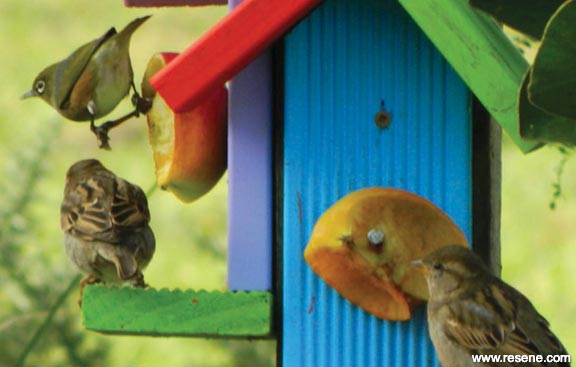 Step eight
 ![]() Get inspired ! Subscribe
Get inspired ! Subscribe ![]() Get saving ! Apply for a DIY card
Get saving ! Apply for a DIY card
![]()
Can't find what you're looking for? Ask us!
Company profile | Terms | Privacy policy | Quality and environmental policy | Health and safety policy
Colours shown on this website are a representation only. Please refer to the actual paint or product sample. Resene colour charts, testpots and samples are available for ordering online. See measurements/conversions for more details on how electronic colour values are achieved.
What's new | Specifiers | Painters | DIYers | Artists | Kids | Sitemap | Home | TOP ⇧