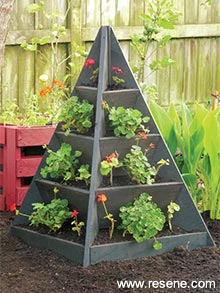
Go vertical with this stylish pyramid planter – perfect for adding some instant height in the garden.
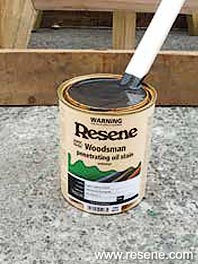
You will need: 4 x 1200mm fence palings, 50mm x 50mm timber (approx. 1.2m), 100mm x 20mm timber (approx. 2.7m), 200mm x 25mm timber (approx. 4.5m), 65mm exterior screws, circular saw, long metal ruler or other straight edge, paint stirrer, paintbrush, pencil, PVA glue (exterior), Resene Waterborne Woodsman tinted to Resene English Walnut, sandpaper (coarse), screwdriver.
Top tips: To easily rule a 45-degree line use the back of a regular crosscut handsaw – the handle of most have a built-in guide for ruling 90 and 45 degree angles.
Take care to drill each 65mm screw in at an angle to ensure the point doesn’t protrude out through the back of the timber.
To get the look: Mark stained the background raised bed with Resene Waterborne Woodsman tinted to Resene Japanese Maple.
Handy hint: As well as the bought 50mm x 50mm timber and fence palings, we used a selection of reclaimed wood from disassembled pallets and other wooden crates. For a more permanent structure, however, it would pay to use only appropriately treated timber.
Planting ideas: We used a selection of pelargoniums but this planter could also be used for seasonal colour, ornamental grasses, herbs, salad vegetables, strawberries, or even small succulents.
![]()
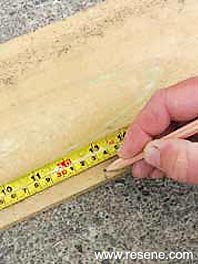 Step one
 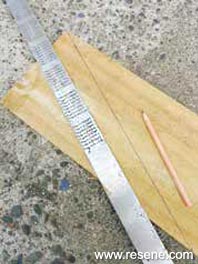 Step two
 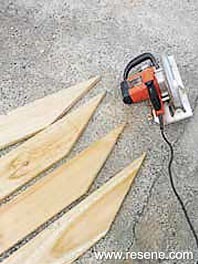 Step three
 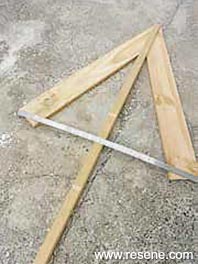 Step four
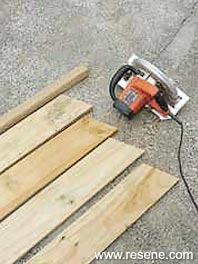 Step five
 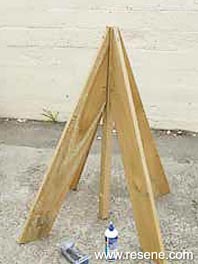 Step six
 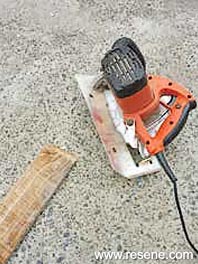 Step seven
  Step eight
 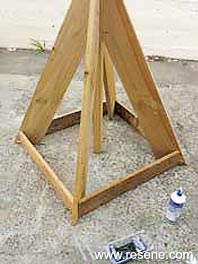 Step nine
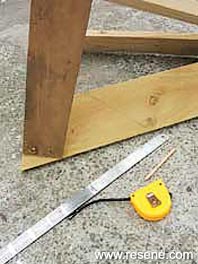 Step ten
 Step eleven
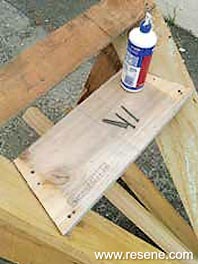 Step twelve
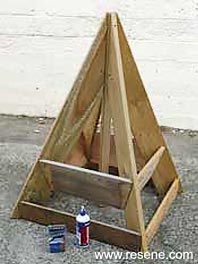 Step thirteen
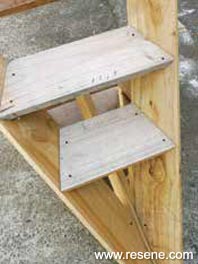 Step fourteen
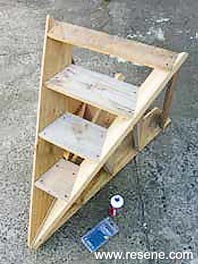 Step fifteen
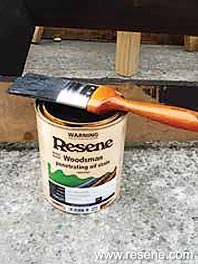 Step seventeen
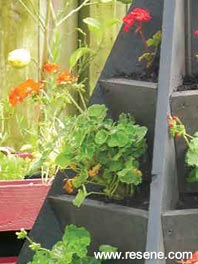 Finished project
![]() Get inspired ! Subscribe
Get inspired ! Subscribe ![]() Get saving ! Apply for a DIY card
Get saving ! Apply for a DIY card
![]()
Can't find what you're looking for? Ask us!
Company profile | Terms | Privacy policy | Quality and environmental policy | Health and safety policy
Colours shown on this website are a representation only. Please refer to the actual paint or product sample. Resene colour charts, testpots and samples are available for ordering online. See measurements/conversions for more details on how electronic colour values are achieved.
What's new | Specifiers | Painters | DIYers | Artists | Kids | Sitemap | Home | TOP ⇧
 Step sixteen
