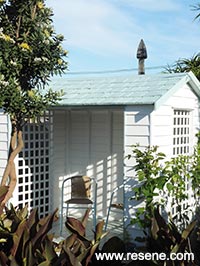
If the new year means a new shed, why not turn the old one into a traditional summer house?
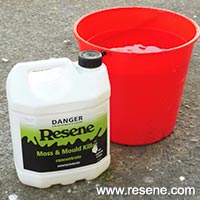
You will need: 20mm clouts, bucket, clean water, craft knife, hammer, mineral turpentine, old shed (ours was cedar – previously painted exterior and unpainted interior), paintbrushes, Resene Lumbersider tinted to Resene Alabaster, Resene Lumbersider tinted to Resene Unwind, Resene Moss & Mould Killer, Resene Paint Prep and Housewash, Resene Quick Dry, Resene Walk-on flooring and paving paint tinted to Resene Inside Back, Resene Wood Primer, rubber gloves, saw, screwdriver, stiff-bristled brush, 2 x trellis panels.
To get the look: Mark painted the chair frames with Resene Lustacryl tinted to Resene Escape.
Handy tip: If you have opening windows and doors, use Resene Lustacryl waterborne enamel instead of Resene Lumbersider so doors and windows open and close without sticking.
![]()
 Step one
 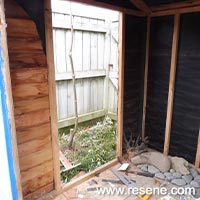 Step two
 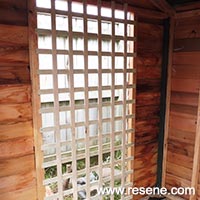 Step three
 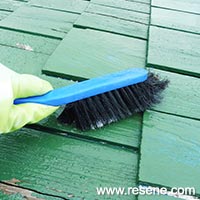 Step five
 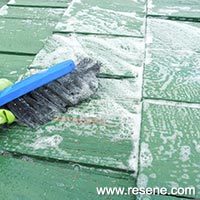 Step seven
  Step eight
  Step nine
 Step ten
 Step thirteen
 Step fourteen
![]() Get inspired ! Subscribe
Get inspired ! Subscribe ![]() Get saving ! Apply for a DIY card
Get saving ! Apply for a DIY card
![]()
Can't find what you're looking for? Ask us!
Company profile | Terms | Privacy policy | Quality and environmental policy | Health and safety policy
Colours shown on this website are a representation only. Please refer to the actual paint or product sample. Resene colour charts, testpots and samples are available for ordering online. See measurements/conversions for more details on how electronic colour values are achieved.
What's new | Specifiers | Painters | DIYers | Artists | Kids | Sitemap | Home | TOP ⇧
 Step four
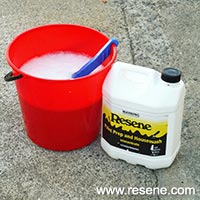 Step six
 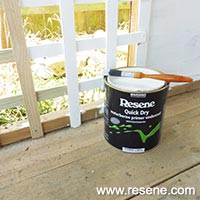 Step eleven
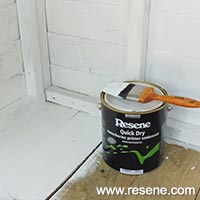 Step twelve
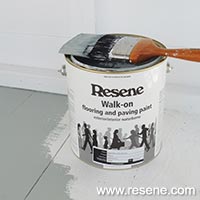 Step fifteen
