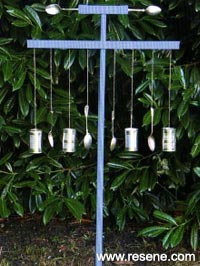
Protect strawberries and other crops with Mark Rayner's novel bird scarer.
You will need: Old broom handle or piece of thick dowel,
two pieces of 25mm x 50mm treated battening cut to 750mm and 250mm,
chisel, hammer, saw, pencil, Resene Quick Dry, Resene Lumbersider tinted to Resene Time Out, large nail and nail punch, 40mm galvanised nails, exterior PVA glue, garden twine, paintbrush, 6 large stainless steel spoons, 4 tin cans, drill with 4mm drill bit and galvanised staples. The top section of this nifty bird-scarer spins in the wind, while the hanging spoons and cans make plenty of noise.
Top tip: When fixing the spoons to the revolving top, make sure the bowls of each spoon face in opposite directions to catch the wind.
![]()
 Step one
 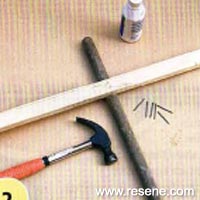 Step two
 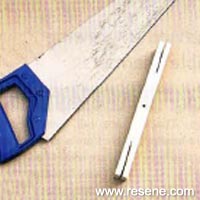 Step three
 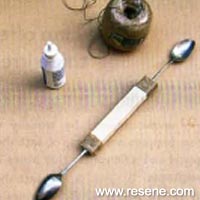 Step four
 Step five
 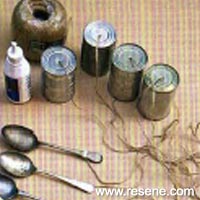 Step six
 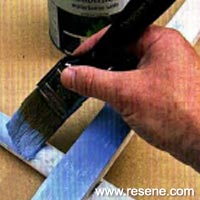 Step seven
 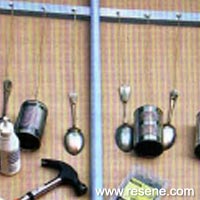 Step eight
 ![]() Get inspired ! Subscribe
Get inspired ! Subscribe ![]() Get saving ! Apply for a DIY card
Get saving ! Apply for a DIY card
![]()
Can't find what you're looking for? Ask us!
Company profile | Terms | Privacy policy | Quality and environmental policy | Health and safety policy
Colours shown on this website are a representation only. Please refer to the actual paint or product sample. Resene colour charts, testpots and samples are available for ordering online. See measurements/conversions for more details on how electronic colour values are achieved.
What's new | Specifiers | Painters | DIYers | Artists | Kids | Sitemap | Home | TOP ⇧